![]() Basics plus makes all efforts to smash the mold and put forward invincible pick up and drop off solutions in just a call.
Basics plus makes all efforts to smash the mold and put forward invincible pick up and drop off solutions in just a call.
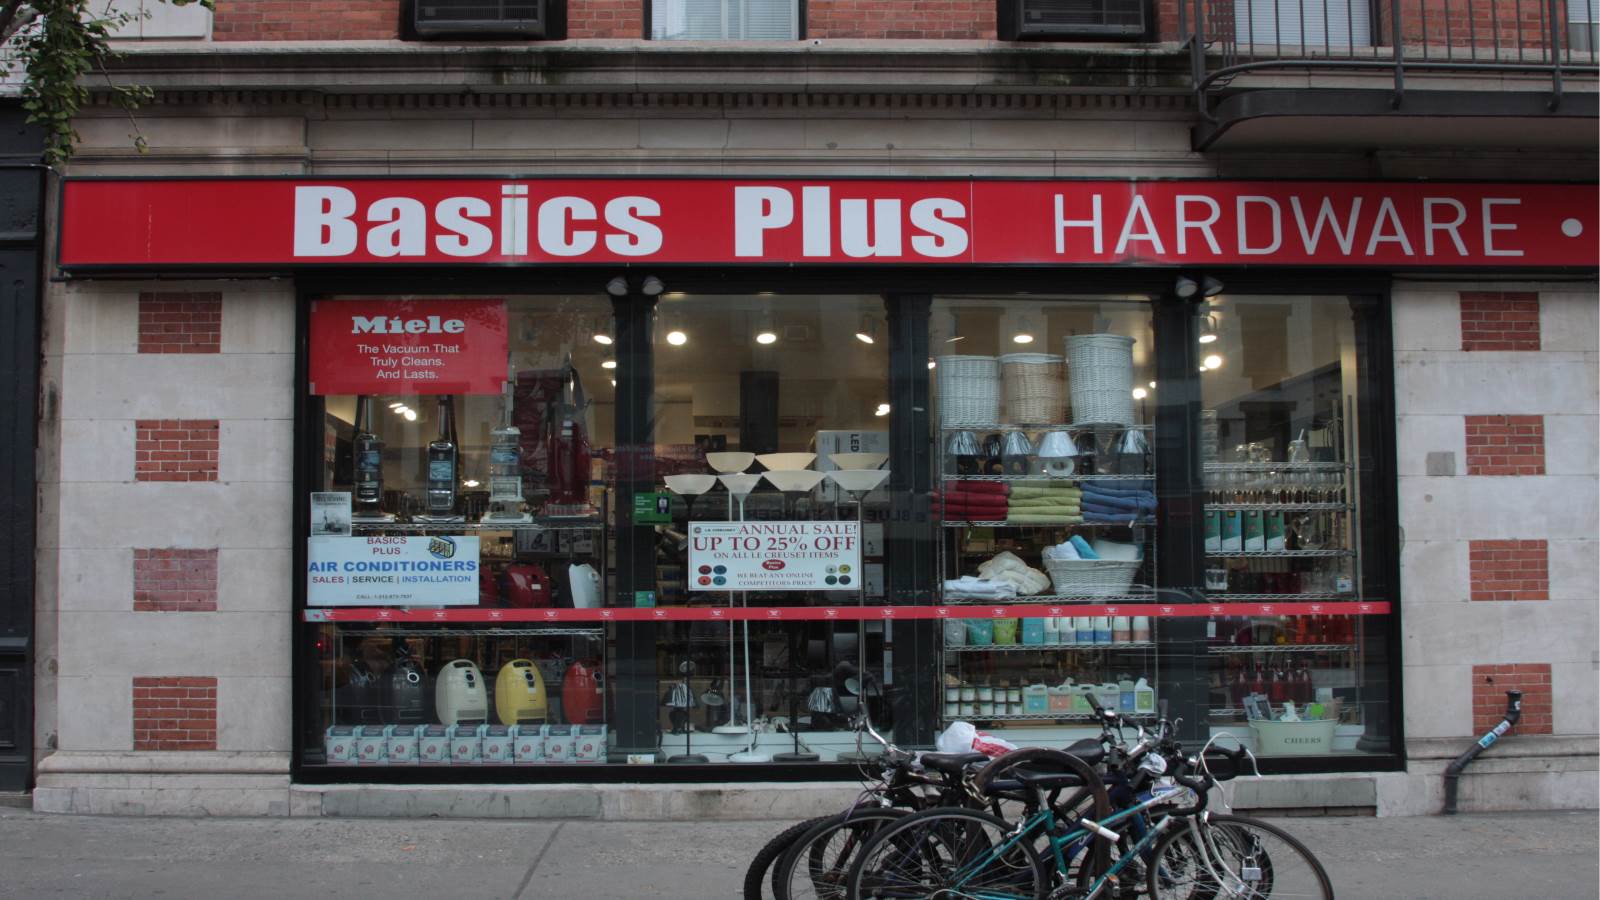
We are a team of highly qualified professionals, accessible 24*7 to deliver dependable services that will bring considerable transformation in your life style. We have upheld incredible position by offering our clientele more of everything they look forward to. We are having a chain of 7 stores in diverse areas of New York to grant urgent services and utmost pleasure to our valued customers.
With thousands of suppliers and millions of House wares Products available at our stores, we’re in an exceptional position to endow you with helpful information regarding which kind of House wares Products people around the world are probing, and searching for every month. We posses our own fixing squad and the majority of products in store, we promise best quality and honest pricing policy.
We can work on whatever you need; project might be commercial or residential. We provide free of charge quote on site in the next 24 hours. Don’t shilly-shally to get in touch with us. Let us enthrall you with the best variety, the finest quality, and the reasonable prices. Professionalism and exceptional service is our motto. Basics Plus will assist you to hit upon just what you wish for and get it finished quickly and brilliantly.
In spite of wasting your time dealing with the rest: get hold on incomparable solutions at Basics Plus.
A glimpse of our services will definitely draw your attention towards the best we can offer:
A/C repair services:
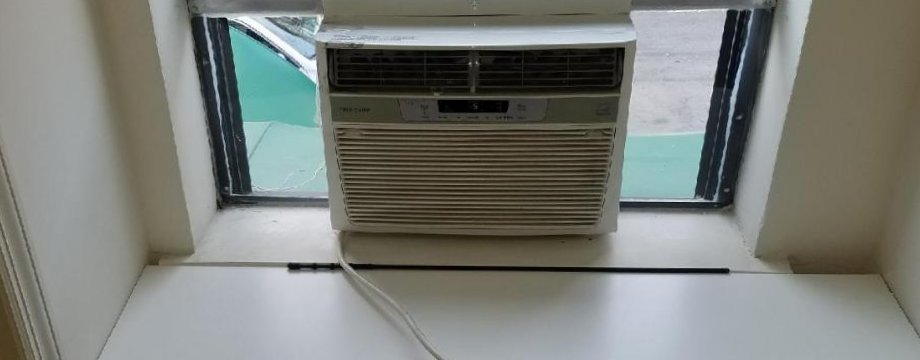
Basics plus is offering A/C installations, repairs and cleaning solutions in diverse areas of New York. We are here to simplify your life hacks and make things easier by providing A/C cleaning and maintenance services along with trained A/C fitting of diverse kinds of units. The experts at Basics Plus are just a phone call away to give you frank suggestion on all fixing solution that will go trouble-free with your pocket as well. Our competent technicians will grant you the desired services whenever needed.
Locksmith Services:
We are intensifying our ways to present the best we encompass. We are all boost up to bring in impeccable Locksmith services that will meet up your safety measures. It’s an optimum add on that will serve up you with fast, responsive and tension free services. Let our professional imitate or reinstate your smart key.
Basics plus provide you 24/7 urgent lockout solution, key duplication, car lockout. We have brought a broad range of locksmith services for your commercial and private belongings including:
Lock Installation & Repair
Home Lockouts
Car Door Unlocking
Deadbolts Installed
Rekey Specialists
Key Duplication & Creation
Auto Smart Key Duplication
Master Keys
Have hassle free life with Basics plus. Our proficient technicians will serve you with many scrupulous solutions for all your business and residential dilemmas.
Dial our contact number to have instantaneous access with completely licensed and trusted professional at Basics Plus.
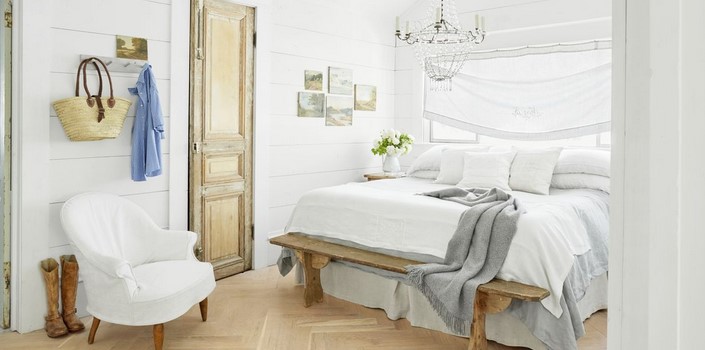 Creating the perfect ambiance in your bedroom goes beyond just picking the right furniture and paint colors. Lighting plays a crucial role in setting the mood and tone of the room. While there are countless lighting options available in the market, opting for creative do-it-yourself (DIY) lighting ideas can add a unique and personal touch to your dreamy bedroom. In this article, we’ll explore a variety of DIY lighting ideas that can transform your bedroom into a cozy and enchanting space.
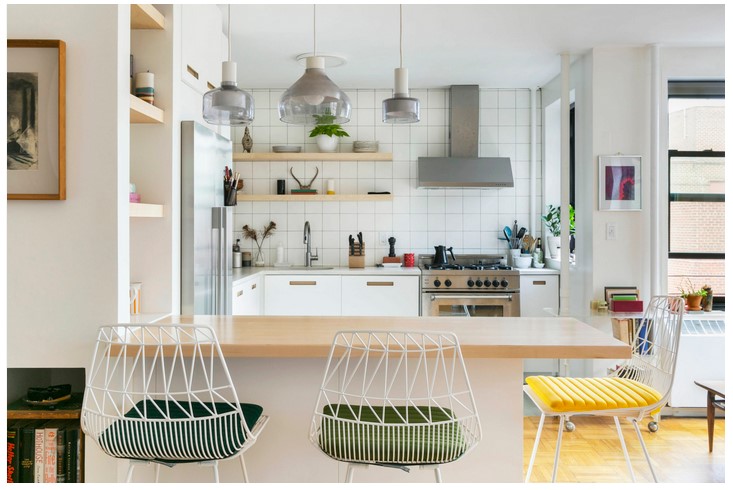 If you’re looking for a stylish way to organize your kitchen, then look no further than incorporating cabinet plate racks. Plate racks are a great way to store and organize your plates, bowls, and other dishes in an attractive and efficient manner. Not only do they look great, but they also help to maximize the storage space in your kitchen. With a variety of styles and sizes available, you can easily find the perfect plate rack to fit your kitchen’s decor and storage needs. In this article, we’ll discuss the benefits of incorporating cabinet plate racks for kitchen organization, as well as some tips for choosing the right one for your home.
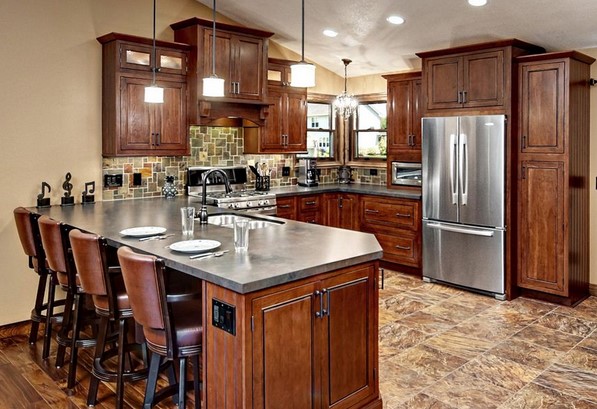 There’s no understating the importance of the kitchen for any property. It’s a very practical room, filled with all the appliances needed for food preparation and storage but it’s often also a social space and one where we spend a lot of our time. A kitchen renovation can be a disruptive time so advanced design and planning is often the key to a successful project. If you work with an expert in kitchen design and installation, this will also make the process easier but what kind of questions will they ask you to consider?