Welcome to Tranquil Tones: Exploring the Beauty of Light Blue Wall Paint for Your Home. Light blue is a calming and tranquil color that can bring a sense of peace and serenity to any room. Whether you’re looking to create a cozy and inviting atmosphere or a modern and sophisticated look, light blue wall paint can be the perfect choice. In this guide, we’ll explore the many shades of light blue and how to use them to create the perfect atmosphere in your home. We’ll also discuss the benefits of light blue wall paint and how to choose the right shade for your space. So, let’s get started and explore the beauty of light blue wall paint!
How to Choose the Right Shade of Light Blue Wall Paint for Your Home
When it comes to choosing the right shade of light blue wall paint for your home, there are a few things to consider. First, consider the size of the room. If the room is small, a lighter shade of blue will help to make the room appear larger. If the room is large, a darker shade of blue will help to create a cozy atmosphere.
Next, consider the existing décor in the room. If the room has a lot of warm colors, such as reds, oranges, and yellows, then a cooler shade of blue will help to balance out the room. If the room has a lot of cool colors, such as greens and purples, then a warmer shade of blue will help to create a more harmonious look.
Finally, consider the amount of natural light in the room. If the room has a lot of natural light, then a lighter shade of blue will help to reflect the light and brighten up the room. If the room has limited natural light, then a darker shade of blue will help to create a more intimate atmosphere.
By taking into account the size of the room, the existing décor, and the amount of natural light, you can easily choose the right shade of light blue wall paint for your home.
Creating a Tranquil Atmosphere with Light Blue Wall Paint: Tips and Ideas
Creating a tranquil atmosphere in your home can be achieved with the right wall paint color. Light blue is a great choice for creating a calming and peaceful atmosphere. Here are some tips and ideas for using light blue wall paint to create a tranquil atmosphere in your home.
1. Choose a light blue shade that is muted and not too bright. A light blue that is too bright can be overwhelming and can create a feeling of chaos. Look for a light blue that is soft and subtle.
2. Consider using a light blue paint with a hint of gray or green. This will create a more calming atmosphere and will help to create a sense of balance.
3. Use light blue wall paint in combination with other colors. For example, pair light blue with white or cream to create a tranquil atmosphere. Or, use light blue as an accent color with other colors such as gray or beige.
4. Use light blue wall paint in combination with natural elements such as wood or stone. This will create a more organic and calming atmosphere.
5. Consider using light blue wall paint in combination with other calming colors such as lavender or pale pink. This will create a more soothing atmosphere.
6. Use light blue wall paint in combination with natural light. Natural light will help to create a more tranquil atmosphere.
7. Consider using light blue wall paint in combination with other textures such as fabric or wallpaper. This will create a more interesting and calming atmosphere.
By following these tips and ideas, you can create a tranquil atmosphere in your home with light blue wall paint. Light blue is a great choice for creating a calming and peaceful atmosphere. With the right shade and combination of colors, textures, and natural elements, you can create a tranquil atmosphere in your home.
Conclusion
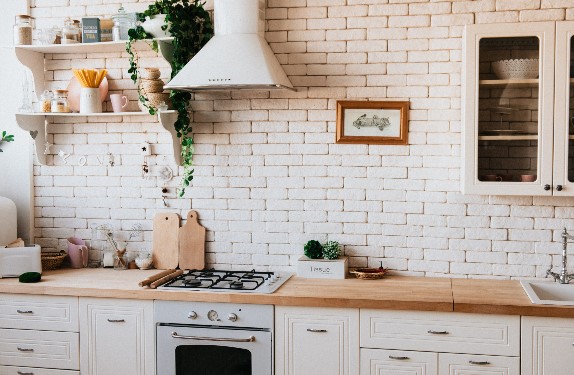
Tranquil Tones: Exploring the Beauty of Light Blue Wall Paint for Your Home is a great resource for anyone looking to add a calming and peaceful atmosphere to their home. Light blue wall paint can be used to create a variety of looks, from a subtle and calming backdrop to a bold and vibrant statement. With the right color and finish, light blue wall paint can be used to create a tranquil and inviting atmosphere in any room. Whether you are looking to create a relaxing bedroom, a cozy living room, or a bright and airy kitchen, light blue wall paint is a great choice for any home.
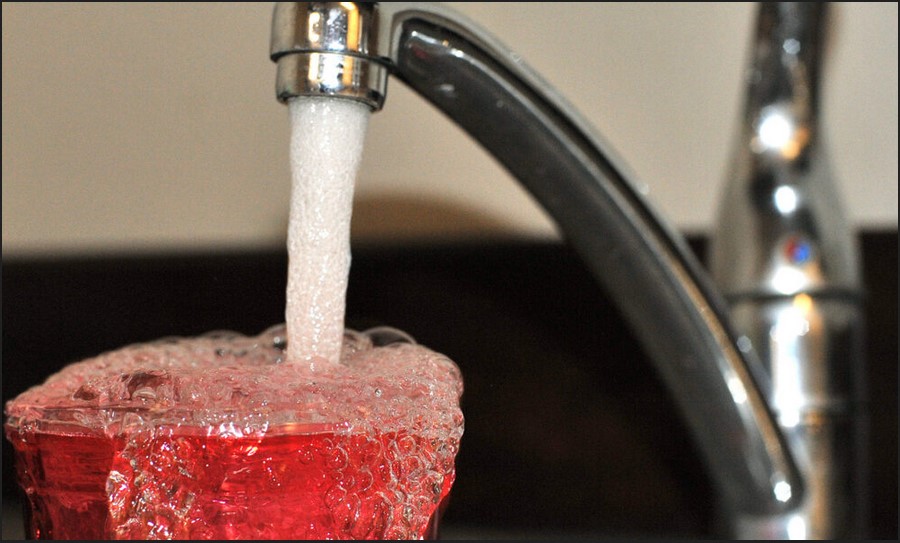 Solving plumbing problems is exhausting if you don’t know anything about it. You can even make the trouble worse by doing something wrong. The best solution you can do is to call a professional plumber. Plumber Hawthorne is one of the recommended plumbing companies that is ready to solve all plumbing problems.
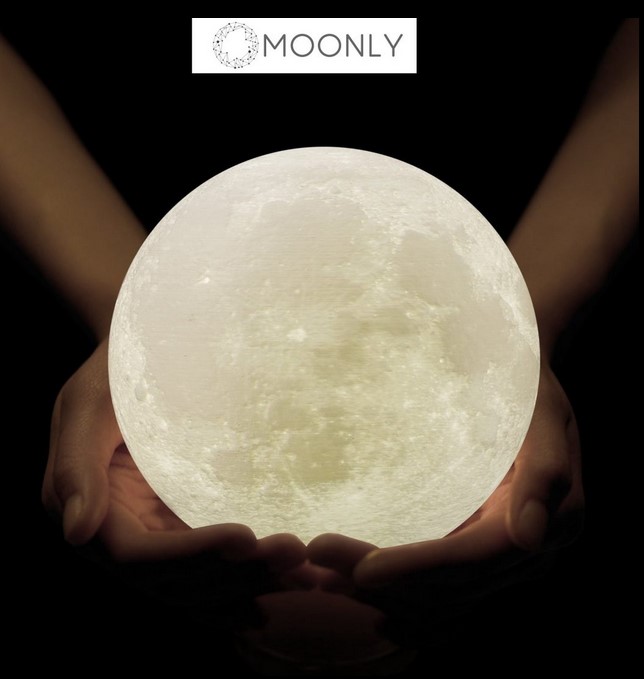 Can you imagine if you put a moon in your room? Just imagine also the beauty of the moonlight. Actually, you can really do it by installing a moon lamp. You have to make sure that the lamp is similar to the real moon whether in the sense of texture, design, and light. Incredibly, you can get such kind of lamp!
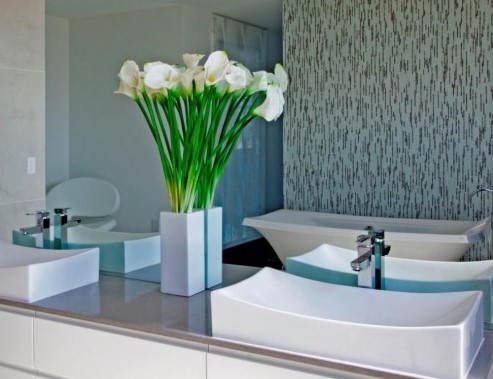
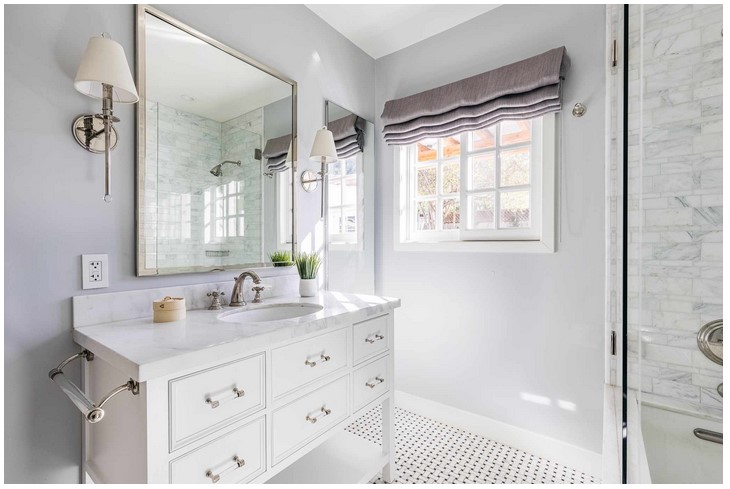 Reflecting Elegance is a company that specializes in providing customers with the perfect large bathroom mirror for their home. With a wide selection of styles, sizes, and shapes, Reflecting Elegance has something for everyone. From classic and traditional to modern and contemporary, Reflecting Elegance has the perfect mirror to fit any bathroom décor. With a commitment to quality and customer service, Reflecting Elegance is the perfect choice for anyone looking to add a touch of elegance to their bathroom.