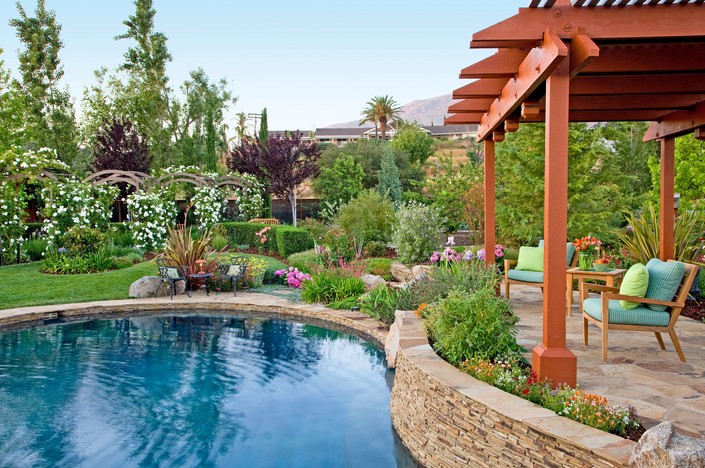
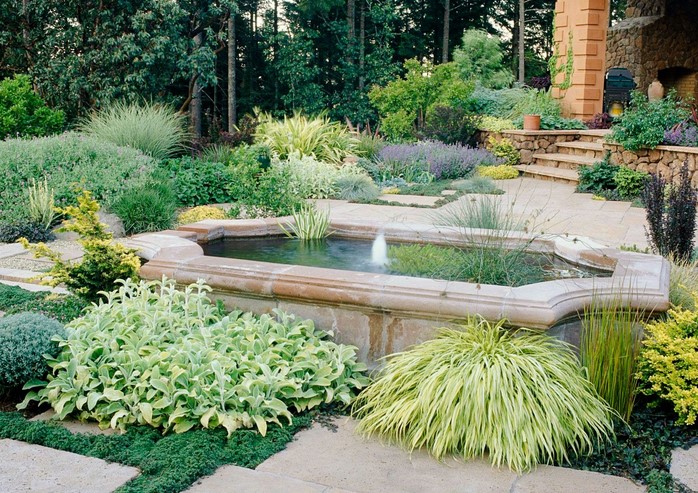
Transforming your outdoor space into a stylish and inviting area requires careful thought and planning, especially when it comes to choosing the right materials. One of the most impactful ways to elevate your outdoor area is by using decorative outdoor tiles. These versatile and attractive tiles can instantly add color, texture, and character to your garden, patio, or balcony, offering both functional and aesthetic benefits. Whether you’re designing a cozy backyard retreat or updating your front entryway, decorative tiles are a durable, low-maintenance, and visually appealing choice for creating a space that reflects your personal style. In this article, we’ll explore how decorative outdoor tiles can enhance your outdoor environment, the different types of tiles available, and key considerations when selecting the perfect tiles for your space.
1. Benefits of Decorative Outdoor Tiles
The beauty of decorative outdoor tiles goes beyond their visual appeal. These tiles offer a range of benefits that make them an excellent choice for both residential and commercial outdoor spaces. Here are some key advantages:
1.1 Durability and Longevity
Outdoor spaces are exposed to a variety of elements, from rain and wind to extreme temperatures and heavy foot traffic. Decorative outdoor tiles are designed to withstand these conditions, making them a long-lasting investment for your outdoor area. Unlike wood or natural stone, tiles resist fading, cracking, and warping, ensuring that your outdoor surfaces remain beautiful year after year.
Materials such as porcelain, ceramic, and natural stone are known for their durability and ability to endure the wear and tear of outdoor use. Porcelain tiles, in particular, are moisture-resistant, preventing mold and mildew growth, which is essential for areas that experience frequent rainfall or humidity.
1.2 Easy Maintenance
Outdoor tiles are relatively easy to clean and maintain, making them a practical choice for areas that see a lot of traffic or exposure to dirt and debris. Unlike grass or wood decking, which can require regular upkeep, tiles only need periodic cleaning with a mild detergent and water to keep them looking fresh.
Most decorative outdoor tiles feature smooth surfaces or textured finishes that are resistant to stains, and many are also slip-resistant, reducing the risk of falls and making them ideal for high-traffic areas like poolside patios or walkways. Whether you’re hosting a party or simply enjoying a quiet afternoon, you can trust that your tile surfaces will remain clean and safe.
1.3 Versatility in Design
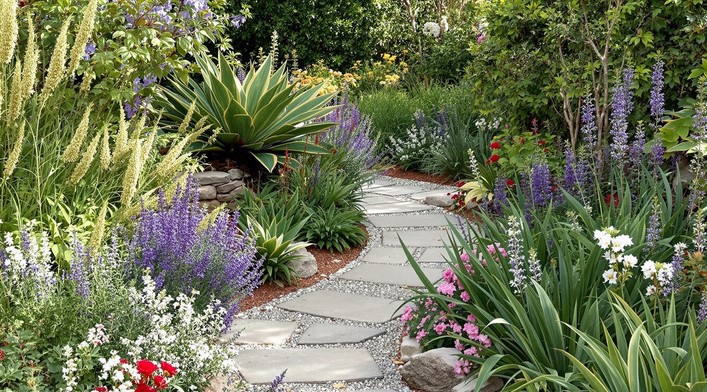
One of the most exciting aspects of using decorative outdoor tiles is the wide variety of designs, colors, and textures available. From bold, vibrant patterns to neutral, understated tones, there is a tile to suit every design preference. Whether you’re looking to create a Mediterranean-inspired courtyard, a sleek contemporary terrace, or a rustic garden path, decorative tiles offer endless design possibilities.
Tiles come in various finishes, including matte, glossy, and textured, allowing you to play with both color and texture to create a visually dynamic space. You can mix and match tiles to create patterns or focal points, use contrasting colors to define different zones within your outdoor space, or even create a tile mural or design feature for added impact.
1.4 Eco-Friendly Option
Many decorative outdoor tiles are made from sustainable materials, offering an eco-friendly alternative to other outdoor flooring options. Tiles made from recycled materials or natural stone are durable, sustainable, and have a minimal environmental impact compared to synthetic alternatives. Additionally, since tiles are often long-lasting, they help reduce the need for frequent replacements, further minimizing their environmental footprint.
For those looking to create a truly green space, eco-friendly tile options such as reclaimed wood-look tiles or natural stone tiles can be used to enhance both the aesthetic and environmental sustainability of your outdoor area.
2. Types of Decorative Outdoor Tiles
The market for outdoor tiles is vast, offering a wide array of materials and designs. Here are some of the most popular types of decorative outdoor tiles that can suit a variety of outdoor spaces:
2.1 Porcelain Tiles
Porcelain tiles are an excellent choice for outdoor spaces due to their durability, moisture resistance, and low maintenance. These tiles are made from dense clay and fired at high temperatures, which makes them impervious to water and more resistant to staining and scratching. Available in a wide range of colors, sizes, and finishes, porcelain tiles can be used to create modern, stylish outdoor areas that can handle the wear and tear of daily use.
One of the unique benefits of porcelain tiles is their ability to mimic the look of natural materials like wood, stone, or concrete. This makes them a popular choice for homeowners who want the aesthetic of expensive materials without the high cost or maintenance.
2.2 Ceramic Tiles
Ceramic tiles are another great option for decorative outdoor tiles. While not as dense as porcelain, ceramic tiles are still highly durable and come in a variety of colors and finishes. They are typically more affordable than porcelain, making them a budget-friendly option for those looking to create a stylish outdoor area without breaking the bank.
Ceramic tiles are ideal for spaces with less extreme weather conditions, such as sheltered patios or covered porches. Their bright colors and glossy finishes can create a vibrant, cheerful atmosphere in your outdoor space, especially when paired with colorful furniture or plants.
2.3 Natural Stone Tiles
For a more organic, rustic look, natural stone tiles are an excellent choice. Materials such as slate, limestone, granite, and travertine are prized for their unique textures and earthy appeal. Natural stone tiles are highly durable and can withstand a range of weather conditions, from intense sun to freezing temperatures, making them perfect for outdoor applications.
Stone tiles offer a sophisticated and timeless appearance that can complement various design styles. For example, a travertine patio can create a Mediterranean-inspired feel, while slate tiles are ideal for a rustic garden path. Natural stone is also easy to maintain, especially when sealed, and its naturally textured surface provides added slip resistance.
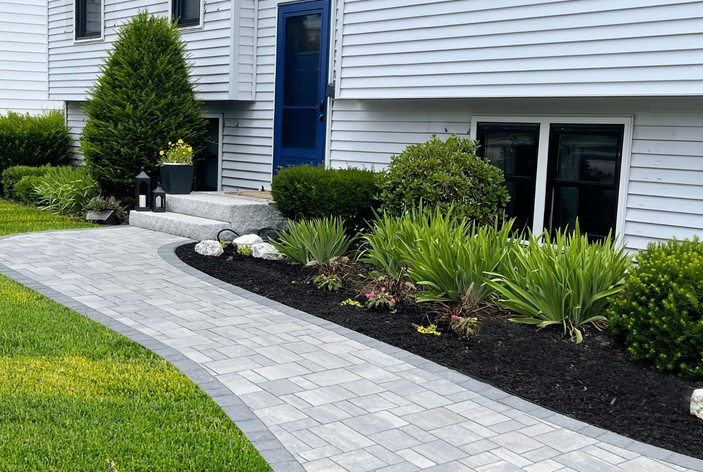
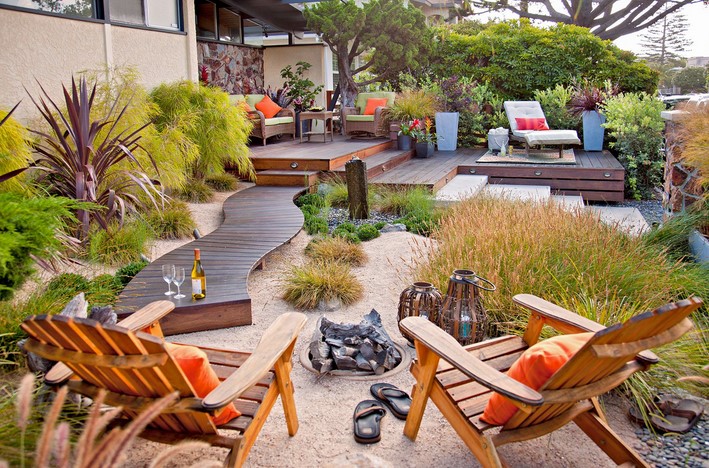
2.4 Concrete Tiles
Concrete tiles are a versatile and customizable option for outdoor spaces. These tiles are made from a mixture of cement, sand, and water and can be molded into various shapes and sizes. Concrete tiles are highly durable, weather-resistant, and come in a range of colors and finishes, including polished, matte, or textured.
Concrete tiles offer a modern, industrial look and can be used for both traditional and contemporary outdoor designs. Many homeowners choose concrete tiles for their ability to create clean lines and minimalist designs, perfect for patios, driveways, and walkways.
2.5 Glass Tiles
For a more contemporary and elegant look, glass tiles are a stunning choice. These tiles add sparkle and shine to any outdoor space, making them ideal for decorative borders, accent walls, or poolside areas. Glass tiles are available in a range of colors and finishes, including frosted, clear, and iridescent, which can create dramatic effects under sunlight.
While glass tiles are often used for aesthetic purposes, they are also durable and easy to maintain. Their reflective properties help make spaces feel brighter and more expansive, which is especially beneficial for smaller yards or shaded areas.
3. How to Choose the Right Decorative Outdoor Tiles
Choosing the right decorative outdoor tiles for your space involves several factors, including your design vision, budget, and the specific demands of your outdoor environment. Below are some important considerations to help guide your decision:
3.1 Consider the Climate
One of the most important factors to consider when selecting outdoor tiles is the climate in your area. For example, if you live in a region that experiences freezing temperatures, it’s essential to choose frost-resistant tiles to avoid cracking and damage during winter months. Porcelain, ceramic, and natural stone tiles are generally well-suited for varying weather conditions, but it’s important to ensure that the material you choose is appropriate for your local climate.
3.2 Slip Resistance
Outdoor areas, especially those near water or exposed to the elements, can become slippery when wet. To ensure safety, it’s important to choose tiles with a textured or anti-slip surface, particularly for areas like pool decks, pathways, and patios. Many outdoor tile manufacturers offer slip-resistant finishes, which are an important feature to look for when designing your outdoor space.
3.3 Match the Style of Your Outdoor Space
The style of your outdoor space should influence the type of decorative outdoor tiles you select. For example, natural stone tiles are perfect for creating a rustic or Mediterranean vibe, while sleek porcelain tiles work well in modern, minimalist settings. Consider how the tiles will complement your existing furniture, landscaping, and architectural features.
3.4 Durability and Maintenance
Different tile materials have varying levels of durability and maintenance needs. Porcelain and ceramic tiles are easy to clean and require little maintenance, while natural stone tiles may require sealing and regular upkeep to keep them looking their best. Consider the time and effort you’re willing to put into maintaining your tiles, and choose a material that aligns with your lifestyle.
Decorative outdoor tiles are an excellent way to enhance the look and functionality of your outdoor space, whether you’re designing a relaxing patio, an elegant poolside area, or a charming garden path. With a wide range of materials, colors, and designs available, decorative tiles allow you to create a custom look that reflects your personal style and complements your home’s exterior. By choosing durable, low-maintenance tiles that are suited to your local climate and outdoor environment, you can enjoy a beautiful and functional outdoor space for years to come. So, whether you’re updating your existing garden or creating a brand-new outdoor retreat, decorative outdoor tiles can help you make a lasting impression.


 In the vast expanses of Colorado, where landscapes range from rugged mountains to sprawling plains, the quality of turfgrass plays a pivotal role in shaping outdoor environments.