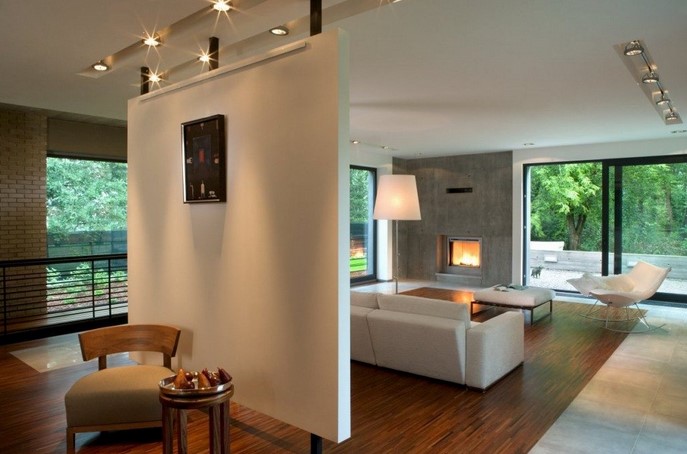
Effortless Elegance: Achieving No-Maintenance Landscaping That Enhances Your Home is a comprehensive guide to creating a beautiful and low-maintenance outdoor space. Written by landscape designer and horticulturist, Susan Morrison, this book provides readers with the knowledge and tools to create a stunning landscape that requires minimal effort to maintain. From selecting the right plants and materials to designing a space that fits your lifestyle, this book offers practical advice and inspiring ideas to help you create a landscape that is both beautiful and easy to care for. Whether you are a beginner or an experienced gardener, this book will help you create a landscape that is both effortless and elegant.
How to Create an Effortless Elegance Landscape Design: Tips for Low-Maintenance Plantings and Structures
Creating an effortless elegance landscape design is a great way to add beauty and value to your home. With a few simple tips, you can create a low-maintenance landscape that will look beautiful for years to come.
First, choose plants that are easy to care for and require minimal maintenance. Consider native plants that are well-suited to your climate and soil type. These plants will require less water and fertilizer, and will be more resistant to pests and disease. Also, look for plants that are drought-tolerant and require little pruning.
Second, use hardscaping elements to create structure and interest in your landscape. Consider adding a patio, walkway, or retaining wall to create a focal point. These elements can also help to define the space and provide a place to relax and entertain.
Third, use mulch to help keep weeds at bay and conserve moisture in the soil. Mulch also adds a finished look to your landscape and can help to reduce the amount of time you spend weeding.
Finally, consider adding lighting to your landscape design. Lighting can help to create a warm and inviting atmosphere and can also be used to highlight certain features of your landscape.
By following these tips, you can create an effortless elegance landscape design that is low-maintenance and beautiful. With the right plants, hardscaping elements, mulch, and lighting, you can create a landscape that will look great for years to come.
The Benefits of Effortless Elegance Landscaping: Enhancing Your Home with Minimal Maintenance
Effortless elegance landscaping is a great way to enhance the beauty of your home with minimal maintenance. This type of landscaping focuses on creating a natural, timeless look that requires minimal upkeep. With effortless elegance landscaping, you can enjoy a beautiful outdoor space without having to spend hours tending to it.
The first benefit of effortless elegance landscaping is that it is low maintenance. This type of landscaping requires minimal upkeep, allowing you to enjoy your outdoor space without having to spend hours tending to it. You can create a beautiful outdoor space without having to worry about regular maintenance such as mowing, trimming, and fertilizing. This type of landscaping also requires less water than traditional landscaping, making it an eco-friendly option.
Another benefit of effortless elegance landscaping is that it is timeless. This type of landscaping focuses on creating a natural look that will stand the test of time. You can create a beautiful outdoor space that will remain attractive for years to come. This type of landscaping also allows you to create a unique look that is tailored to your individual tastes.
Finally, effortless elegance landscaping is cost-effective. This type of landscaping requires minimal materials and labor, making it an affordable option. You can create a beautiful outdoor space without having to break the bank.
Effortless elegance landscaping is a great way to enhance the beauty of your home with minimal maintenance. This type of landscaping focuses on creating a natural, timeless look that requires minimal upkeep. With effortless elegance landscaping, you can enjoy a beautiful outdoor space without having to spend hours tending to it. This type of landscaping is low maintenance, timeless, and cost-effective, making it an ideal choice for anyone looking to enhance their home with minimal effort.
Conclusion
Effortless Elegance: Achieving No-Maintenance Landscaping That Enhances Your Home is an invaluable resource for anyone looking to create a beautiful and low-maintenance outdoor space. With its comprehensive advice on design, materials, and maintenance, this book provides readers with the tools they need to create a stunning landscape that will last for years to come. Whether you’re a novice or an experienced landscaper, this book is sure to provide you with the knowledge and inspiration you need to create a beautiful and effortless outdoor space.
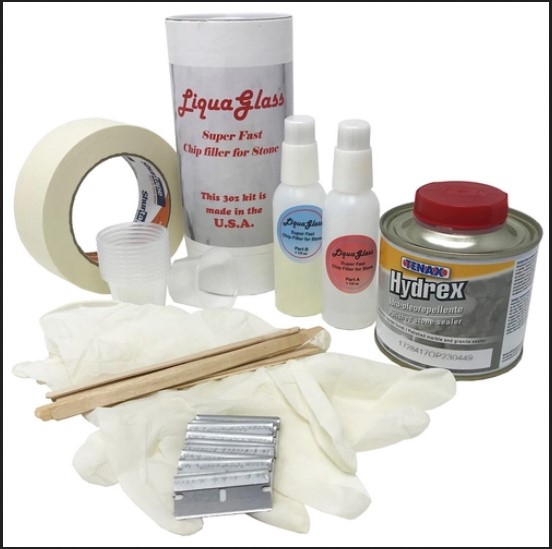 Granite is among the most durable natural stones and most rigid materials in the world. However, regardless of its strength, granite can still chip, whether accidentally or not. It is essential to repair chips immediately to avoid further damage, which will be more costly in the long run. With the proper tools, you can fix your chipped granite surface without relying on a professional.

 As what