 Applying for a mortgage is one of the biggest decisions you could make in your life, next only to deciding to have children or deciding to get married. A mortgage, after all, can tie you down for a good number of years, and it’s a decision that will have a tremendous impact on your future. It follows, then, that you need to know what you are doing, and this comes with having the right information in your hands. Before you decide to apply for a mortgage, there are some things you should consider first. Here are the top questions you should ask yourself if you want to apply for a mortgage.
Do you want an interest-only or repayment mortgage?
There are different types of mortgage deals, but you first need to ask yourself whether you would like to go for a repayment mortgage or an interest-only type of mortgage. If you decide to go for an interest-only type of mortgage, you need to have a separate plan which will allow you to settle your debt, because your payments will only cover the actual cost of the mortgage interest. If you go for a repayment mortgage, it will cover the interest as well as the actual debt, although you will have a higher payment each month.
Most experts would agree that unless you have a plan to earn a significant amount of money in the next ten years, the repayment type of mortgage is the way to go. It is also easier to get a repayment mortgage simply because more lenders will offer this instead of an interest-only type of mortgage. Plus, the lenders which do accept interest-only type mortgages may want further proof of a financial plan, and the amount you may be able to borrow may be limited as well.
Do you want a variable rate or a fixed rate?
Another major consideration would be the rate of interest. You can choose between a variable rate or a fixed rate. If you opt for a fixed rate, you will know the exact amount of your repayments. Variable rates will depend on the base rate of the Bank of England, and these rates can fluctuate, meaning they can go higher or lower. But whilst variable rates can benefit you if the base rate is low, what will happen if the base rate goes up? You need to be prepared for such a situation and would need to be able to handle it if it arises.
Do you have enough funds to cover everything?
Getting a mortgage isn’t just about coming up with the deposit – you also have to have enough funds to cover other necessary fees, such as stamp duty tax, valuation or survey fees, solicitors’ fees, and other mortgage charges and fees. All this can easily add up to a few thousand pounds.
One of the best things you can do is consult a professional mortgage broker or specialists such as those from Mortgage Wise. They will be able to give you advice on what type of mortgage to choose, but also what to do in case you have a bad credit history or other such issues.
Image attributed to Pixabay.com
 It’s time to move and there is work to be done, as big as a pain that is, you know it’s essential. If you want to achieve the best price for your property then you have to make it look its best, if it’s time pull up those sleeves and apply the elbow grease, then you best get cracking.
 A garden adds light to your home and fosters a welcoming environment for guests. By adding a block paving, you create an inviting path for yourself, family and friends to enjoy the greenery. They also enhance the design of an otherwise normal driveway and allow you to be creative with designs.
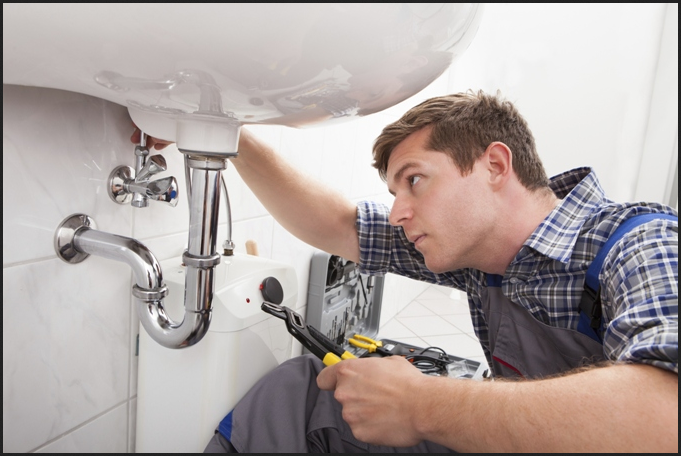 There will be a serious problem if you have to face leaking of your plumbing at home. One of the problems is that you don’t know how to fix it. Actually, you don’t need to get confuse if you don’t have skill to fix the leaking of your plumbing. In this case, you can just call Beverly Hills plumbing service. There are several benefits of using this kind of service. First, you will have an expert who always helping you anytime you need it. Second, all of the plumbers are considered as a professional plumber and they know what to do with the leaking problem in your house. Third, you can also discuss and talk more