
The performance of a construction project can be considered successful when it effectively falls within three key parameters:
- Time
- Budget
- Quality
A successful project will have been completed on time, in accordance with the required specifications, and within a predetermined budget.
Ineffective time management and cost overruns are common problems for numerous construction projects, especially when equipment hire becomes a critical, decisive factor.
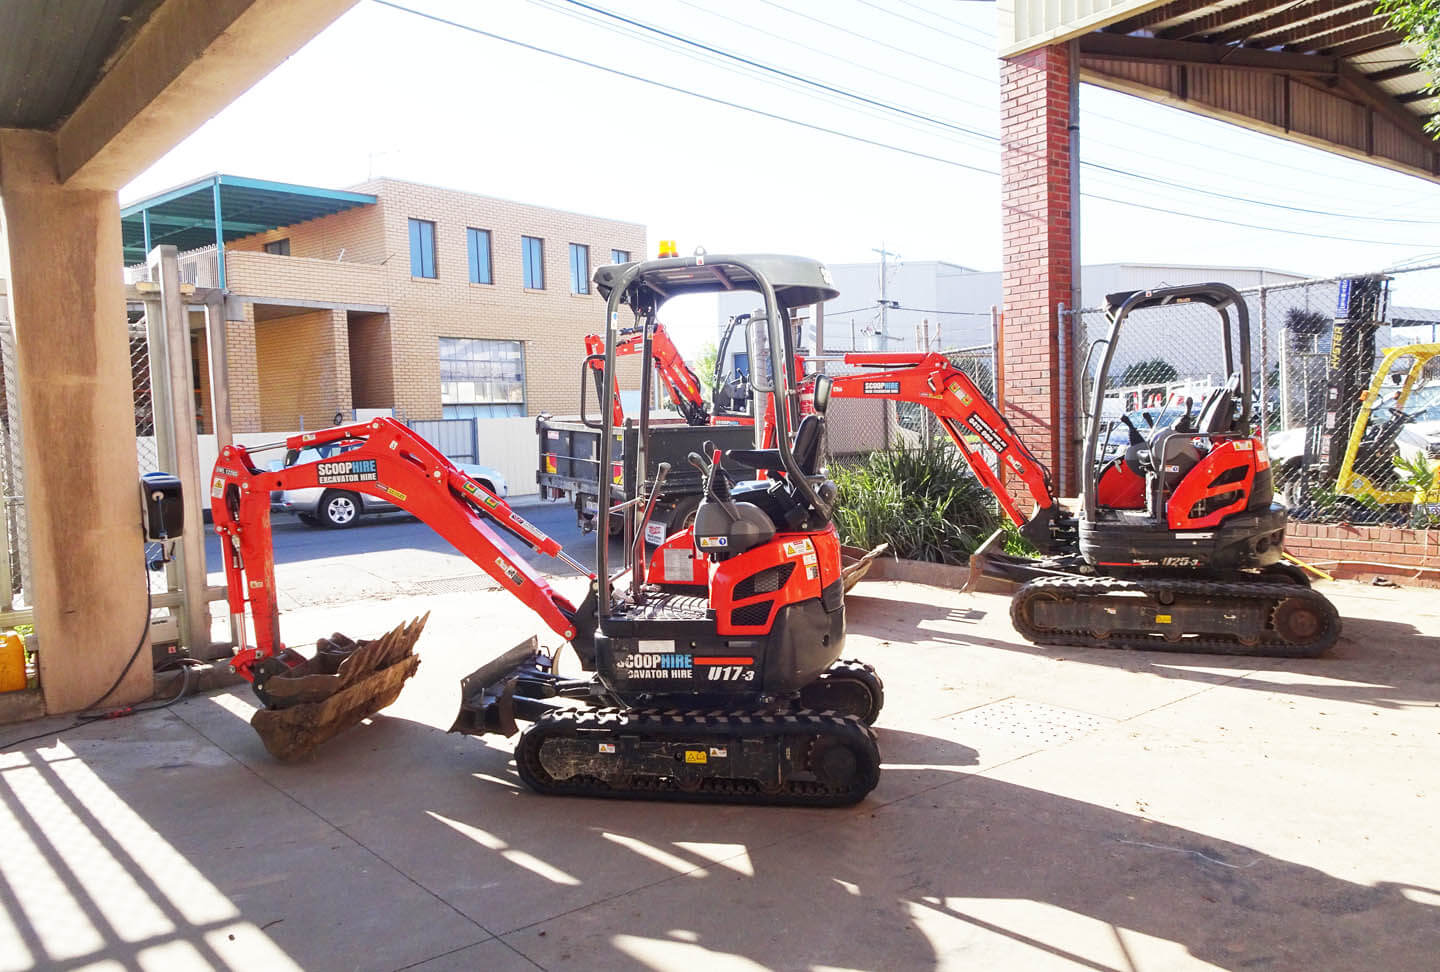
Equipment hire; the likes of crane hire services and others, has become an indelible part of the industry as it provides construction firms cost-effective solutions to avoiding maintenance, repair, and storage costs, acquiring compliant, up-to-date equipment, and keeping costs of operations down.
But certain considerations must be made with regards to construction equipment hire to avoid costs overrun. Here are five missteps that you must actively avoid to ensure your project does not exceed its budget.
1. Not paying attention to project planning
When firms are required to execute the three strategic parameters of a construction project (time, budget, quality), they must position themselves in a desirable position to achieve success. This can only be done with clear and focused goals and proper project management.
Project planning is essential to preventing costs overruns or delays. Before work is carried out or equipment is leased, clearly define the nature of the work and the required steps to accomplish those tasks.
Defining the scope of the project through understanding all potential and major scenarios ensures drastic scope creep is effectively repelled and construction parameters are not put in danger.
2. Failing to ensure proper scheduling
Scope creep can gravely deviate work which can consequently result in time and cost overruns. To ensure the project’s defined scope doesn’t increase and harm the project, proper scheduling is a must.
In a complex project, improper scheduling can impact cost estimations, personnel idle times, logistical delays, and “lost” profits can occur. Proper planning with the right metrics ensures project managers can track the progress of ongoing work to ensure deadlines and timeframes are met.
Implementing an effective schedule through project management solutions also allows for project managers to constantly monitor daily costs and invoices of leased equipment, confirming that they are used in an effective and timely manner that prevents cost overrun.
3. Ignoring new technology
The rapid growth of digital is affecting all industries, and construction is no exception. Digital mapping software, like 3D imaging and GIS, is promoting efficiency and optimization across many construction projects.
Remaining oblivious to the importance and impact of new technologies can create undesirable situations for construction firms as integrating new technology enables firms to stay ahead of the curve and their competitors.
To avoid cost overrun, consider the benefits of equipment hire. Leasing equipment forgoes the burden of continuously upgrading to match the current dynamics and trends of the industry. It also ensures companies can truncate the considerable costs associated with owning construction equipment, such as depreciation, maintenance, repair, transport and storage.
Renting equipment rather than owning it also affords firms the opportunity to “try-before-you-buy,” should that route be considered in the future.
4. Not doing research on vendors before hiring
When considering equipment hire, firms will need to confirm that their vendor of choice has the abilities and equipment capabilities to match the project tasks and requirements. In complex projects, if skill sets do not effectively match project requirements, projects can significantly drag and costs quickly accrue.
To ensure your third-party vendor is the right candidate for the task, consider the following:
- Check customer reviews: This will indicate their trustworthiness and give insight into their ability to complete projects within the agreed upon deadline.
- Check licenses and insurance: If a vendor’s licenses are not up-to-date or they’re non-insured, this can potentially open your firm and project to risk factors like lawsuits.
- Thoroughly inspect equipment: Carry out an inspection of leased equipment, particularly on heavy equipment like used cranes, to confirm that equipment is in good working condition to avoid operational failure and frequent repairs later on.
- Confirm qualifications of subcontractors: The right subcontractors with the right experience and qualifications can increase productivity and streamline operations
5. Not preparing for the unexpected
The construction sector is heavily influenced by various market forces. While construction firms can prepare for certain inevitabilities, as a dynamic industry, some things are simply unpredictable. Financial downturns and extreme weather are just some things that can impact project budgets and schedules.
To keep operations and logistics running smoothly, firms must project plan with enough flexibility to weather undesirable market forces. Project managers should stress test current plans and project scope to strategically prepare for unpredictable events.
Understanding the dynamic nature of the construction sector ensures firms can scrutinize prejudicial elements, reducing potential problems that can contribute to cost overruns.
Minimizing the adverse effect of cost overruns
When it comes to complex construction projects, leasing equipment becomes a flexible option for firms looking to financially secure their bottom line, particularly when disadvantageous market forces, such as resale value and depreciation costs come into play.
By following the guidelines above, construction companies ensure projects are completed in a timely, budget-approved process.
AUTHOR BIO
Hermann Buchberger is the Founder and CEO of Active Crane Hire (ACH). He’s taken the company from start-up to Industry Leader offering the largest fleet of construction cranes in Australia. ACH launched a new type of crane previously unheard of in the Australian market: electric tower cranes. The company’s infrastructure and associated services now comprise a fleet of trucks and trailers, a crane-rigging team, mobile crane technicians, a fleet of service vehicles, and an extensive range of crane spare parts.

 Is your air conditioning unit working? If your central AC is not cooling the right way, save time and money, get comfortable with these expert Do-It-Yourself AC repair techniques. Although a reputable repair professional should handle various kinds of central AC repairs, people will find techniques for handling simple maintenance and repairs by themselves in this article.
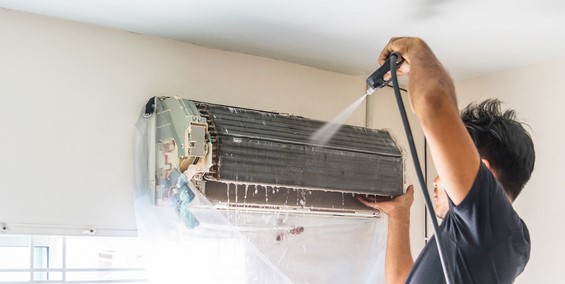
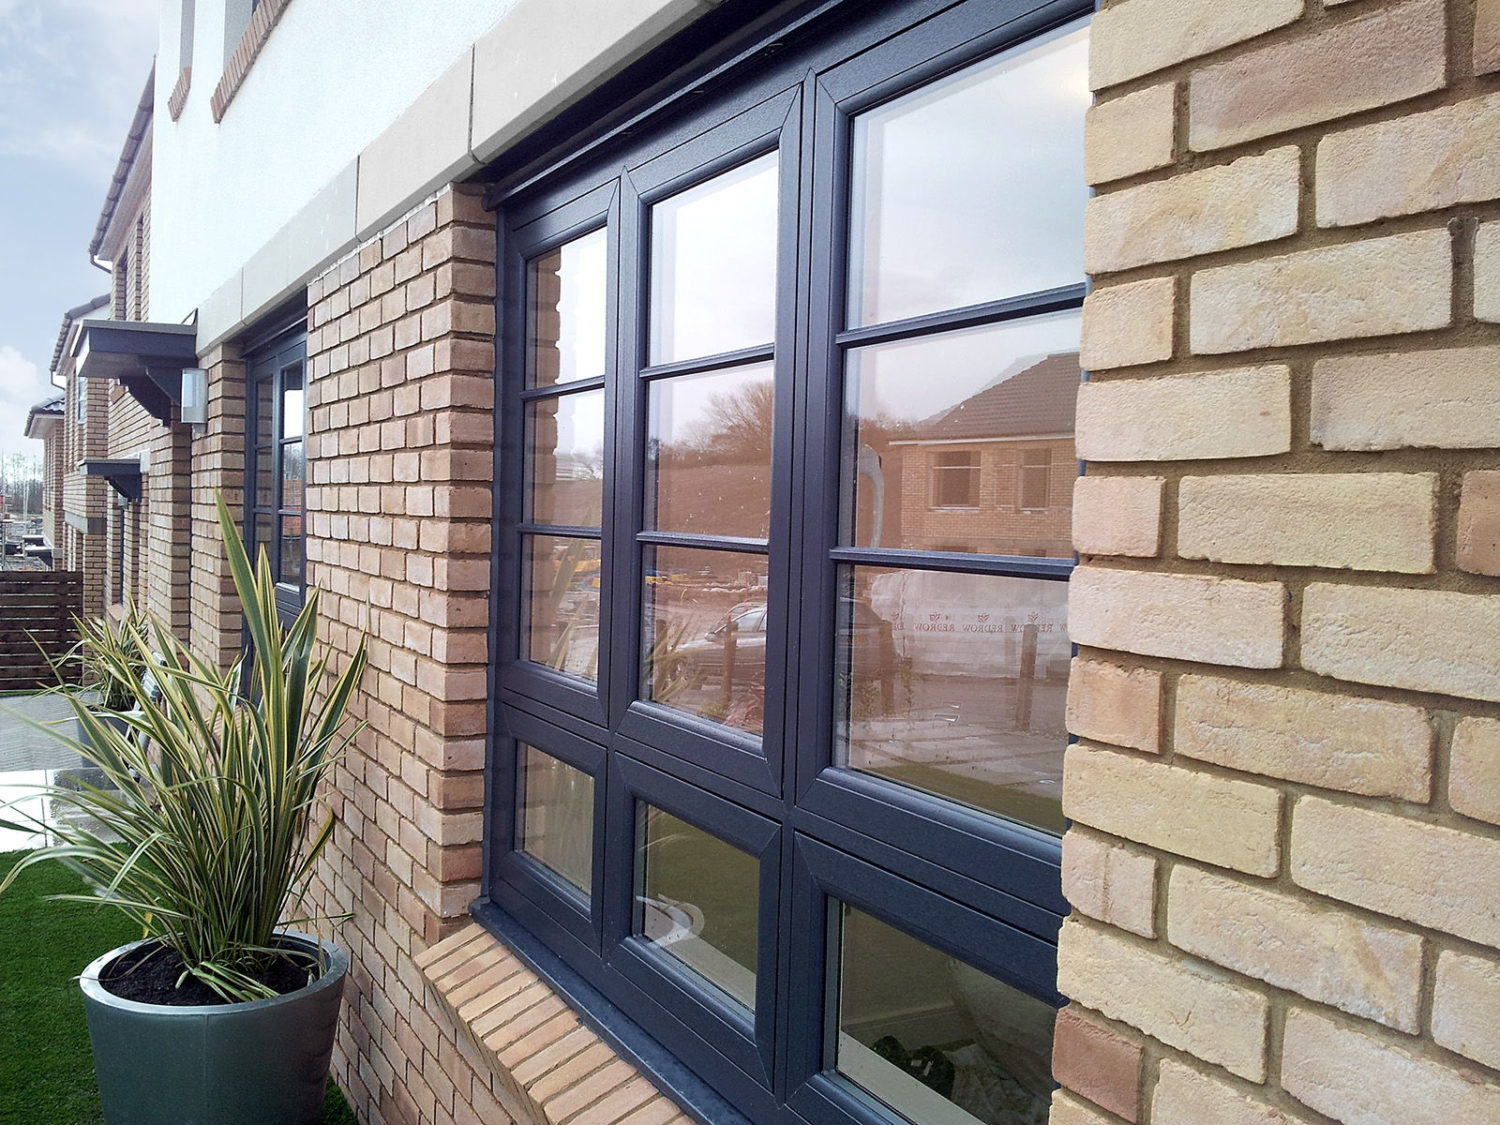 Double glazing is a major advancement in home construction and design, but there are still some important factors to take into consideration when purchasing this type of window. Double glazing is one of the most complex types of construction that you can get done in an energy efficient way, and while it may be cheaper to install in the long run, you should know how to do it yourself. Doorwins company is a firm beliver in DIY.