Have you done a radon pressure testing in your house? If you have not done it yet, then you better do it as soon as possible. Some of you might question what radon is or how it can affect to our life. Now we will explain all about radon as well as why we need to do a test of it.
What Is Radon?
Radon is a chemical substance which some of you might recognize in periodic table. In the table, it has a symbol Rn with atomic number 86. This element is also considered as noble gas, and it is a radioactive one. The fact it contains radiation is the reason why we ask you whether you have performed radon pressure testing in your house.
What is the Effect of Radon to Human?
As we all know, radioactive gas is very dangerous. Once we have a contact with this kind of gas, we can suffer a certain disease or even death. In this case, if you inhale radon, it will damage your lung. That makes you have the possibility of getting lung cancer. The risk of human to get this cancer depends on how long you got exposed to the gas. The risk will be higher if you are a smoker. What’s more dangerous about this gas is that we cannot see, smell, or even taste it. So we might have breathed with it without realizing it at all.
How Does It Break Through to Our House?
Radon is mostly found in the soil. There is a different air pressure between inside the soil and our house. Our home has lower air pressure than in the soil. Due to its difference, it draws air as well as other gases, including radon, into our house. These gases get the access from several spots such as cracks on the floor or wall, gaps on the pipes, window in the basement, or even cavity inside the wall.
How Do We Know Our House Got Radon Exposure?
If you want to know whether your house got exposed by the gas, you must do radon pressure testing. The test will tell you the level of the gas exposure. For your information, there is no safe level in this testing. Even the lowest level of the gas is dangerous enough for everyone.
Furthermore, there are two ways you can choose to do the test. The first one is by doing it yourself with radon testing kit. You can buy the tools from the home improvement retails or the Internet. One thing you must note if you want to do it yourself, and that is to follow the procedure carefully. Otherwise, it will be hard to measure the level accurately. The second method is simply call the professional and ask them to do it. To be honest, we recommend this better for you since the pros know a lot more of what they do. Meanwhile, the most common place to do this test is in the lowest area of your house. In this case, it is your basement.
What Should We Do If Our House Got Exposed?
Some of you might prefer to move to a new home when they know that their old house is exposed with radon. However, it is not necessary to do so. It may be impossible to get rid of the radioactive gas completely, but you still can reduce the level. Here are several steps you may follow.
- Create a ventilation in your basement by installing a small pump. This pump aims to draw radon from below the concrete to the outside. By that, the gas will never leak inside your home anymore.
- Enhance the mechanical ventilation by using a Heat Recovery Ventilator (HRV) in order to exchange the air.
- Seal every cracks in your house like on the wall, floor, or even the pipes.
Now you already know that radon can silently breaks through not only in your house, but also your neighbors. Speaking of neighborhood, even if your neighbor has negative result of radon, it does not mean your home is free from the gas. Radon pressure testing is still required to be done.
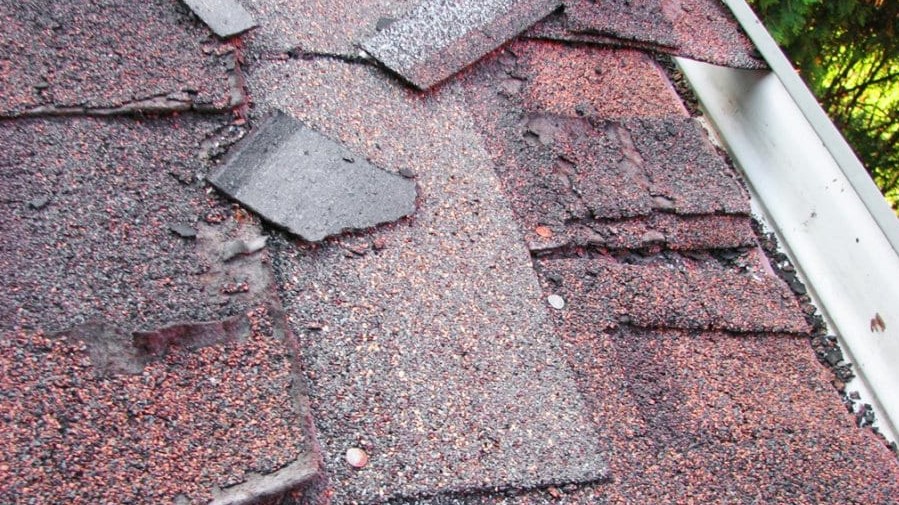
 Image Source:

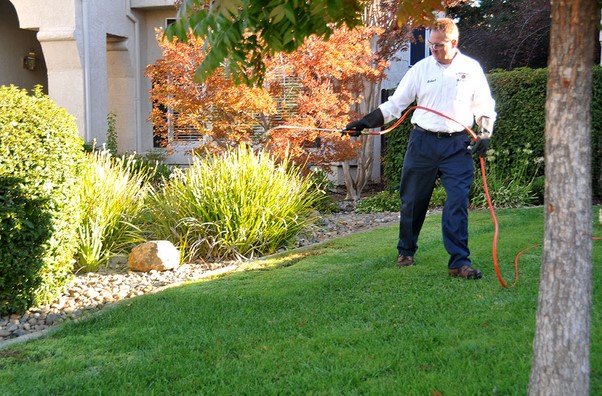 It is a good thing to have a pet animal in our home we consider as part of our family. But it is so much different case with pest animal. You will never want any pest animal to be near your home. Pest animal can cause a lot of troubles including damaging parts of your house and the worst part is those pest animals can expose your family with serious health risks.