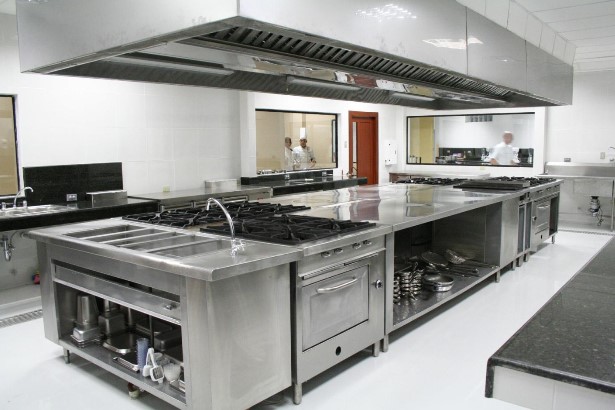
When you are selecting a kitchen worktop, you should have an idea of what benefits various worktop materials can offer. Granite, for one, is highly-durable and strong, and it is quite resistant to heat as well. Quartz worktops have their own benefits – they are easy to clean and maintain and can also be scratch- and chip-proof. But how about other worktop materials, such as ceramic, glass, and wood? Do you know about their advantages? What about their disadvantages?
A quick look at the advantages of ceramic, glass, and wood worktops
Let’s do a quick run-down on the advantages of ceramic, glass, and wood worktops, just to refresh your memory. Ceramic is less expensive than other worktop materials, so it could work well if you are on a limited budget. Glass, on the other hand, is durable and comes in different colours. Meanwhile, wood worktops look better as they age and are resistant to bacterial buildup as well.
A detailed look at the disadvantages of ceramic, glass, and wood worktops
If you are to be realistic, you have to know the disadvantages of these kinds of worktops, too. Knowing their disadvantages will help you decide if they are really worth installing in your kitchen.
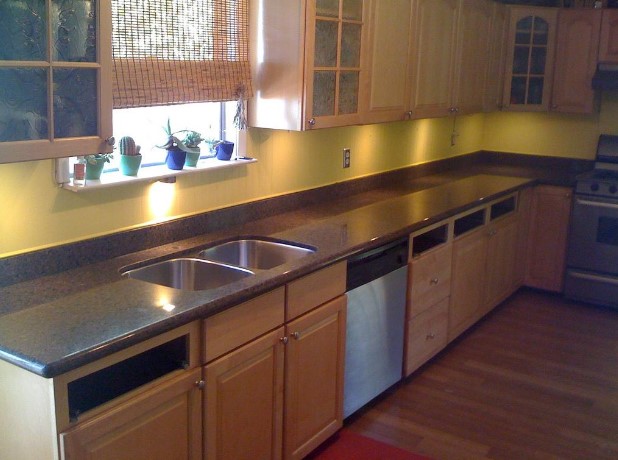
<2016/06/A-List-of-the-Top-Disadvantages-of-Ceramic-Glass-and-Wooden-Kitchen-Worktops-.jpg"> The disadvantages of ceramic
Whilst ceramic is an affordable material, you also have to consider its disadvantages. One of its main disadvantages is its somewhat uneven or irregular surface, which is also prone to scratching. Another disadvantage to ceramic is that it may crack, especially if something heavy is dropped onto the surface. Since ceramic worktops make use of grout, this may need to be regularly re-sealed as well. You also cannot use bleach on a ceramic worktop.
The disadvantages of glass
Glass, on the other hand, whilst elegant and contemporary, still has its own disadvantages. Even though grass is known for its strength, it can still crack if there is too much weight placed on the surface. Also, the glass worktop’s surface can become damaged due to food spills from highly-acidic food and drink, such as tomato juice. It can also be quite tricky to install glass worktops compared to other materials such as quartz and granite because it is much heavier (and it is more expensive as well).
The disadvantages of wood
Wood worktops, whilst reasonably affordable, need a lot of maintenance. For instance, you need to regularly oil your wood worktop especially so it doesn’t absorb water and food spills. A wood worktop is not heat-resistant, even from plates or dishes.
At the end of the day, you may be better off spending a bit more for other worktop materials such as granite or quartz, such as those from http://www.jrstone.co. They have all the qualities you need for an efficient, practical, long-lasting, and worthy investment for your kitchen.
Image attributed to nenetus/FreeDigitalPhotos.net
http://www.freedigitalphotos.net/images/woman-eating-cereals-in-the-morning-photo-p339490

 <2016/12/3-Things-You-Need-to-Know-Before-Installing-Industrial-Lights.jpg">

