 You should have a generator to keep your house comfortable, especially during the snow, rain, and high winds. One thing you need to consider is whether you have to use a standby or portable generator. Just take a look at the difference between portable and standby generators below. This information will help you to get the best one immediately.
Flexibility to Operate and Monitor
A portable generator can be a good option if you often move the generator from one room to another room. You can easily take the generator out of the storage and carry it anywhere you want. Don’t forget to prepare the fuel source, so you don’t run out of power while using it. Commonly, this type of generator is using propane for fuel. On the other hand, if you love to use something simple, just use a standby generator. You can set the device to turn on and off automatically. It is a good option if you only want to put it in one place.
Easiness to Install
It is important to choose a generator that is easy to install. A portable generator is easier to install than a standby generator. This device is a great option if you have to use it immediately. You only have to take the generator out from the storage and plug it into the electricity source. A standby generator has a more sophisticated system. That’s why you need help from an expert technician who can install it.
Price
Only because you have a limited amount of money it doesn’t mean that you can’t use a generator at home. Due to the price, portable generators are more affordable than standby generators. The average price of a portable generator is around $500 to $2.000. The price depends on the size of the device. You don’t need to spend extra money to hire a technician or electrician. You can install this device by yourself. The price of a standby generator is around $3.000 up to $5000. You still have to spend another $2.000 to $4.000 to hire an expert technician to install the device.
Maintenance
Both of the devices need regular maintenance to keep their performance. The difference is in the maintenance procedure. A portable generator doesn’t need complicated maintenance procedures. The simple maintenance is by checking the parts regularly. Just make sure that there are no corrosion and span wires. It is better to check the parts before running the generator. Standby generator has more complicated maintenance procedures. Let’s say, you have to check the parts to make sure that they function well. Moreover, you still have to do periodic services to keep its performance. Due to the sophisticated system, you need to hire an expert technician or electrician.
Now, you know a little bit about the difference between standby and the portable generator. What you have to do is consider the best one based on your condition and needs. One thing for sure that both of them have benefits and drawbacks. Just make sure that you understand them well before choosing it.

 Movie enthusiasts have never had to deal with a shortage of entertainment sources. They are always presented with a wide range of choices to help them enjoy their hobby, and the more modern a technology is, the better it is for them as manufacturers always find a way to provide these movie enthusiasts with a better and enhanced movie-watching experience. The latest development is, without a doubt, the invention of a HDD Multi Media Player. So what is
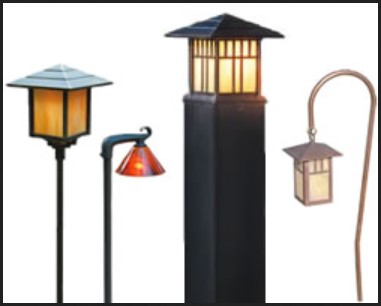 It’s the time of year to begin considering how you will be decorating your landscape for the upcoming spring and summer months. Outdoor parties, 4th of July barbecues and like are all worthy of
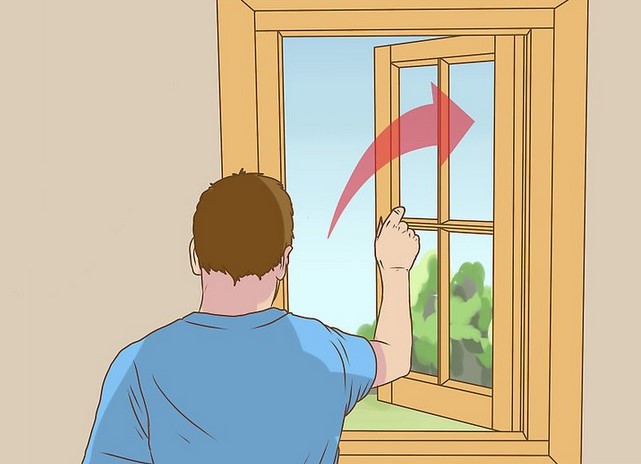 As Americans, we often become consumed by our hectic lifestyles and daily responsibilities, completely neglecting some important areas like maintaining the wellbeing of our home or property. Let’s say, for instance, a family member stops by unannounced one afternoon and you notice they are fidgeting uncomfortably and have a look of disgust on their face. When you question their strange behavior, they respond by claiming that there’s a terrible odor in your living room and it’s burning the inside of their nostrils. You have noticed the presence of the funky smell for quite some time, but in keeping with classic human nature, you didn’t want to admit to yourself that there’s a foul odor in your home.