 In the enchanting world of gardening, few experiences are as rewarding as nurturing your own fruit-bearing trees. If you’re contemplating enriching your garden with a touch of elegance and deliciousness, why not consider a damson tree? This blog post aims to offer you valuable insights into the world of damson trees, catering to gardening enthusiasts of all ages and backgrounds who are interested in embracing sustainable living.
The Beauty of Damson Trees:
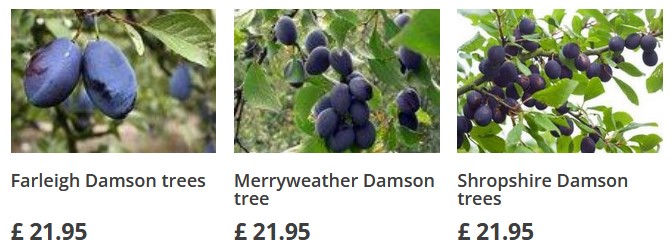
A damson tree, scientifically known as Prunus domestica subsp. insititia, is a small fruit tree renowned for its enchanting blossoms in spring and abundant fruit in late summer. The damson’s deep purple hue and distinctive sweet-tart flavor make it a coveted addition to gardens across urban, suburban, and rural landscapes.
Ageless Appeal for All:
Whether you’re a young adult with a burgeoning interest in gardening or a retiree seeking a fulfilling hobby, the damson tree’s allure is ageless. Its charming presence appeals to all genders and provides an opportunity to cultivate a connection with nature. Planting and nurturing a damson tree can become an engaging and therapeutic journey, fostering a sense of accomplishment and well-being.
Location Matters:
The versatility of damson trees shines when it comes to their adaptability to various locations. Urban dwellers can delight in growing these trees in containers on balconies, while those in suburban or rural settings can enjoy the luxury of space to plant these trees directly into the ground. Damson trees flourish in full sunlight and well-draining soil, making them a viable option for gardens of all types.
Nurturing Self-Sufficiency:
For those inclined toward self-sufficiency and sustainable living, a damson tree can be a valuable asset. Homegrown damson fruits can be transformed into jams, jellies, and preserves, reducing your reliance on store-bought alternatives. This not only provides a sense of accomplishment but also contributes to a more sustainable lifestyle by reducing food miles and packaging waste.
Cultivating Connection to Nature:
Gardening, including nurturing a damson tree, is an opportunity to reconnect with nature in our fast-paced world. The act of planting, caring for, and observing the growth of a tree creates a sense of mindfulness and tranquility. It’s a chance to witness the changing seasons, from the delicate blossoms of spring to the fruitful abundance of summer, fostering a deeper appreciation for the natural world.
As you contemplate adding a damson tree to your garden, remember that this endeavor is more than just a horticultural pursuit; it’s a journey of connection, sustainability, and self-discovery. Regardless of your age, gender, or location, the charm of a damson tree can infuse your garden with beauty and flavor. So, whether you’re a young adult seeking a fulfilling hobby or a retiree embracing the joys of sustainable living, the damson tree beckons, inviting you to cultivate not just a tree, but a deeper bond with nature itself.

 Remodeling your house is a great activity because soon you can feel new atmosphere. The problem is about the