So you’re getting ready to buy your first home. First off, congratulations! It’s an exciting step in your life. A new home means a world of possibilities, especially when it means leaving behind the busy Australian rental scene. Whether it’s as simple as an upgrade of your living space or it signals the beginnings of a family, buying a home is a major milestone. It also comes with a unique set of frustrations. While it would be great if the homebuying process were as simple as picking out a house and writing a check, you should keep in mind a few important tips if you’re a first-time homebuyer.
Know What You Want
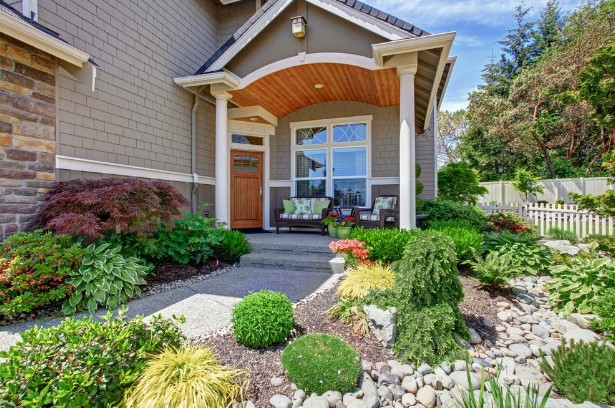
You should have a general concept of your ideal purchase before you start looking. Not only will it narrow your search parameters, it’ll also help you assess your budget. Ask yourself some simple questions before you get started. Are you looking for a standalone single family home or something smaller, such as a townhouse? Do you want a fixer-upper or are you going to buy a plot of land outside of Brisbane and opt for new construction? Once you have the answers to these questions, you can budget accordingly. However, it’s always a good idea to add some padding into your budget in case you stumble across your dream home.
Not interested in buying a more outdated mid-century home or a fixer-upper? New construction is a great option for Queensland residents if you have the funds because you’re able to have input on nearly every aspect of your home’s design. Plenty of home and land packages for first homebuyers are available, and they often cut costs as opposed to purchasing the two components separately. What better way to call a home your own than by building it from the ground up?
Consider Transportation
Location, location, location. While it’s almost a cliche at this point, it’s no less true. Real estate (especially homeownership) is completely dependent on location. When it comes to first-time homebuyers, you should plan to reside in your new home for a minimum of five years. That’s a long time to put up with a bad location or less-than-savory neighborhood.
Your location will also affect your transportation needs greatly. If you’re in the heart of Brisbane and you work nearby, you may not need your own vehicle to get around as you may be able to walk or rely on public transit. Inversely, if you’re choosing a quieter abode on the outskirts of town, you may want to visit one of the Holden dealerships in Brisbane to find a vehicle that will make your commute a little more bearable. Keep your transportation needs in mind before you commit to a location as you won’t want to have to deal with it down the road.
Find an Agent You Trust
While you can always go at the homebuying process alone, having an agent on your side is a lot easier. A buyer’s agent will advise you at every step of the buying process, from your initial searches to closing. That’s why finding an agent who has your best interests at heart is essential. They should be patient, knowledgeable, and willing to educate you on the finer details.
Communicate clearly with your agent. If you’re confused at any point during the process, from mortgage amounts to the conveyancing process, let your agent know. If he or she comes across as too busy for you or unwilling to help you learn, then it’s not the right fit.
Now, Get Shopping
Buying a home is a thrilling process with a lot of moving parts. It can be equal parts exciting and overwhelming. If you adequately prepare yourself, you’ll be a step ahead of other buyers, and your offers will be that much more competitive. Know what you’re looking for and don’t be afraid to ask for help. Soon enough, you’ll be moving into your new home and living the dream!
 Everybody wants to have a home that is considered valuable. Whether it is to be sold, rented, or used by the owner, it’s important a home has value . However, the value of a home in each case is relative; where it’s for sale or rent, the value is measured by the price it’s capable of fetching on the market. On the other hand, if the owner is living in the home, its value can be measured by the level of comfort, joy, and peace of mind they enjoys dwelling there.

 You may not have gotten the memo, but creepy basements are now a thing of the past. Gone are the days of the dark, cold space beneath your house where unwanted objects go to be forgotten about. For many, this comes as a relief because even if we do love our families, sometimes being crammed into a house with them makes them a little hard to bear. Especially if you’re a little short on space.

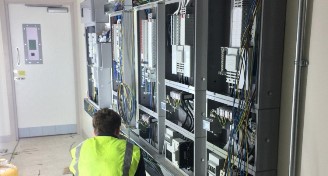 We all need an electrical contractor Bristol agency at some point. This can be either at our residence or office. As we all know, electrical appliances are prone to wear and tear. Therefore, they should be replaced at some point in life. PSG electrical contracting Company is one of the service providers who can address your electrical needs. Below are some instances you should reach out to an electrical expert in Bristol: