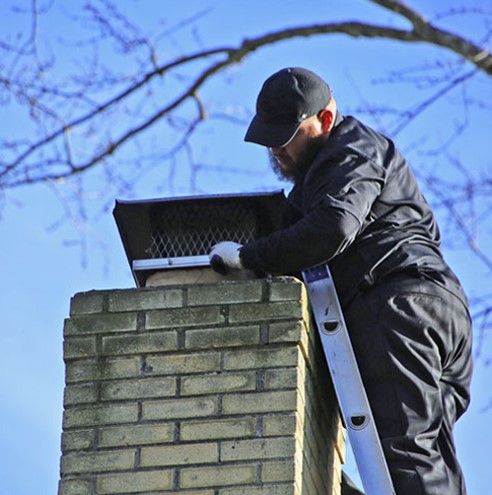
The fireplace, in most cases, is the centerpiece of your home or business. Ensuring your chimney functions well is vital for enjoying your fireplace. Chimney cleaning is critical to maintaining a safe fireplace and home.
It is high time for you to call someone to inspect and clean your chimney to ensure your fireplace is safe.
The vital question is, who are you going to call? This is an important decision for you. There are factors to consider when choosing your chimney cleaning service.
The reputation of the company
Reputation is an excellent indicator of a quality chimney cleaning service. You can visit prospective chimney repair and cleaning sites like chimney cleaning Beverly Hill and check reviews and testimonials. Also, check with your friends, neighbors, and co-workers who use chimney cleaning and repair services. Referrals from people you trust carry value.
Experience and expertise
This is another essential quality to consider when choosing a chimney cleaning service. A good measure to take when hiring one is to make sure they have been rendering this service for many years. A company that has been around long enough is well established and has earned customers’ trust.
Experience and expertise go hand in hand, so do a thorough research of the companies and be confident that they are a legitimate option.
Whether they have the proper documentation
Any reputable chimney cleaning service should be certified as a professional by the relevant authorities. This certification proves that the chimney sweep working for you is completely qualified.
Other certification from the National fireplace institute indicates additional competence in chimney installation or relining.
Emergency availability
You might notice cracking or popping noises in your chimney or other indicators of a chimney fire that needs to be handled as an emergency. It might also be less severe but still requires immediate cleaning and inspection.
In cases like this, it helps hire a competent chimney cleaning service who can avail themselves of an emergency. Otherwise, your home might end up with permanent damage or worse. Ensure to hire a professional who will be available in such situations.
Area of their services
Before considering other features like emergency availability and inspection, please check whether the chimney cleaning service you arechoosefers service in your area.
Better still, if the company does cover that area, you should factor in whether the company services are within a convenient distance in case of an emergency.
Once you know the chimney cleaning service is available and close enough to cater their cleaning services, now you can consider other features of the company.
Customer’s retention
The best chimney cleaning service can keep their client coming back to them. Chimney cleaning work is routine-based such as chimney sweeping and inspections, and you want to have a company that provides excellent services.
Plus, it is better to have a chimney cleaning professional that you can trust rather than having a new service for every project. Convenience is key.
A good and excellent chimney cleaning service will thoroughly inspect your chimney before making assumptions about what could be the problem with your chimney.
You want to rely on people who can take care of your chimney needs and get the job done in the right and timely manner and provide you with excellent services all around.
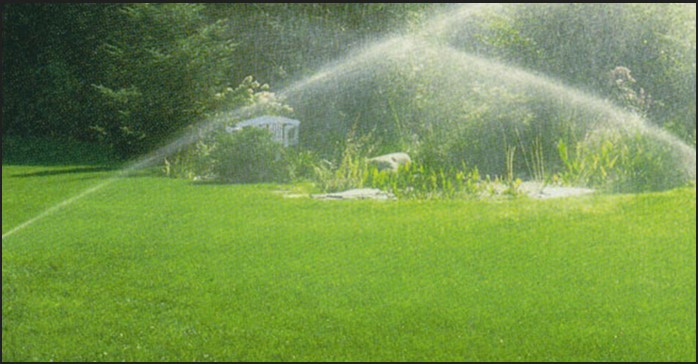 The top-most secret of a lush and vibrant lawn is proper watering. Installing a lawn sprinkle system can fulfill the proper watering technique. Several homeowners hire a professional provider for


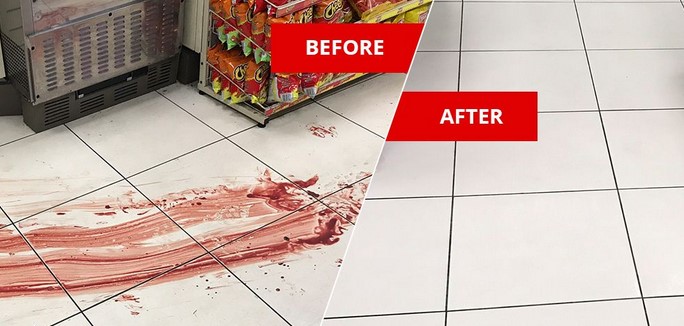 How is the cost of cleaning services calculated? All aspiring entrepreneurs who decide to open a cleaning company like