<2016/05/How-to-Choose-the-Right-Duvet-that-Can-Give-You-a-Good-Night-Sleep.jpg">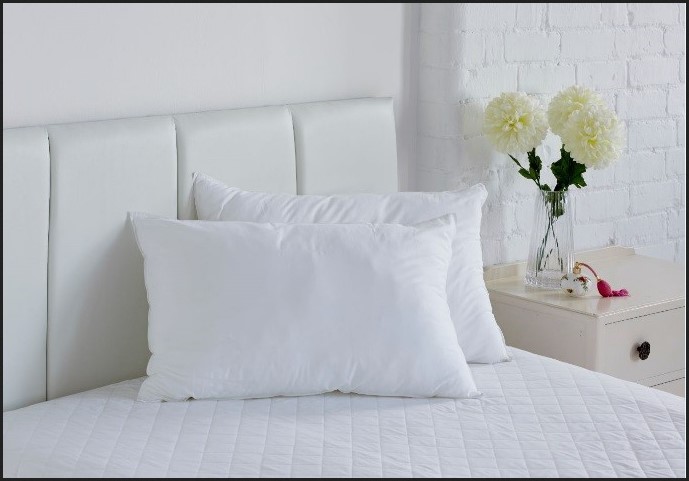
Your luxury bedding sets will be incomplete without the presence of warm and fluffy duvet. Duvet is definitely our best sleeping company since it is comfortable and most importantly, easy to maintain. But do you know that there are many types of duvet filling, warmness and construction? And if you want to have more comfort during your sleep, everything needs to be right. So, here are some tips to help you choose the right duvet.
Choose the Filling
One of the most important things from a duvet is its fillings. It is the one that will determine the softness and fluffiness of the duvet. There are two types of duvet fillings you can choose.
1. Natural Filling
Natural fillings are made of downs or goose feathers. Although the price is more expensive, natural fillings are more comfortable as well. And for luxury bedding sets, the duvet needs to have at least 900 fill-powers. The type of goose also will make the quality and price vary. If you live in cold area, you want a duvet with Siberian or European goose fillings since they have thicker coats that will make warmer insulation. You can check vandabeddingideas.wordpress.
2. Synthetic Filling
Natural fillings are warm and luxurious. Unfortunately, feathers are not the best material for allergy sufferers. If you are suffering from allergy, you need synthetic fillings because they are made of non-allergenic materials. Synthetic fillings are cheaper, and if you want something soft and fluffy just like the natural fillings, silk is the best material you can choose.
How Warm You Want the Duvet to be
The warmness of your duvet is determined by tog rating. If you are looking for a warmer duvet, you will need a duvet with higher tog rating. The tog rating is determined from the thickness of the fillings. Natural fillings are naturally warmer than synthetic fillings. So, to reach the same tog rating, duvet with synthetic fillings will become heavier and thicker compared to the natural ones. Tog rating is divided into three categories.
1. Lightweight
It has 3 to 4.5 tog ratings. This is the lightest and thinnest of the three and suitable to be used in summer.
2. Warm
The rating is 7.5 to 9 tog. It is warmer compared to the first one and this is the best duvet for spring and autumn.
3. Warmest
With 10 to 13.5 tog, this is the warmest and thickest of the three. This duvet is very warm and comfortable and it is the most excellent weapon to fight the cold winter temperature.
The Duvet Construction
Duvet construction is the one that holds the duvet together and keep the fillings in place. When it comes to duvet construction, the best construction is what you like the most. Channel construction will allow you to move the fillings to another place. Meanwhile, sewn-through and box construction are more rigid. The quality of the construction will depend on the brands as well. Do visit vandabeddingideas.wordpress.

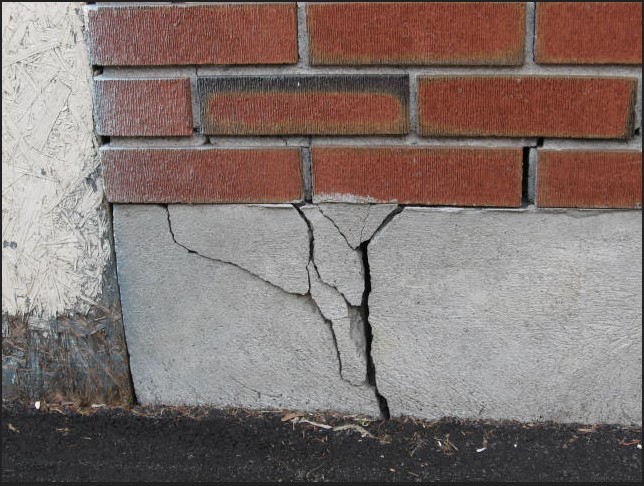
 Recent research shows that people in the south west of England spend just 23 hours deciding which house to buy – compared to 29 hours deciding what to wear or which place to go on a date. The survey by HSBC also shows that people take much longer to work out where to go on holiday – a total of five days – than where they want to live. Buying a house in the south west is one of the biggest financial decisions you will make in your life and it pays to spend some quality time working out if the property is right for you. Here are some tips for making up your mind – and remember, it doesn’t matter if it takes longer than 23 hours.