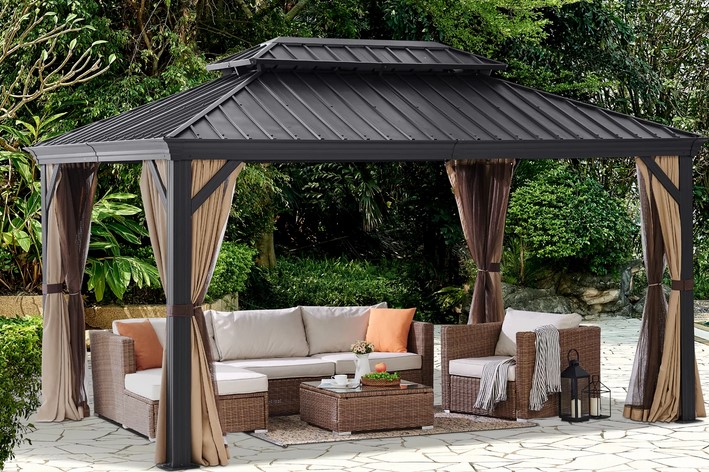
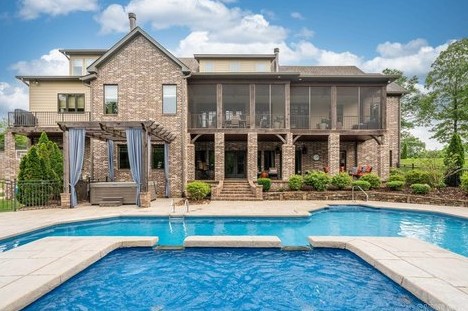
Gazebo Glam is the perfect way to add a touch of elegance to your outdoor space. Whether you’re looking for a romantic retreat or a place to entertain guests, Gazebo Glam has you covered. With a variety of covered gazebo ideas, you can create a beautiful and inviting outdoor space that will be the envy of your neighborhood. From classic white gazebos to modern designs, Gazebo Glam has something for everyone. With a few simple touches, you can transform your outdoor space into a luxurious oasis. So, if you’re looking for a way to add a touch of glamour to your outdoor space, Gazebo Glam is the perfect solution.
How to Create a Luxurious Outdoor Oasis with a Gazebo Glam Covered Gazebo
Creating a luxurious outdoor oasis with a gazebo glam covered gazebo is a great way to add a touch of elegance and sophistication to your outdoor space. A gazebo glam covered gazebo is a great way to create a private and inviting outdoor area that can be used for entertaining, relaxing, or simply enjoying the outdoors.
When selecting a gazebo glam covered gazebo, it is important to consider the size and shape of the gazebo. The size of the gazebo should be determined by the size of the outdoor space that it will be placed in. It is also important to consider the type of material that will be used to construct the gazebo. Many gazebos are constructed from wood, metal, or vinyl. Each material has its own unique characteristics and benefits.
Once the size and material of the gazebo have been determined, it is time to select the type of covering that will be used. There are a variety of options available, including canvas, mesh, and vinyl. Canvas is a great choice for a luxurious look, while mesh is a great option for a more casual look. Vinyl is a great choice for a more modern look.
When selecting the covering for the gazebo, it is important to consider the climate in which the gazebo will be placed. If the gazebo will be placed in an area that receives a lot of sun, it is important to select a covering that is designed to block out the sun’s rays. If the gazebo will be placed in an area that receives a lot of rain, it is important to select a covering that is designed to keep the rain out.
Once the covering has been selected, it is time to add the finishing touches to the gazebo. Adding cushions, pillows, and other accessories can help to create a luxurious and inviting atmosphere. Adding a few plants and flowers can also help to create a more inviting atmosphere.
Creating a luxurious outdoor oasis with a gazebo glam covered gazebo is a great way to add a touch of elegance and sophistication to your outdoor space. With the right size, material, and covering, you can create a beautiful and inviting outdoor area that can be used for entertaining, relaxing, or simply enjoying the outdoors.
Design Inspiration: Stylish Gazebo Glam Covered Gazebos for Your Backyard
Gazebos are a great way to add a touch of style and sophistication to any backyard. Whether you’re looking for a place to relax and entertain guests or just a spot to enjoy the outdoors, a stylish gazebo can provide the perfect solution. With a variety of designs and materials to choose from, you can create a unique and beautiful outdoor space that will be the envy of your neighbors.
Gazebos come in a variety of shapes and sizes, from small, intimate structures to large, grandiose designs. They can be made from a variety of materials, including wood, metal, and vinyl, and can be customized with a variety of features, such as built-in seating, lighting, and even a fireplace. Gazebos can also be covered with a variety of fabrics, such as canvas, mesh, or even a waterproof material, to provide protection from the elements.
When selecting a gazebo for your backyard, it’s important to consider the size and shape of the space you have available. You’ll also want to consider the type of material you’d like to use, as well as any additional features you may want to include. Once you’ve determined the size and shape of your gazebo, you can begin to explore the various styles and materials available.
Gazebos can be a great way to add a touch of glamour and sophistication to your backyard. With a variety of designs and materials to choose from, you can create a unique and beautiful outdoor space that will be the envy of your neighbors. Whether you’re looking for a place to relax and entertain guests or just a spot to enjoy the outdoors, a stylish gazebo can provide the perfect solution.Gazebo Glam is a great way to add a touch of elegance to any outdoor space. With a variety of covered gazebo ideas, you can create a beautiful and inviting outdoor area that will be the envy of your neighbors. Whether you choose a classic wooden gazebo or a modern metal one, you can be sure that your outdoor space will be the perfect place to relax and entertain. With Gazebo Glam, you can create an outdoor oasis that will be the envy of your friends and family.

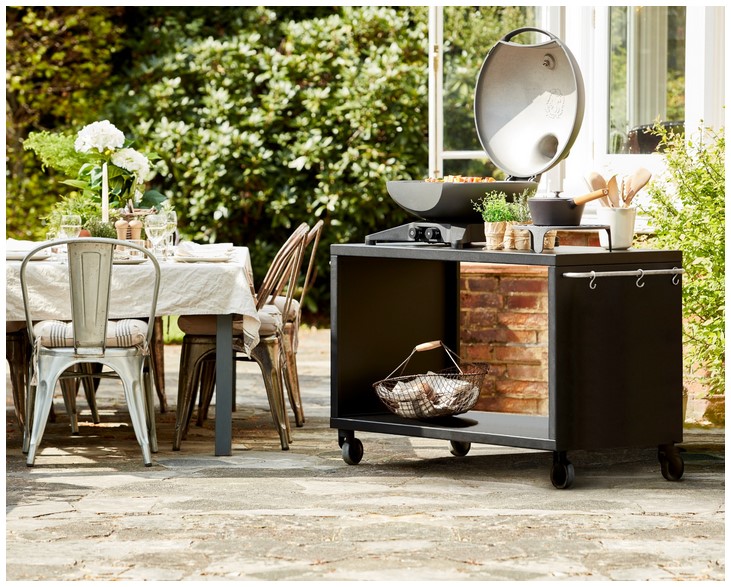 Welcome to Sizzle and Smoke: Outdoor BBQ Design for Ultimate Grilling Delights! We are a family-owned business that specializes in designing and building custom outdoor BBQs for your backyard. Our goal is to provide you with the ultimate grilling experience, no matter what your budget or style. We offer a wide range of options, from traditional charcoal grills to modern gas grills, and everything in between. We also provide custom design services to ensure that your outdoor BBQ is perfect for your needs. Whether you’re looking for a simple charcoal grill or a full-fledged outdoor kitchen, we have the perfect solution for you. So come on in and let us help you create the ultimate grilling experience!
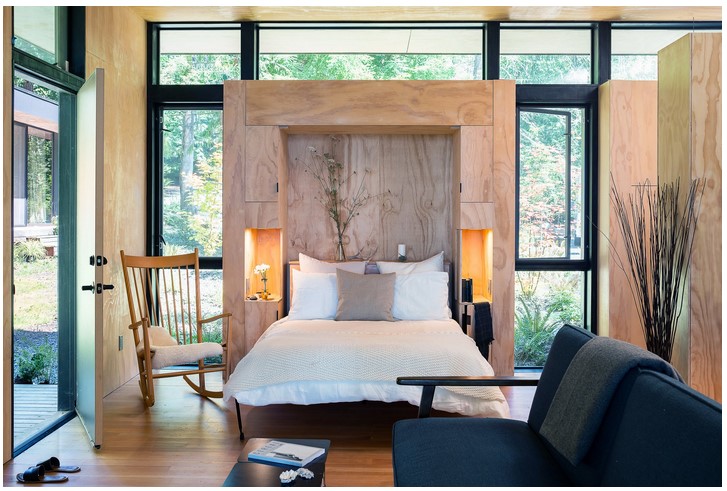 Maximizing space in small homes can be a challenge, but Lori Wall Beds offer a unique solution. Lori Wall Beds are a versatile and stylish way to make the most of limited space. They are designed to be both functional and aesthetically pleasing, allowing you to create a comfortable and inviting living space. With a variety of sizes, styles, and finishes, Lori Wall Beds can be customized to fit any home. They are perfect for apartments, condos, and other small living spaces. In addition, Lori Wall Beds are easy to install and require minimal maintenance. With Lori Wall Beds, you can maximize your space and create a beautiful and functional living space.
 Are you looking for ways to give your mobile home a fresh new look? Painting is one of the most cost-effective and quickest ways to update the look of your home. With the right tools and techniques, you can easily transform your mobile home walls into a beautiful and inviting space. In this article, we will provide you with some helpful tips and tricks for painting your mobile home walls. From choosing the right paint to prepping the walls, we will cover everything you need to know to get the job done right. So, let’s get started!
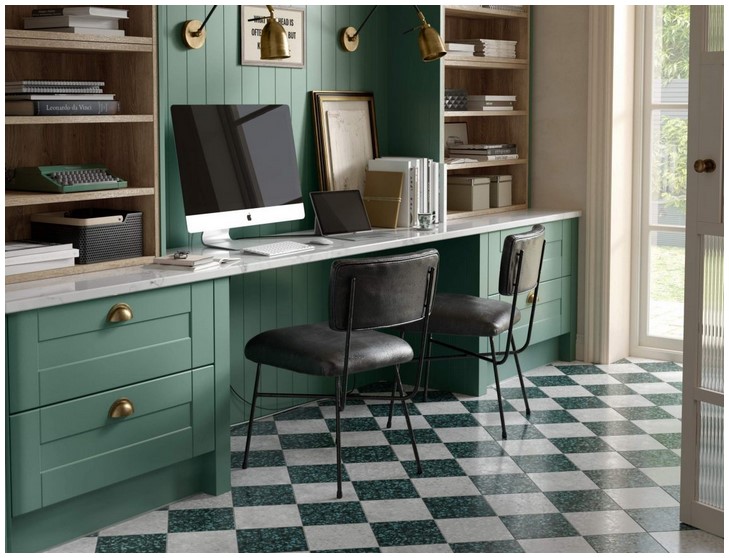 Dual functionality wall units with desk are a great way to add style and practicality to any space. They provide a great way to maximize space and create a stylish and functional area. These wall units come in a variety of styles and sizes, making them perfect for any room. They can be used as a desk, a storage unit, or even a combination of both. With the right design, these wall units can be used to create a stylish and practical space that is both functional and aesthetically pleasing.
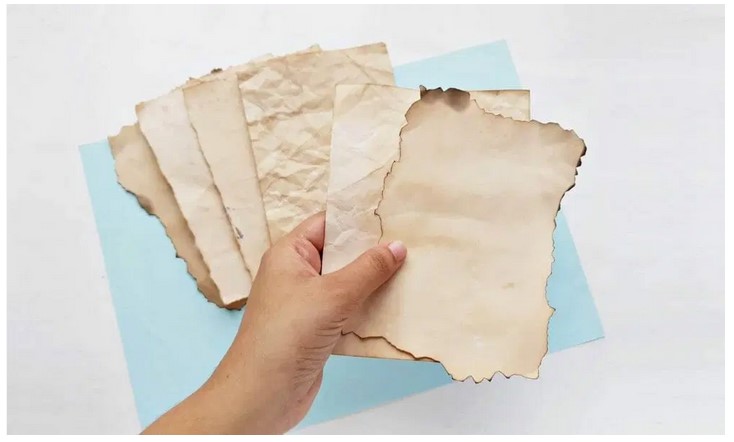 Aged to Perfection: Techniques for Aging Paper with Vintage Charm is a comprehensive guide to creating beautiful, aged paper with a vintage charm. This book provides step-by-step instructions for a variety of techniques, from simple aging methods to more complex techniques such as distressing, staining, and embossing. With detailed illustrations and helpful tips, this book is perfect for anyone looking to add a unique, vintage touch to their paper projects. Whether you’re a beginner or an experienced paper crafter, Aged to Perfection will help you create stunning, aged paper with a timeless look.
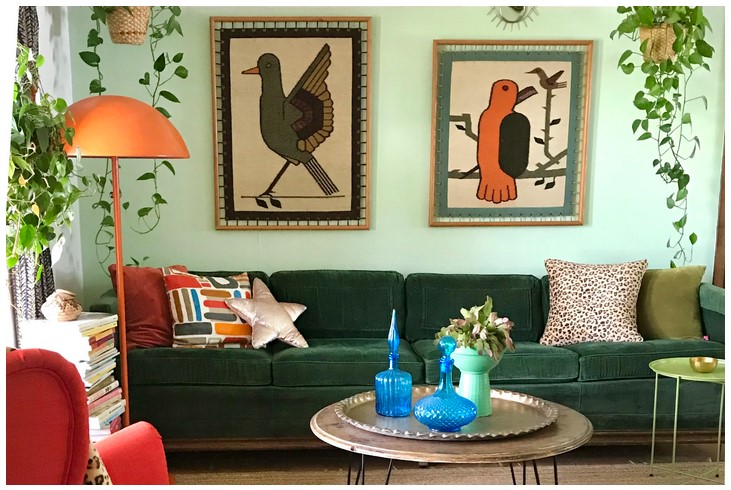 Welcome to Boho Bliss! If you’re looking to add a touch of bohemian flair to your home, you’ve come to the right place. Boho Bliss is all about embracing bohemian interior design for eclectic living. We believe that your home should be a reflection of your unique style and personality, and that’s why we offer a wide range of products to help you create a space that is truly one-of-a-kind. From vibrant colors and patterns to natural materials and textures, we have everything you need to create a cozy and inviting atmosphere. So, let’s get started on your boho journey and explore the world of bohemian interior design!
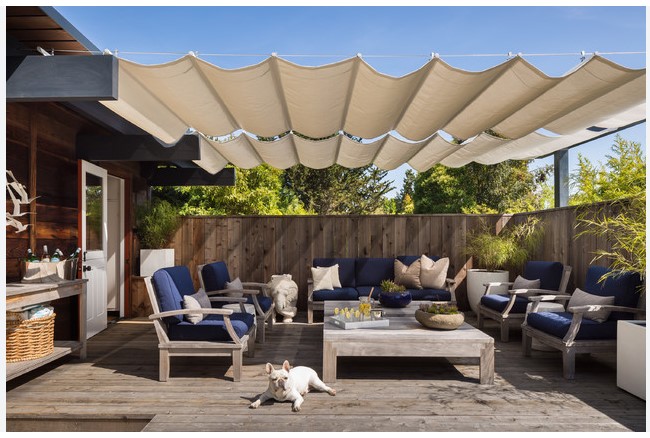 Shade Serenity is a comprehensive guide to outdoor shade structures for comfortable retreats. Whether you’re looking for a way to relax in your backyard or create a cozy outdoor space for entertaining, Shade Serenity has you covered. We provide detailed information on the different types of shade structures available, as well as tips and tricks for creating the perfect outdoor retreat. With Shade Serenity, you can find the perfect shade structure to fit your needs and create a comfortable and inviting outdoor space.
 From the Heart: Nice Things to Do for Your Mom to Show Your Appreciation is a guide to help you show your appreciation for your mom. It is filled with thoughtful and creative ideas to make your mom feel special and appreciated. Whether you are looking for a special gift, a heartfelt gesture, or a fun activity, this guide has something for everyone. With these ideas, you can show your mom just how much you care and make her feel loved and appreciated.