Concrete Creativity: Crafting Cinder Block Planters for Lively Gardens is a guide to creating beautiful and unique planters for your garden using cinder blocks. This book provides step-by-step instructions on how to craft cinder block planters, as well as tips and tricks for creating the perfect planter for your garden. With this guide, you can create a unique and vibrant garden that will be the envy of your neighbors. Whether you are a beginner or an experienced gardener, this book will provide you with the knowledge and skills to create a stunning garden with cinder block planters.
How to Create a Unique Garden with Cinder Block Planters
Creating a unique garden with cinder block planters is a great way to add a touch of personality to your outdoor space. Cinder blocks are an inexpensive and versatile material that can be used to create a variety of planters. With a few simple steps, you can create a beautiful and unique garden that will be the envy of your neighbors.
The first step in creating a unique garden with cinder block planters is to decide on the size and shape of the planters. Cinder blocks come in a variety of sizes and shapes, so you can create planters of any size or shape you desire. Once you have decided on the size and shape of the planters, you will need to purchase the necessary materials. You will need cinder blocks, soil, and plants.
Once you have all of the materials, you can begin to assemble the planters. Start by laying out the cinder blocks in the desired shape and size. Make sure to leave enough space between the blocks for the soil and plants. Once the blocks are in place, fill the planters with soil. Make sure to use a soil that is suitable for the type of plants you are using.
Once the planters are filled with soil, it is time to add the plants. Choose plants that will thrive in the environment you have created. Make sure to leave enough space between the plants so they can grow and thrive. Once the plants are in place, water them regularly and provide them with the necessary nutrients.
Finally, you can add a few finishing touches to your unique garden. Consider adding a few decorative items such as rocks, pebbles, or even a small fountain. These items will add a touch of personality to your garden and make it stand out from the rest.
Creating a unique garden with cinder block planters is a great way to add a touch of personality to your outdoor space. With a few simple steps, you can create a beautiful and unique garden that will be the envy of your neighbors.
Creative Ideas for Decorating with Cinder Block Planters
Cinder block planters are a great way to add a unique and creative touch to any outdoor space. With a few simple steps, you can transform a plain cinder block into a beautiful and functional planter. Here are some creative ideas for decorating with cinder block planters:
1. Paint the cinder blocks in bright colors to create a vibrant and eye-catching display. You can also use stencils to create patterns or designs on the blocks.
2. Add a layer of gravel or pebbles to the bottom of the planter to help with drainage. This will also add texture and color to the planter.
3. Plant a variety of flowers and plants in the planter to create a colorful and inviting display. Consider using trailing plants such as ivy or sweet potato vine to create a cascading effect.
4. Place the planter in a sunny spot and add a trellis or other structure to create a vertical garden. This will add height and interest to the space.
5. Add a few accessories such as birdhouses, wind chimes, or other decorations to the planter to give it a unique look.
With a little creativity, you can transform a plain cinder block into a beautiful and functional planter. Use these ideas to create a unique and eye-catching display in your outdoor space.
Conclusion
Concrete creativity is a great way to add a unique and creative touch to any garden. Crafting cinder block planters is a fun and easy way to create a lively garden that will be sure to impress. With a few simple tools and materials, anyone can create a beautiful and unique planter that will last for years to come. Whether you are looking to add a touch of color or a unique design, cinder block planters are a great way to add a personal touch to your garden.


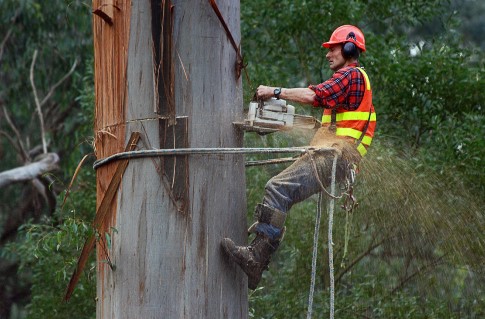 It is sad that people assume they can do a great work compared to us professionals. Some people fail to maintain their trees until disaster strikes and when they realize that they are in deep trouble they desperately call us to fix it.
