Are you dreaming of a beautiful wedding but don’t want to break the bank? Hosting your wedding at home can be a great way to save money and create a unique and intimate atmosphere for your special day. With a little bit of creativity and planning, you can create a stunning home wedding that will be remembered for years to come. From decorations to food, there are plenty of house wedding ideas to make your dream wedding come true. With the right planning and preparation, you can create a beautiful and memorable wedding that won’t break the bank.
How to Create a Magical Home Wedding on a Budget
Creating a magical home wedding on a budget is possible with a little creativity and planning. Here are some tips to help you create a beautiful and memorable wedding day without breaking the bank.
1. Choose a Theme: Selecting a theme for your wedding can help you create a cohesive look and feel for your special day. Consider a classic, romantic theme or a more modern, whimsical one. This will help you decide on decorations, colors, and other details.
2. Make a Budget: Before you start planning, make a budget and stick to it. Decide how much you can afford to spend on each aspect of the wedding, such as the venue, food, decorations, and entertainment.
3. Choose a Venue: Your home is the perfect venue for a budget-friendly wedding. Consider using your backyard, patio, or living room for the ceremony and reception. If you don’t have enough space, consider renting a tent or using a nearby park or beach.
4. DIY Decorations: Get creative with your decorations. Use items you already have around the house, such as candles, vases, and fabric. You can also make your own centerpieces, bouquets, and other decorations.
5. Ask for Help: Ask family and friends to help with the wedding preparations. They can help with setting up, cooking, and cleaning up.
6. Choose Simple Food: Keep the food simple and affordable. Consider having a potluck or a buffet-style meal. You can also ask a local restaurant to cater the event.
7. Entertainment: Music is an important part of any wedding. Consider hiring a DJ or a live band. You can also create a playlist of your favorite songs and use a sound system to play it.
By following these tips, you can create a magical home wedding on a budget. With a little creativity and planning, you can have a beautiful and memorable wedding day without breaking the bank.
Tips for Planning a Stress-Free Home Wedding
1. Set a Budget: Before you start planning your home wedding, it is important to set a budget. This will help you stay on track and ensure that you don’t overspend.
2. Choose a Date: Once you have a budget in place, you can start to think about the date of your wedding. Consider the time of year and the weather when selecting a date.
3. Create a Guest List: Make sure to create a guest list that is manageable for your home. This will help you plan the size of the event and determine how much space you will need.
4. Hire a Wedding Planner: Hiring a wedding planner can help take the stress out of planning your home wedding. They can help you with everything from finding vendors to creating a timeline.
5. Choose a Theme: Choosing a theme for your wedding can help you create a cohesive look and feel for the event. This will also help you when selecting decorations and other details.
6. Select Vendors: Once you have a theme in place, you can start to select vendors for your wedding. Make sure to research each vendor and read reviews before making a decision.
7. Plan the Menu: Decide on a menu that is both delicious and easy to prepare. Consider having a buffet-style meal or hiring a caterer to help with the food.
8. Prepare the Space: Make sure to prepare the space for your wedding. This may include cleaning, decorating, and setting up furniture.
9. Delegate Tasks: Don’t be afraid to delegate tasks to family and friends. This will help you stay organized and ensure that everything is taken care of.
10. Enjoy the Day: On the day of your wedding, make sure to take a few moments to enjoy the day. This will help you relax and make the most of your special day.
Conclusion
Hosting your dream wedding at home can be a great way to save money and create a unique and intimate atmosphere for your special day. With a little bit of creativity and planning, you can create a beautiful and memorable wedding that will be cherished for years to come. Whether you choose to have a small, intimate gathering or a large, extravagant affair, hosting your wedding at home can be a great way to make your special day even more special.
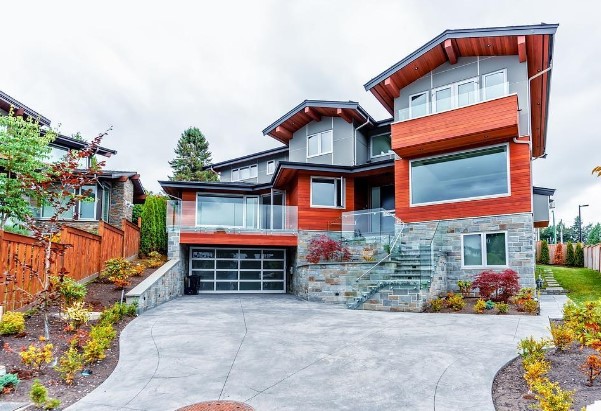 Modern home design is about having a minimalistic and open approach, and ignoring all formal and strict design rules. Redesigning your home offers a unique opportunity to inject some of the best features of modern homes.
  Blacks, whites, greys and browns are neutral tones that can be used for floorings, textiles, lighting fixtures and furnishings. Such colours offer the chance to get creative with textures and patterns, and allow furniture metal details to shine through.


 Thinking of ways the looks of your home into something extraordinary? Faux finish painters have the solution you seek. Faux finishes have been in existence for man centuries, however it only came into limelight in the early 1990s. It is mostly found in luxury homes.
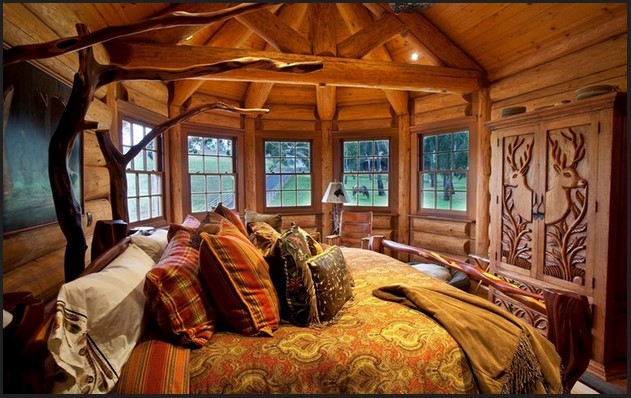 When you are building your dream home, you want to make sure that it is perfect in every way. So, when you build a log home for the first time, it can be easy to get overexcited and start immediately. However, this will almost always lead to problems down the road.