 Cleaning an apartment after a person’s death can be an emotionally overwhelming and challenging task. Such factors, bio-pollution or putrid smell, often exacerbate the solution of this problem and require special cleaning services like crime scene cleanup Houston tx.
Remember that bio contamination requires special precautions. Most people are unaware of the risk of exposure to blood and bodily fluids (cerebrospinal fluid, synovial fluid, pleural fluid, pericardial fluid, amniotic fluid, and any fluid with traces of blood). When these biohazards occur, you should proceed with caution. However, the risks can be limited by the use of personal protective equipment as well as professional equipment any cleaning company has. You can find out what equipment and special chemicals the cleaning companies use if you google, for example, crime scene cleanup houston tx and read the info on their sites.
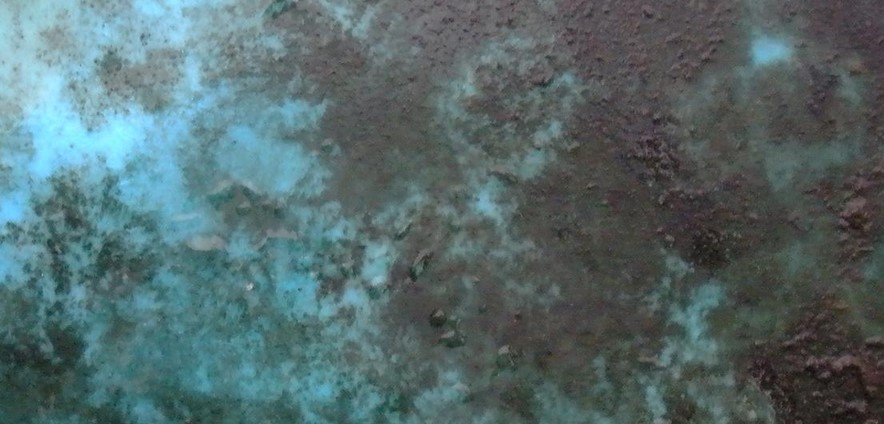
The smell of decaying corpse aka cadaverous smell or putrid smell
Accidents or injuries involving blood and biohazards may be accompanied by a putrid odor. More often, this happens when the dead body has been lying in an apartment or a house for a long time. The strength of the cadaverous smell depends on the duration and conditions in which the corpse was found. Blood and body fluids penetrate deep into the surface and sometimes even to the lower floor. Not a single drop of blood or body fluid should be left otherwise, the putrid smell will remain.
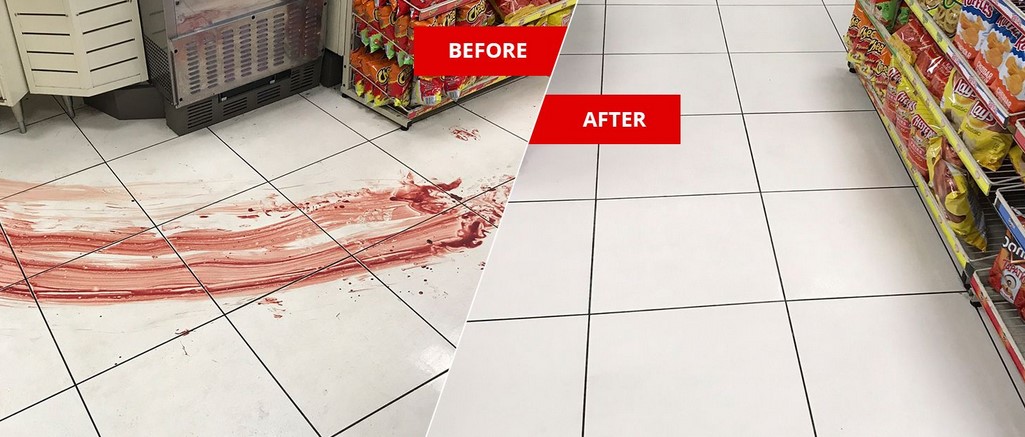
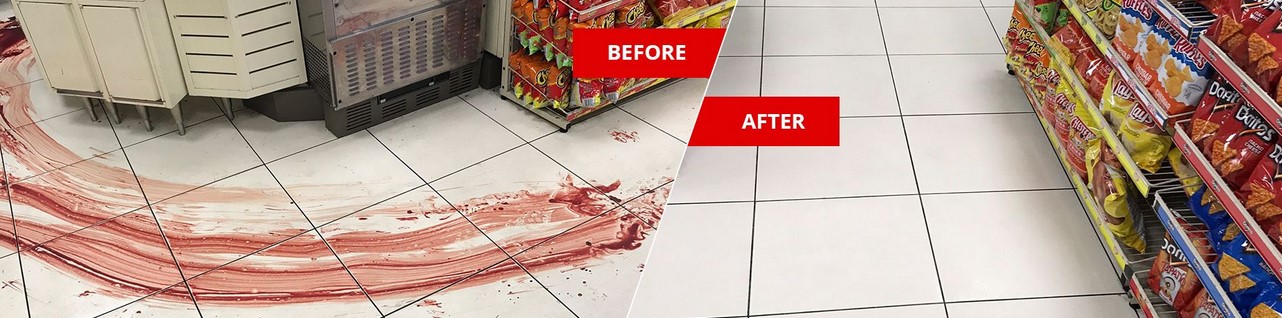
Cleaning an apartment after the dead, cleaning a blood-splattered wall, a dirty carpet, eliminating a putrid smell is a difficult job that is burdensome for grieving loved ones. That’s why a lot of people prefer using the services of crime scene cleanup houston tx.
Why is proper disinfection important?
Biological hazard refers to biological substances that pose a threat to the health of living organisms, primarily humans. These include bacteria and viruses found in body fluids, feces, urine, and vomit. Improper handling of biohazardous substances can cause serious health problems. They can even cause epidemics. In the event of death, crime or an accident where blood and body fluids are present, there is always a health hazard. The risk of an infectious disease from exposure to pathogenic microorganisms carried with them is 100% possible. Often, pathogens are invisible, making the disinfection process challenging for inexperienced people. Cleaning the apartment after the death of a person in the household means not only does not give any result but also can make matters worse. After such cleaning, the affected areas are not properly disinfected and remain hazardous to the health of others. This is the task only professional services of crime scene cleanup houston tx can deal with. At best, the amateur cleaning simply suppresses bacteria; at worst, entire areas where blood or body fluid has accumulated under carpets and seeped into the floor may be missed. This causes two problems: the terrible and disgusting odor remains, and the additional colonies of disease-causing bacteria start increasing in size. To add fuel to the fire, uncleaned or missed areas containing biofluids can become a zone of rapid reproduction of insects (maggots, ants, cadaveric bugs, etc.), which will spread throughout the apartment and easily migrate to neighbors. In addition, the smell will remain for years and will periodically appear, depending on the level of humidity in the apartment.
If you need cleanup after death, you need to do just three steps:
• The first step is to call the company specializing in crime scene cleanup houston tx and tell about the problem. They will inspect the place of emergency and draw up an action plan;
• The second step is to agree on the terms and cost of cleaning the apartment;
• The third step is a professional cleaning, as a result of which the premises will be ready for further use.