As space becomes an increasingly valuable commodity in modern homes, many homeowners are turning to innovative solutions to maximize their property’s potential. One particularly effective strategy is a garage loft conversion, which transforms underutilized vertical space into a practical and stylish addition to the home. Whether you’re in need of a home office, guest room, studio, or even a rental unit, converting your garage loft offers a flexible way to expand your living area without the need for a full-scale extension. In this article, we’ll explore the benefits of garage loft conversions, design considerations, and functional ideas to help you make the most of your extra space.
Benefits of Garage Loft Conversions
Maximizing Unused Vertical Space
Garages, especially those with high ceilings or detached structures, often include overhead space that goes completely unused. Rather than allowing this volume to sit empty, converting it into a loft can unlock additional square footage without expanding the building’s footprint. This makes garage loft conversions particularly attractive in urban areas where land is limited.
Beyond increasing usable space, loft conversions can significantly boost a property’s market value. Potential buyers are often drawn to homes that offer bonus areas such as studios, private retreats, or storage-friendly layouts—all of which can be achieved through a well-planned garage loft.
Flexibility and Functionality
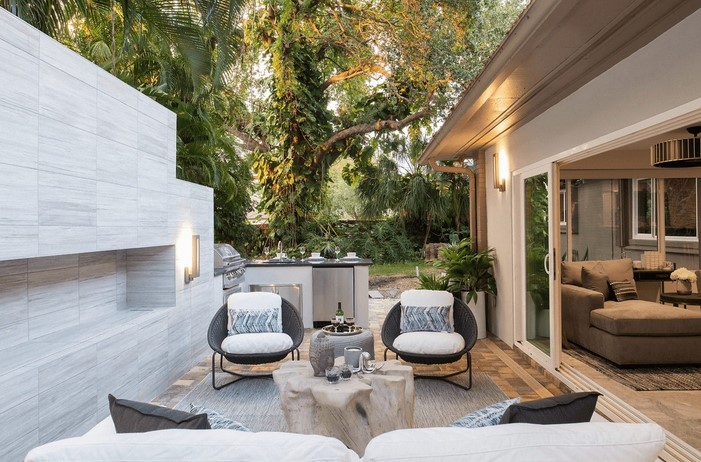
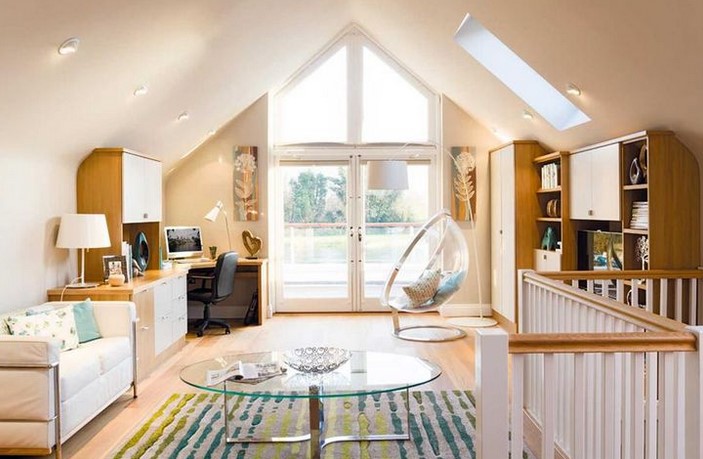
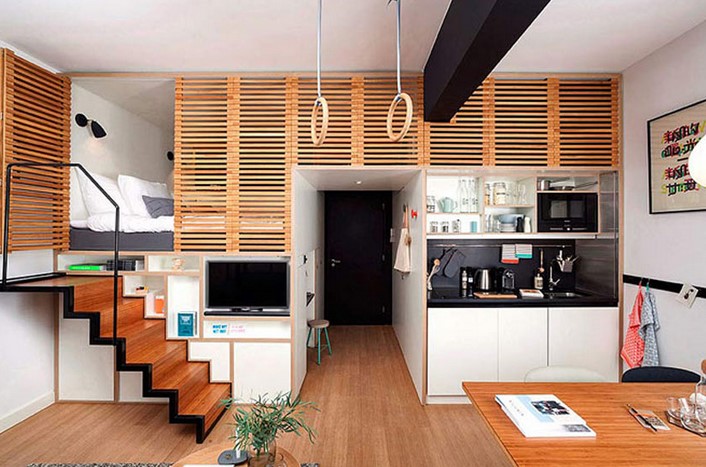
One of the most appealing aspects of a garage loft conversion is its versatility. The space can be tailored to meet changing lifestyle needs, from a home gym to a reading nook or even a teenager’s private bedroom. If rental income is the goal, lofts can be outfitted as self-contained micro-units with separate entrances, compact kitchens, and bathrooms—perfect for Airbnb or long-term tenants.
Loft areas also offer a sense of privacy, making them ideal for home offices or creative studios. Being slightly removed from the main home, they provide a peaceful, dedicated space for productivity and focus.
Design Considerations and Planning
Structural Integrity and Access
Before beginning a garage loft conversion, it’s essential to assess the structural integrity of your existing garage. Not all garages are designed to support additional weight above, so reinforcement may be required. Consulting with a structural engineer or architect is critical at this stage to determine feasibility and compliance with local building codes.
Access is another vital consideration. Installing a staircase, retractable ladder, or spiral stair will depend on space availability and design preferences. It’s important to choose a solution that’s both safe and aesthetically consistent with the overall look of the space.
Insulation, Lighting, and Ventilation
Garages are often uninsulated and lack natural lighting or airflow, so converting the loft into a livable area requires addressing these issues. Proper insulation is essential for temperature regulation and energy efficiency, particularly if the space will be used year-round.
Adding roof windows or skylights brings in much-needed daylight, reducing the need for artificial lighting and making the loft feel more open and inviting. Ventilation systems—either passive or mechanical—should also be included to ensure healthy air quality and moisture control.
Building Permits and Regulations
Most garage loft conversions will require planning permission or building permits, depending on your local regulations and the scope of the project. This may include zoning compliance, fire safety standards, ceiling height minimums, and egress requirements for bedrooms or rental units.
Working with a qualified contractor who is familiar with local regulations can help streamline the approval process and ensure the project adheres to safety standards.
Creative Ideas for Garage Loft Use
Home Office or Studio
With remote work on the rise, transforming a garage loft into a dedicated home office is a smart and timely choice. Equipped with ergonomic furniture, reliable internet, and natural light, this space can boost productivity while separating work life from home life.
Alternatively, the loft can serve as a creative studio for artists, writers, or musicians. Soundproofing materials and customized layouts make it easy to tailor the space to specific hobbies or professions.
Guest Suite or Teen Retreat
Garage lofts can be transformed into cozy guest suites complete with a bed, compact bathroom, and seating area. This setup offers visitors privacy while maintaining household harmony. It’s also an excellent solution for multigenerational living arrangements.
For families with teenagers, the loft provides a sense of independence while keeping loved ones close. With thoughtful décor and smart use of space, it can be both functional and stylish.
Rental Unit or Income Space
Perhaps one of the most financially beneficial uses of a garage loft is converting it into a rental unit. With the right amenities—such as a kitchenette, bathroom, and private entry—it can serve as an accessory dwelling unit (ADU). This is especially valuable in areas with high rental demand or limited housing supply.
Not only can this generate passive income, but it also increases property value and enhances long-term return on investment.
A garage loft conversion is an innovative and efficient way to add functional space, value, and versatility to your home. Whether you’re looking to create a private office, an extra bedroom, or a rental unit, transforming your garage’s overhead area can deliver lasting benefits. By focusing on design, safety, and smart space planning, homeowners can turn previously unused space into one of the most valuable areas of their property.

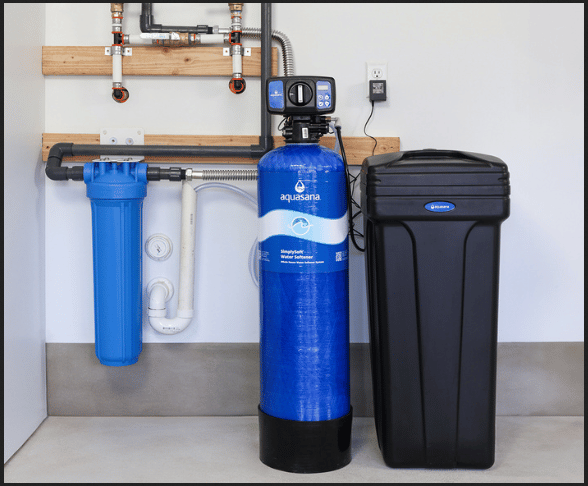 Common in many areas, hard water is a silent saboteur in houses everywhere else. It leaves unsightly mineral deposits on fixtures, diminishes the lifespan of appliances, dries out skin and hair, and reduces the effectiveness of soaps and detergents. A water softener provides a convincing prospect for better living and a more efficient house.