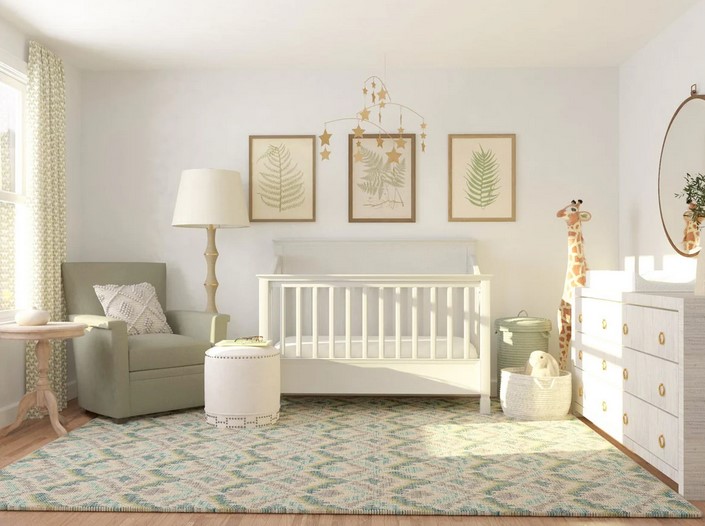
DIY Baby Crib: Build a Safe and Stylish Bed for Your Little One is a comprehensive guide that provides step-by-step instructions on how to construct a secure and aesthetically pleasing crib for your newborn. This guide is designed for parents who wish to add a personal touch to their baby’s nursery, while ensuring the utmost safety and comfort for their child. It covers everything from choosing the right materials, to assembling the crib, and even decorating it. With this guide, you can create a unique and cozy sleeping space for your little one, while also gaining the satisfaction of building it yourself.
Step-by-Step Guide: Building a Safe and Stylish DIY Baby Crib for Your Little One
Building a DIY baby crib for your little one can be a rewarding project that not only saves you money but also allows you to create a unique piece of furniture that can be cherished for years to come. This step-by-step guide will help you construct a safe and stylish crib that meets all safety standards and complements your nursery decor.
Before you begin, it’s essential to gather all the necessary materials and tools. You’ll need quality hardwood, screws, dowels, a saw, a drill, sandpaper, and non-toxic paint or stain. It’s also crucial to have a detailed plan or blueprint of the crib design. There are many free plans available online, or you can purchase one from a woodworking store.
Once you have your materials and plan, the first step is to cut the wood according to the dimensions specified in your blueprint. This is where precision is key, as any inaccuracies can lead to safety issues down the line. After cutting the wood, sand each piece thoroughly to ensure a smooth finish and to prevent any potential splinters.
Next, assemble the crib frame. Start with the four posts and attach the side rails to them using screws and dowels. Ensure that the rails are secure and that there are no sharp edges or protruding screws. Once the frame is assembled, you can install the mattress support. This should be adjustable so that you can lower it as your baby grows and becomes more mobile.
After the frame and mattress support are in place, you can move on to the crib slats. These should be no more than 2 3/8 inches apart to prevent your baby’s head from getting stuck. Attach the slats to the rails using screws, making sure they are secure and evenly spaced.
Once the crib is fully assembled, give it a thorough inspection. Check for any loose screws or rough edges and make sure the mattress support is sturdy and secure. It’s also a good idea to give the crib a shake to ensure it’s stable and doesn’t wobble.
The final step is to finish the crib. Apply a non-toxic paint or stain and let it dry completely before placing a mattress in the crib. When choosing a mattress, make sure it fits snugly within the crib with no more than two fingers width of space between the mattress and the crib sides.
Building a DIY baby crib is a project that requires careful planning and meticulous execution. However, the result is a safe and stylish bed for your little one that you can take pride in having made yourself. Remember, safety should always be your top priority, so take your time, follow the instructions closely, and don’t hesitate to seek professional advice if you’re unsure about any step in the process. With patience and attention to detail, you can create a beautiful and functional piece of furniture for your baby’s nursery.In conclusion, building a DIY baby crib can be a rewarding project that allows parents to provide a safe and stylish bed for their little one. It offers the opportunity to customize the crib according to personal preferences and nursery decor. However, it’s crucial to ensure that the crib meets safety standards to protect the baby’s well-being.