Renovating a room in your home can be a game-changer, allowing you to refresh your living space with contemporary flair and modern functionality. If you’ve been considering giving your space a makeover, modern room renovations might be just the solution you need. Whether you’re tackling a single room or revamping your entire home, the goal is to enhance your space with modern aesthetics while improving its comfort and utility. From updating colors and furniture to incorporating innovative design elements, modern room renovations offer an exciting opportunity to breathe new life into your home. In this article, we’ll explore some key trends and ideas for transforming your space with style, ensuring your home feels both fresh and inviting.
1. Embrace Open-Concept Designs
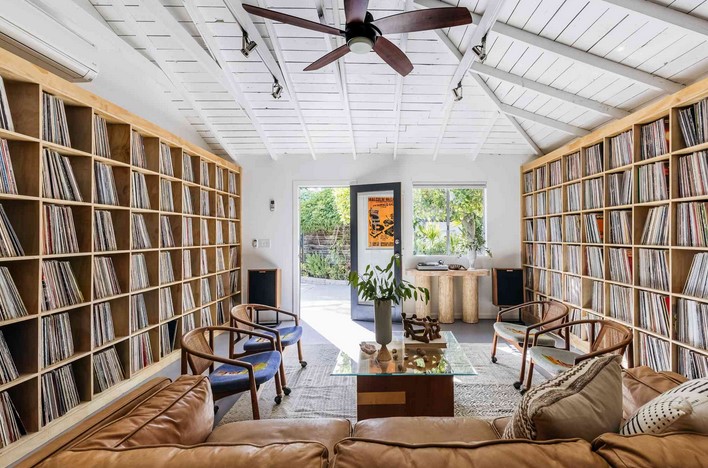
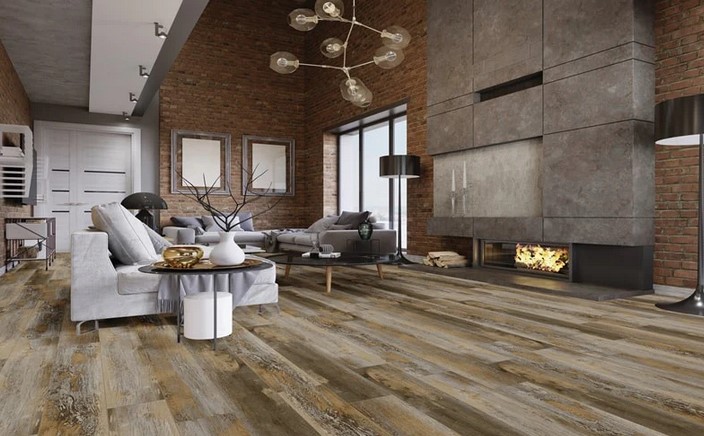
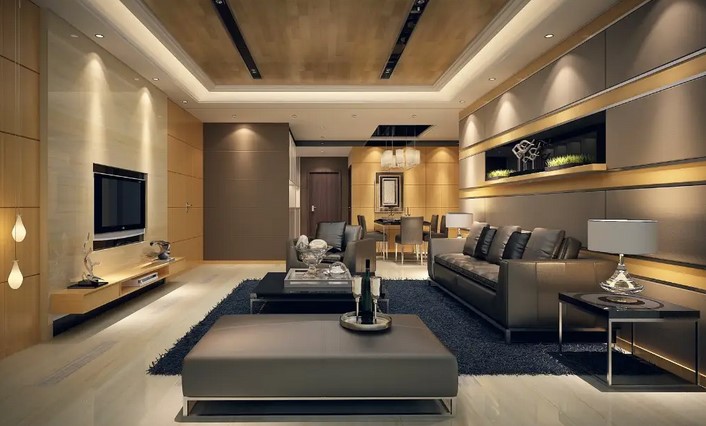
In modern room renovations, open-concept layouts are one of the most sought-after trends. Open spaces can make a room feel larger, brighter, and more connected, creating an airy, uncluttered atmosphere. Whether you’re renovating your living room, kitchen, or even your bedroom, embracing an open-plan design is a great way to create a seamless flow throughout your home.
1.1 Maximizing Natural Light
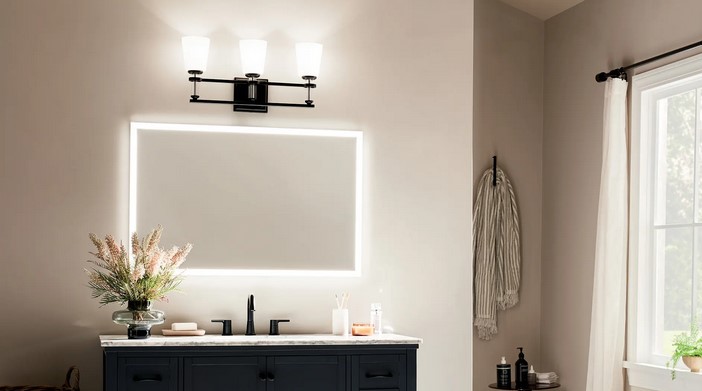
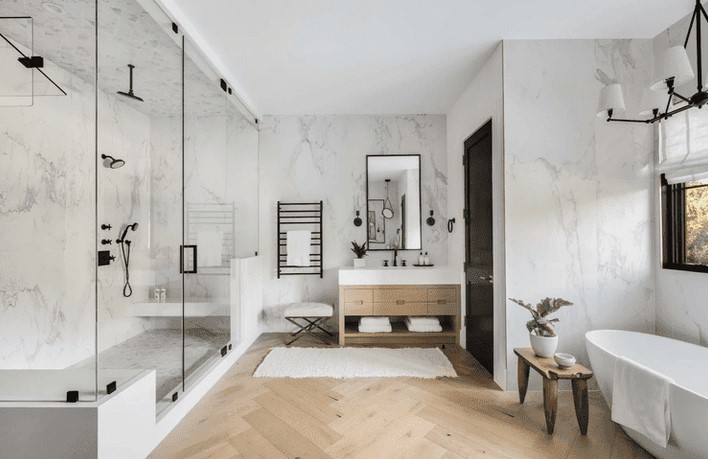
One of the hallmarks of modern design is an emphasis on natural light. Large windows, glass doors, or even skylights can help flood your room with daylight, creating a more vibrant and inviting atmosphere. By strategically placing mirrors or using light-colored walls and furniture, you can further enhance the effect of natural light, making your space feel brighter and more open.
Incorporating sliding glass doors or bi-fold doors between the indoors and outdoors is another popular choice. This design element allows the natural surroundings to become a part of the interior space, blending the beauty of nature with modern functionality.
1.2 Minimalist Furnishings and Clean Lines
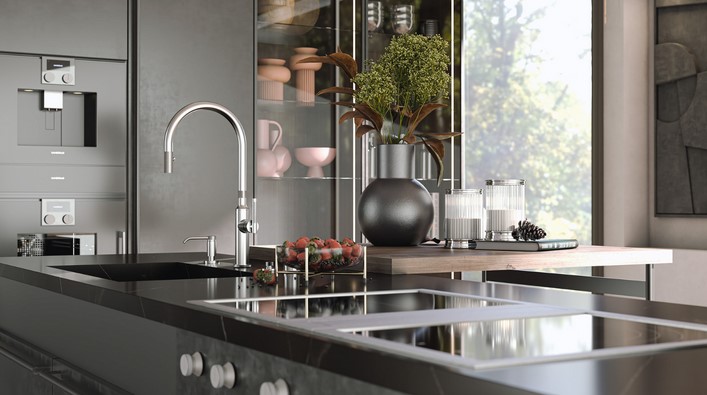
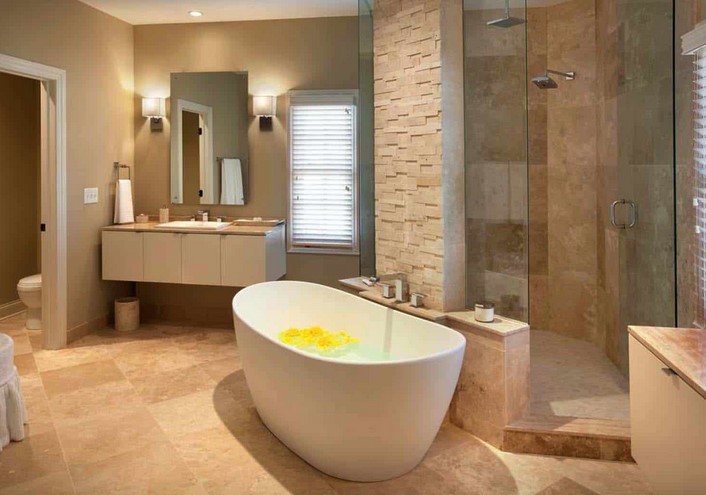
In modern room renovations, simplicity is key. Opt for minimalist furniture that prioritizes clean lines and neutral tones. Sofas, chairs, and tables with sleek profiles not only complement modern aesthetics but also create a sense of spaciousness by avoiding heavy or bulky pieces. By minimizing clutter and focusing on the essentials, you can achieve a more open and streamlined look.
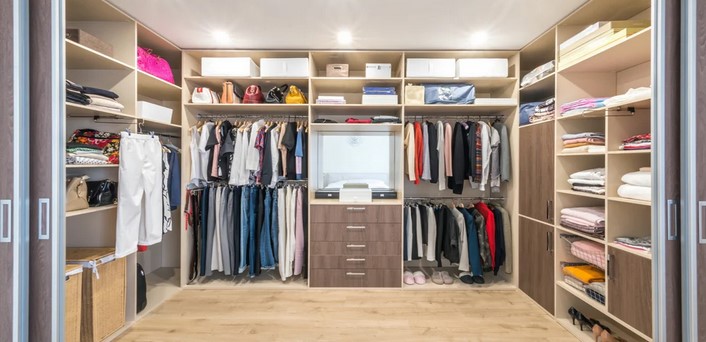
Storage solutions, such as hidden cabinets, floating shelves, or built-in furniture, help maintain a minimalist feel by keeping everything organized and out of sight. This allows your modern renovations to shine, free from distractions or unnecessary details.
2. Sustainable and Eco-Friendly Choices
Sustainability has become a significant consideration in modern room renovations. Homeowners are increasingly seeking ways to reduce their environmental impact while still achieving a stylish and comfortable living space. The good news is that you can make eco-friendly choices without sacrificing design or functionality.
2.1 Use of Sustainable Materials
Modern renovations often feature materials that are both durable and sustainable. Opt for furniture, flooring, and finishes made from recycled, renewable, or non-toxic materials. For instance, bamboo flooring, cork tiles, and reclaimed wood offer natural beauty while being environmentally friendly. Many furniture manufacturers now offer items made from sustainable materials such as FSC-certified wood or recycled metals, which not only add to your room’s modern appeal but also promote eco-conscious living.
Additionally, installing energy-efficient windows and appliances can reduce your home’s overall energy consumption, contributing to both cost savings and sustainability.
2.2 Greenery and Indoor Plants
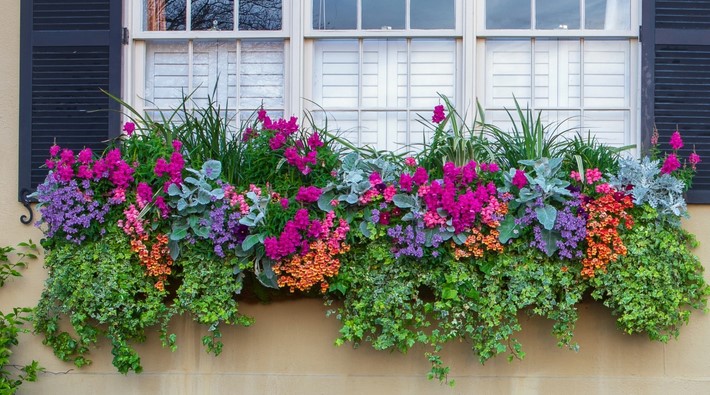
Adding greenery through indoor plants is another way to embrace sustainability in your modern room renovations. Plants not only purify the air but also provide a natural touch that adds life and texture to your space. Whether it’s a tall potted plant in the corner or small succulents on shelves, integrating greenery into your design enhances the modern, organic feel of the room.
Many modern designs incorporate plant walls or hanging planters, creating a visually stunning and eco-friendly feature in the room. You can even go a step further by incorporating hydroponic systems or low-maintenance plants like snake plants and succulents that require minimal care.
3. Smart Technology Integration
As technology continues to evolve, modern room renovations often incorporate smart home devices that make life more convenient and efficient. From lighting systems to entertainment features, integrating technology into your renovation can enhance both the style and functionality of your space.
3.1 Smart Lighting
Modern room renovations can incorporate advanced lighting solutions that are both stylish and functional. Smart lighting systems allow you to adjust the brightness, color, and mood of your room with just a touch of a button or a voice command. You can program the lights to change throughout the day, dimming during the evening to create a cozy ambiance or brightening up in the morning to energize the room.
Smart lighting options like LED strips, recessed lighting, and smart bulbs also contribute to an energy-efficient home. These lighting options can be integrated into furniture, shelves, or architectural features to highlight specific design elements while maintaining a modern aesthetic.
3.2 Integrated Entertainment Systems
A modern living room or entertainment space can benefit from integrating smart entertainment systems, such as surround sound speakers, projectors, or smart TVs, that seamlessly blend into the design of the room. Hidden behind custom cabinetry or incorporated into floating walls, these devices add high-tech convenience while maintaining a sleek and minimalist look.
Additionally, smart thermostats and climate control systems help optimize comfort and energy efficiency, giving you full control over your home’s environment.
In conclusion, modern room renovations offer endless possibilities for transforming your space with style and functionality. From embracing open-concept layouts and sustainable materials to integrating smart technology, there are countless ways to update your home with a contemporary edge. Whether you’re looking to create a minimalist haven, a smart living space, or simply want to refresh the look of a room, modern renovations allow you to achieve a design that reflects your lifestyle and aesthetic preferences.
By incorporating these modern design principles, you can create a home that is not only visually stunning but also comfortable, energy-efficient, and in tune with the latest trends. Ultimately, modern room renovations give you the tools to transform any space into a place you’ll love to spend time in, while ensuring your home stays ahead of the curve in both style and function.