Your home is most likely going to be the most significant investment that you ever make in your life, so you want to keep it protected. One thing you have to worry about as a homeowner is water damage Hartford.
There are several ways to decrease the chances of getting water damage including cleaning gutters, maintaining your landscape, monitoring your appliances, and tending to leaks right away.
How To Prevent Water Damage In House
When you get water damage West Hartford, CT, the first thing you think of is the amount it’s going to cost for water restoration services. You want to get your home back to its previous condition as soon as possible, but it isn’t always cheap or easy.
The best way to keep down the price of water damage restoration service Hartford is by preventing it from happening in the first place. There are several actions that you can take to reduce the likelihood you ever have to deal with unwanted water wreaking havoc on your property. Follow these water damage prevention tips to avoid having to pay for water damage Hartford.
Locate and Repair Leaks Right Away
Structural damage, mold growth, mildew, dry rot, and many other unnecessary repairs may be what you’re facing with water damage West Hartford, CT if you fail to pay attention to leaks and damages as soon as they occur. Your homeowner’s insurance will only cover water damage restoration service Hartford when the problem happened accidentally and suddenly, not when you neglect your home.
Know Where Your Water Main Is
Water cleanup Hartford is often sought out after people return to their homes after leaving for an extended period to a mess. Leaky faucets and other issues can arise while you’re gone, and you won’t know what’s happening until you return. If you locate your water main, you can shut off all the water coming into your home so that there’s no chance for an accident.
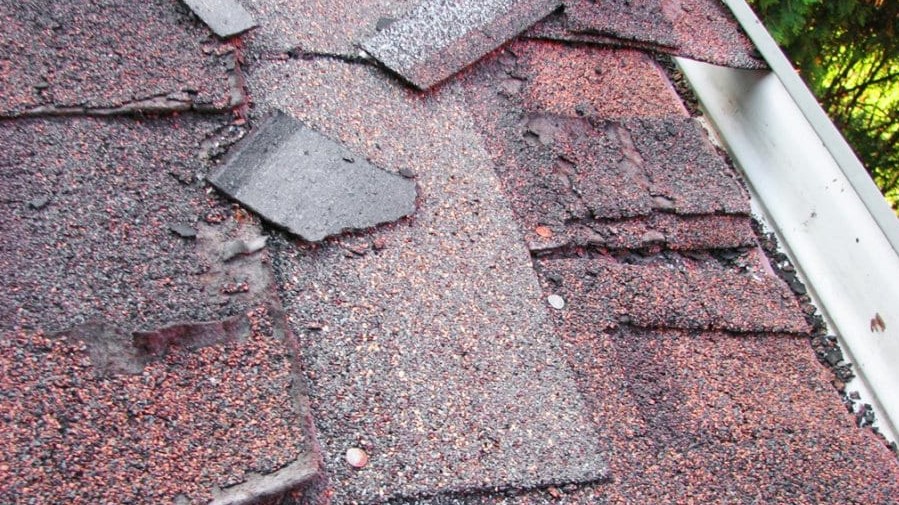
Clean Out Gutters and Downspouts
Ice damage and blockages occur in your gutters and downspouts when you don’t have them cleaned out at least once, preferably twice per year. The overflow of water will pool near your foundation causing water damage. Check your downspouts regularly to make sure they are clear and pointing away from the foundation to prevent outside water from flowing into the basement or crawlspace.
Disconnect Unused Hoses
Outside of your home you likely have water hoses hooked up for washing the car and watering the lawn. In the colder months, you don’t want to leave them connected. Even after the water is shut off, some of it remains inside the hose. With your best luck, that water will freeze and stop the water flow. However, there is also the chance that it can burst from the pressure of the ice causing issues with water getting to the foundation, walls, and floors.
Monitor Your Appliances
You use your washer, dishwasher, water heater, and other appliances regularly. When they are working, you probably don’t put much thought into their functioning. However, you can prevent issues with them by monitoring them to ensure they aren’t just working, but they are working exactly according to manufacturer’s directions. If they aren’t, get them serviced or replaced right away.
Utilize Water Detection Devices
Slow leaks and low moisture levels often go unnoticed. Water detection devices are sensors that sound an alarm when they come in contact with water. By placing them near toilets, washing machines, dishwashers, sump pumps, and toilets, you will be alerted at the first sign of a problem. They are also useful to protect you from any mold growing in those areas.
Monitor Your Water Pressure
Head up to your local hardware store and ask an associate for a water pressure gauge. Attach it to a faucet on the outside of your home and turn it on full blast. The indicator will provide you with a reading of where your water pressure is at. If it’s set too high, you can be overworking your hoses and pipes inside your home. Doing so can lead to them failing. Inside a residence, your water pressure should be between 40 and 70 PSI to prevent water cleanup Hartford. In the event it is over 100 PSI, you need to have a pressure regulator installed to lower it.
Evaluate Your Water Bill
There are times when you may not even realize that you are dealing with water damage Hartford because you are unaware there is a leak. You can suspect that something is going on if your water bill suddenly increases from one month to another without any kind of logical explanation. If you see these changes, you have to start investigating right away if something is leaking and get it fixed promptly.
Maintain Your Landscaping
Shrubs and trees look nice and cost a lot to put in. When they are growing, that doesn’t mean that your job involving them is done. What you can’t see is what the roots are doing underneath your gorgeous landscaping. They can grow and wrap around your pipes causing them to break. If you haven’t done any landscaping yet or you are considering some outdoor renovations, be mindful of where you are planting and try and keep things that grow away from your utility pipes. You may also have to move existing plants that are getting too big.
Check Washer Hoses
Experts say that one of the main reasons people call for water damage restoration service Hartford is because of their washing machine hoses. Even when the washer is operating correctly, the hoses can get old and crack. As a result, the water that is supposed to be going in and out of the appliance is going everywhere leading to serious issues. They can easily be replaced for just a few dollars.
Call the Pros for Water Damage Restoration
No matter how many preventative measures you take, there is still a chance that you are going to become the victim of water damages. For bigger problems, it’s best to call in a professional water damage restoration company to ensure the job gets taken care of properly. You don’t want to be vulnerable to greater problems down the road because it wasn’t cleaned up the way it was supposed to be.
 In the often-convoluted world of home design everyone is looking to deliver the most stylish and sophisticated designs that will turn heads and win over hearts.
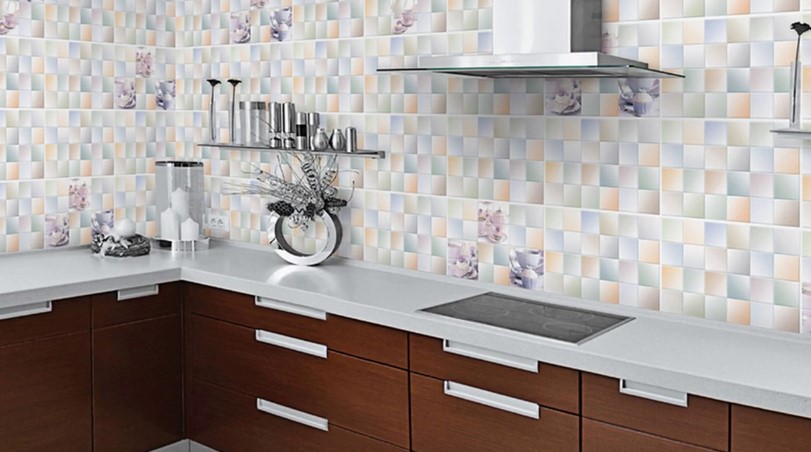
 Could you imagine what will be happened with your home after tile removal? Obviously, the home will be full with the dust which will be bad for the home atmosphere. Later on, it could be mixed with the air till then it will make the pollution for who are living inside the room. For avoiding the problem, so we have to make sure to find know about the solution of