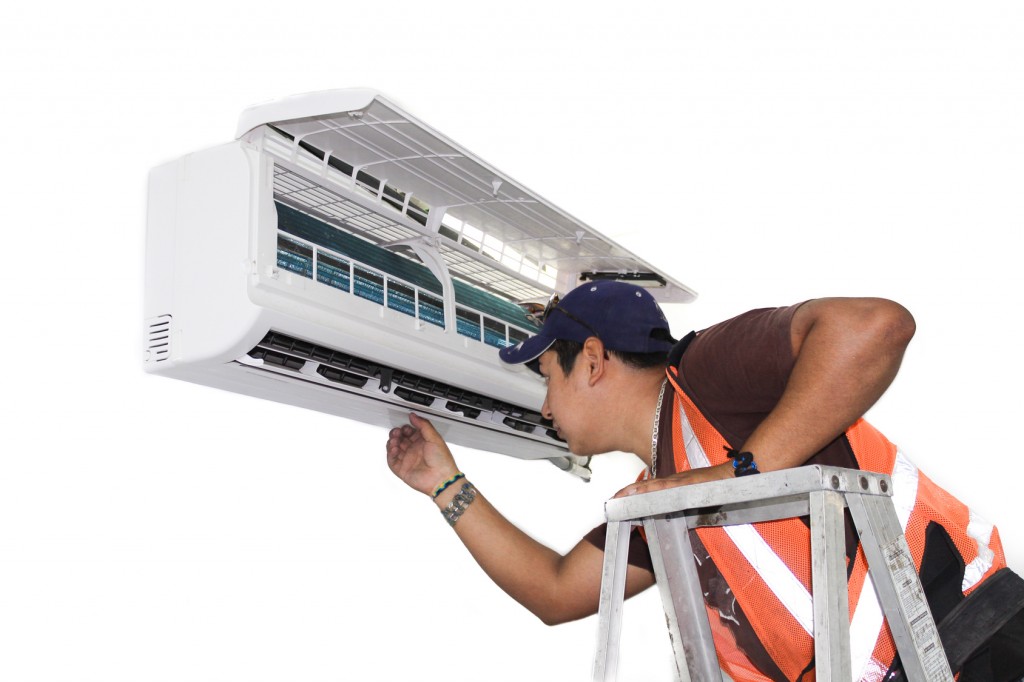
 Air conditioners are used in homes, offices, food processing centers, factories, restaurants , shops and computer rooms. The air conditioner operate in a very technical way. It eliminate the heat in the room , take it outdoors. In the central air-conditioning system usually there is an exhaust pipe system. You can check our website www.serviceairconsingapore.com for more information .
There is also an evaporator coil connected to the condenser inside the piping system. The refrigerant sends cold air from the outside into the evaporator to regulate the temperature in the room. Ideally this is the role of air conditioning in the home office; installed at school or anywhere. It has the effect of reducing humidity and temperature under one premise. Its working principle is that colder air can not hold a lot of moisture, so the air gets colder, its moisture is reduced, and eventually it is discharged through the evaporator.
Air conditioning chemical cleaning how many times?
This is a key main issue. Is this dependent on the frequency of use or should it be a normal routine? At the time of purchase a new aircon , most salesman usually recommend to the customer about how many times per year they should service their air conditioner.
What service needs?
The basic of aircon maintenance requires chemical cleaning. At the same time , you also need to check other parts to identify any potential or existent problems, a comprehensive clean-up of the system and the adjustment of maximum efficiency. The process of repairing air conditioners has many benefits.
Service air-conditioning reliable, long life, protect the environment pollution, you can safely and healthily run. This also ensures the high efficiency of the plant, thus reducing energy costs. Regular maintenance can also ensure that potential problems are contained before progress and reduce the likelihood of equipment failure. Overall, this is very helpful for the user to save costs.
I think air conditioning chemical cleaning should be done every 9 months, but this time depends very much on the frequency of use. The heating system should be checked and the equipment used to emit the oil should also be thoroughly cleaned. Chemical cleaning requires a very thorough process involving chemical cleaning of the entire system. This is usually done when general cleaning does not produce the desired result. System is not necessary for a long time cleaning.
For air conditioning, chemical cleaning is necessary because it saves electricity costs by ensuring that , air conditioning life is extended, leakage problems are eliminated, maintenance costs are saved and cooling efficiency is increased. It’s up to them how individuals decide what to do with their air conditioning service, but one thing is for sure, chemical cleaning is a must-have every year!


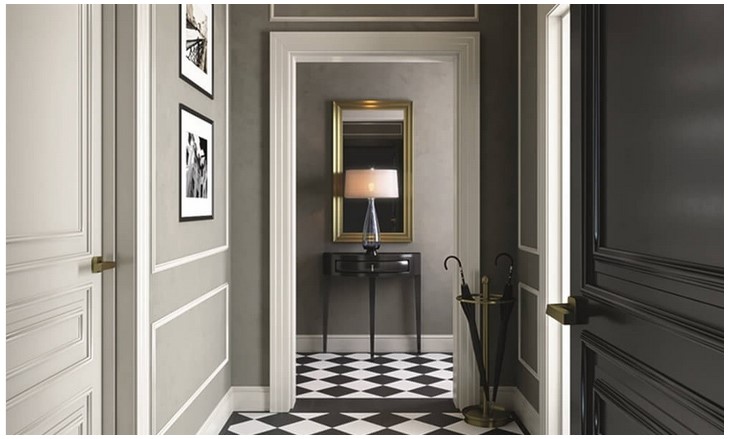 Welcome to Hallway Haven: Painting Ideas to Elevate Your Hallway Design! Hallways are often overlooked when it comes to home decor, but they can be a great way to add a unique touch to your home. Whether you’re looking for a subtle accent wall or a bold statement piece, we’ve got you covered. From classic neutrals to bright colors, we’ve got plenty of ideas to help you create the perfect hallway. So, let’s get started!
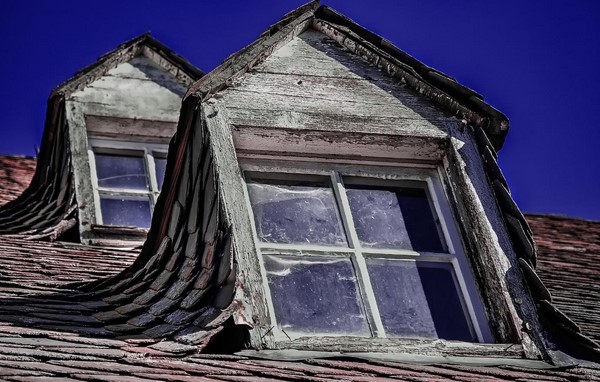
 Painting your roof can be one of the best ways to bring your home to life and restore its aesthetic. However, years of seeing peeling paint on galvanized roofs, or having to paint and repaint fences made from galvanized steel has put a lot of people off the idea of painting their roof.