 Modern home design is about having a minimalistic and open approach, and ignoring all formal and strict design rules. Redesigning your home offers a unique opportunity to inject some of the best features of modern homes.
Whether you want an ultra-modern home, or you’d prefer to mix and match past eras for a more eclectic home, your home should embody your lifestyle. To help you along, here are some must-have features you need to create an appealing modern home.
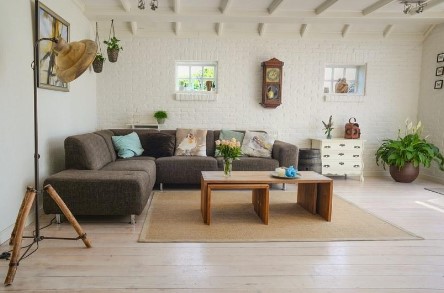
Bare Floors
Bare floors bring a relaxed look to interiors, and a feeling of less ‘stuff’. Choose from a range of gorgeous finishes like hardwood, porcelain tiles, marble, ceramic and travertine stone to achieve a contemporary look.
Area rugs to maintain comfortable walking and visually break up the space are a great idea, especially in the living and dining room areas. However, leaving most of the floors bare will better show off the stencilling on the floors, and increase or add to an expansive feel of your home.
When choosing flooring for a contemporary home, natural and organic materials are a must. Also, consider going for resilient flooring to achieve a crisp and modern look.
Modern Lighting
The secret to lighting up a home for a modern appeal is to keep it varied and adjustable. One solitary bulb hanging from the ceiling won’t achieve the look you are going for. Recent trends include ceiling spotlights in practical rooms like kitchens or bathrooms, and other range of lighting features that make it possible to switch up the ambience in a room at the touch of a button.
Ceiling lights provide sufficient illumination and can also be adjusted to provide a gentler glow if needed. Recessed ceiling or wall lights are another big trend over the last few years. Without imposing too much on either décor or space, this type of modern lighting gives a room depth and character.
A myriad of LED options are also available to consider for a more creative approach to modern lighting. These include ceiling strips, glowing kitchen islands and coloured shower cubicles.
In addition, a dizzying array of modern chandeliers, table lamps and pendants are available to choose from. Almost any room can be given an instant uplift when a suitable tone is used.
Natural Materials
Natural materials do not have to be reserved for wood furniture alone. You can use natural and organic materials in different ways to create an appealing modern look. Organic materials like wood, wool, rock, teak, slate, cotton can be used in contemporary furnishings as much as they are used in traditional home designs.
Some of the ways to use natural materials in modern home design include leather furniture for the interiors, the decking outside and simple decorative elements on display throughout your home.
Natural textures and patterns with clean lines such as solids, stripes, abstracts and geometric patterns are an ideal choice. Animal prints can also provide an appropriate complement to a modern design, especially when used subtly on rugs and other decorative accessories.
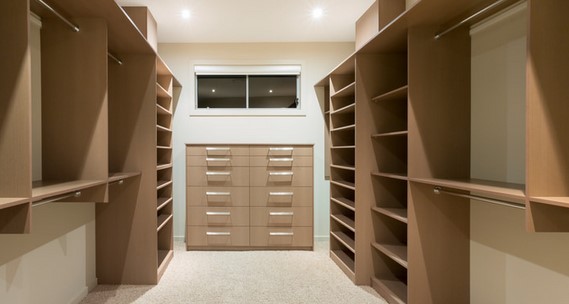
Oversized Garages
Modern Australian homes are largely characterised by big and open spaces. Oversized garages or double garage doors are a great way to create more room and extra storage to keep anything from grills to patio furniture, grandkids’ toys and bicycles.
Go for high style with ornate garage doors to complement your house exterior. Don’t forget to add a foyer with in-built shelves by the garage to act as storage point to drop your book, bags, cell phones or shed coats and other stuff you step into the house with.
Subtle colours
 Blacks, whites, greys and browns are neutral tones that can be used for floorings, textiles, lighting fixtures and furnishings. Such colours offer the chance to get creative with textures and patterns, and allow furniture metal details to shine through.
Neutral colours do not have to be boring. You can achieve an effortlessly stylish living room using a warm off-white as the backdrop or base neutral. A soft stone colour or some complimentary neutral tones can then be used for chairs, sofa, and rug.
A clashing or gaudy wallpaper looks dated, and far from the appealing modern look you want. Finer details such as plants and artwork for your walls can be used to infuse colour where you want, and lift the entire look and feel of your home.
They are also a great way to infuse your own touch without going overboard. A bold feature wall or vibrant stencils can also be used as desired, as long as you take care not to venture too far from your intended aesthetic.
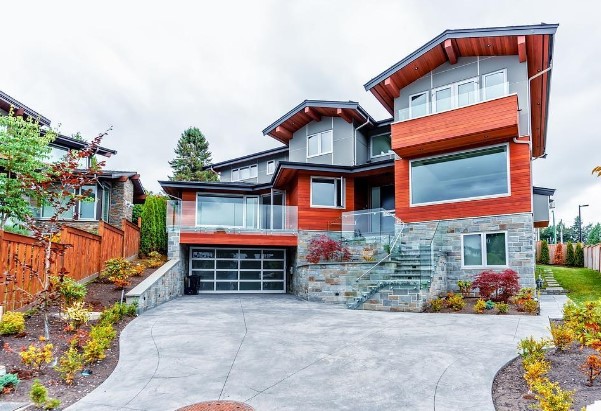
Exterior Details
Most home redesign project generally place more emphasis on the interior when considering contemporary influences. However, the architectural exterior details of your home are equally important to achieve a complete modern look. Faux rock, stone and brick are some of the more popular choices for exterior panelling.
Contemporary architecture is as beautiful as it functional, which is one of the reasons for its success as a style of choice for many homeowners. With modern homes, the sort of heavy ornamentation that can be found on exterior detailing for historic buildings is replaced with simple lines.
The rooflines are of a more distinct design, either large overhangs or cantilever. You can also instantly add contemporary appeal to your home by using creative window design, featuring a number of windows and inviting in natural light.
Design lovers can’t seem to get enough of the sophisticated, unique vibe that contemporary houses give off. If a modern-looking home with sleek, functional décor and an elegant, contemporary feel is what you covet, then these tips will help you achieve that.
Of course, rustic and traditional homes will always have their own appeal, but with the fast-paced world we currently live in, homes with clean designs and soft, neutral colours are a trendier option. It’s up to you, therefore, to figure out what constitutes the design of appealing modern home and come up with creative ways to achieve it for your own property.

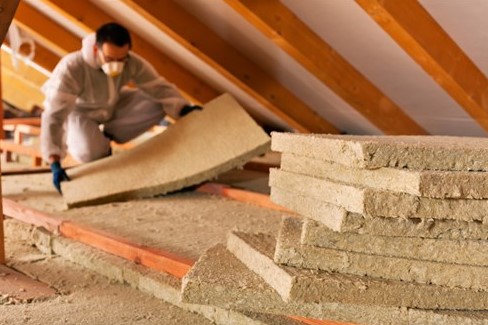 Home insulation has undergone many improvements in the past few years, including the addition of more efficient materials and more effective installation procedures. No longer are homeowners restricted to only batt or blown in types of insulation, although these faithful choices are still very useful in some situations.
 There are many factors to consider when considering whether or not to call in a professional for
 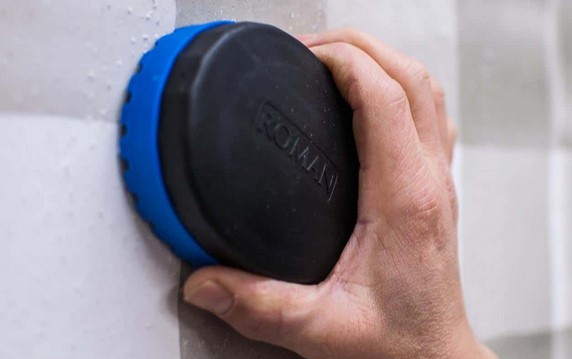 Wallpapers are one of the easiest and most effective ways to give your wall a makeover, with the added advantage of being economical. However, it comes with the cost of regular replacement. Regardless of how you would like to change up your wall, one inevitable step would be taking down your wallpaper, which could be particularly taxing. If you plan to remove your wallpaper, here are a few tips to help you get the job done stress-freely and obtain the perfect look.
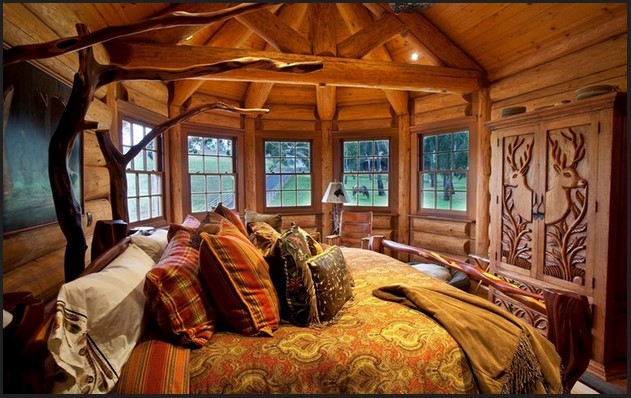 When you are building your dream home, you want to make sure that it is perfect in every way. So, when you build a log home for the first time, it can be easy to get overexcited and start immediately. However, this will almost always lead to problems down the road.
 It is sad that people assume they can do a great work compared to us professionals. Some people fail to maintain their trees until disaster strikes and when they realize that they are in deep trouble they desperately call us to fix it.