The wardrobe, that piece of modest furniture which does one big job in keeping clothes, accessories, etc. in one place, and in most cases in an organised environment. But, there are ways of making things even more organised, so let’s take a look at 7 of them, some of which you may be utilising already or not. Let’s go!
- Colours
Keeping clothing (especially those on hangers) arranged by colour coding is one way of locating exactly what you want to wear. Getting straight to the article you want is easy and there’s no rummaging around trying to find that dress or shirt hiding between other pieces.
- Get Rid of Clutter
If you have any clothing which has been sitting around in your wardrobe for a year or more, and it hasn’t been worn, get rid of it and free up some space! Be ruthless, because there’s no real point in hanging on to clothing that’s not going to be used again, or for the sake of nostalgia. Sell it or give it away or to a charity shop.
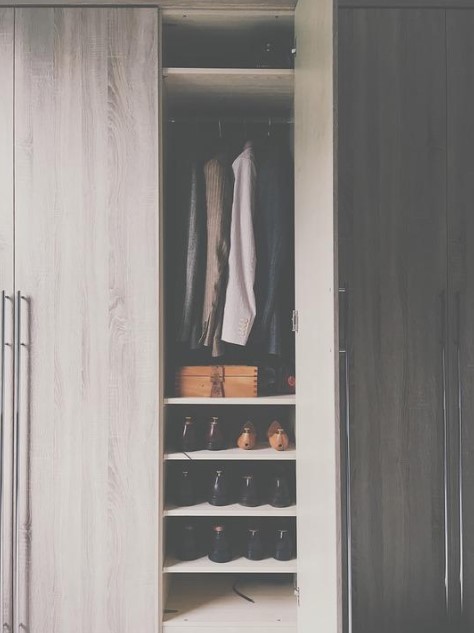
- Easy to Find Location
Try storing your most-used items at eye level, less-used items below, and least-used items up high. Wardrobe solutions are as simple as that!!
- Light
Add some lights in your wardrobe so you can see what’s in there. This will also add an ambient touch and feel to your wardrobe and bedroom, especially if the lights are coloured.
- Sliding
How about replacing clumsy traditional wardrobe doors that swing out, with sliding ones? Get the optional mirrors on the outside also and the whole feel of the room will change. Lifestyle Wardrobes for wardrobe doors in Perth offer an excellent and quality choice of doors and wardrobes at an affordable price.
- Fashion
You are holding on to something because you love it and are waiting or hoping for it to come back into fashion – well, the chances are that by the time it does come into fashion, either it will not fit you, or your tastes will have changed. Or maybe you will simply want to get some new clothes instead of reusing your old ones.
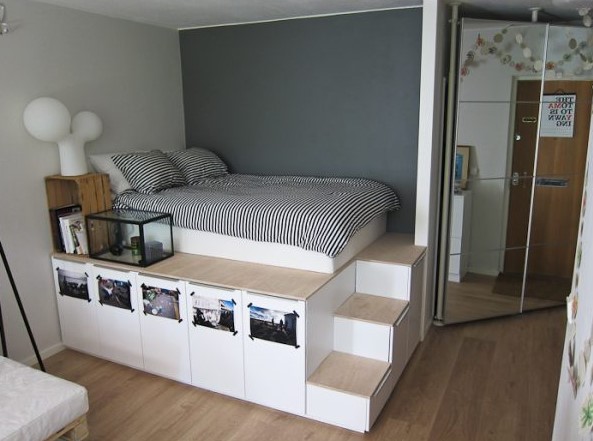
- Get a New One
If your wardrobe is not big enough and the one you have is from another era of your life, or maybe you are in a bigger home now, why not simply get a new and bigger one? There are many designs out there now, from built in wardrobes, to walk in ones, so the change in space and design will add a modern feeling to and positively refresh your home.
Easy Peasy
Now that wasn’t too difficult was it? It doesn’t really take that much imagination or energy to transform your wardrobe into a cool place to hang out! Here’s to your wardrobe being a place where you are happy to go to!