<2016/08/Your-Best-Partner-in-Plumbing-Kirkland-Plumber.png">
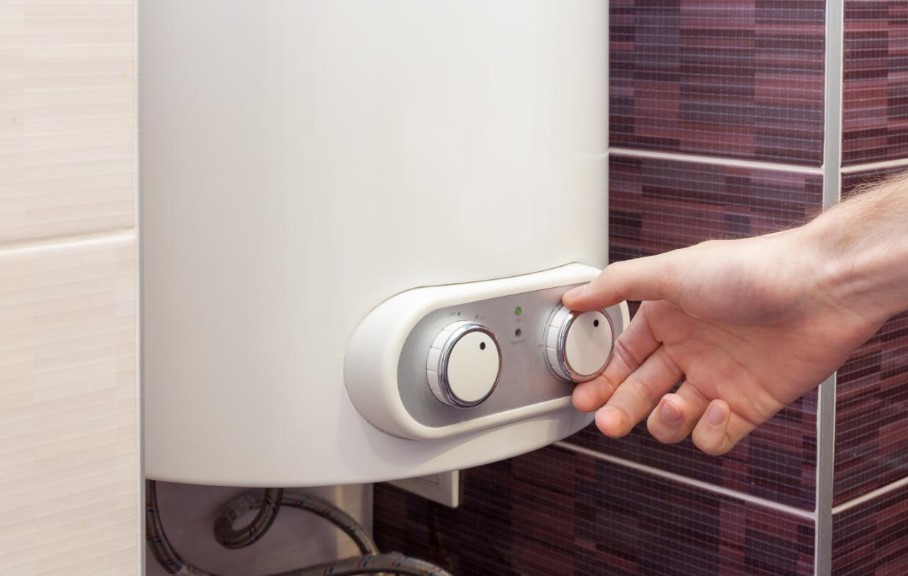
If you live in Kirkland and you need the Kirkland plumber, you can contact Rudy’s Plumbing. Rudy’s Plumbing has served people in Kirkland since 1977. When something happen with your pipes, water heaters, sinks, toilets, etc. you can contact them. They provide many plumbing services to make all Kirkland homes don’t have problems with the plumbing. They prove it because they have helped many plumbing emergencies since 1977. They are always ready and on call to repair the broken pipe or sprayed faucet at home. The plumbing problems in Kirkland can happen all the time. The damage can be from mold, moisture or rot. They can change your good day become badly. That’s why you should keep Rudy’s Plumbing number.
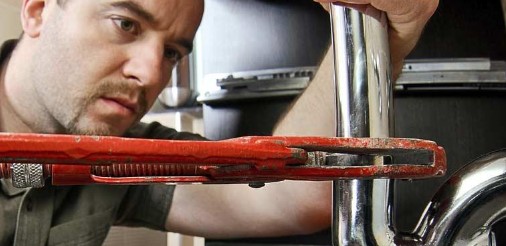
No need to worry, everything about plumbing can be fixed by them. They repair all kinds of jobs related to plumbing from the quick repairmen like clogged drain or toilet until whole re-pipe at your home. They work with hot water heaters as well and they are prepared to install the system which is energy efficient. Not only as Kirkland Plumbing Contractors, but they also serve other areas around Kirkland like Bellevue, Mercer Island and Seattle. They will respond quickly. Any emergencies you face right now, call them and they will be there as soon as possible.
Their motto is to make the customer happy. Their mission and goal is to make you happy even when you have problems in plumbing. They really understand that in their business, they want to make people relieved without any plumbing problems. That’s why they will do the good job and the price is affordable. Their good reputation is spread out. So when you need your plumbing to be fixed, just call and they will help you to repair your plumbing.
Rudy’s Plumbing prioritizes customer satisfaction. They believe that when the customer is happy then it means they did great job. They always try their best in communicating the problem with the customer so the customer knows exactly the cost will be. This will make the customer believe and prepare if they need to pay more money for the service. Time is crucial too. They try to fix as quick as possible. You can read the testimonies on Rudy’s Plumbing website and you will be more assured that they will help you to solve your plumbing problems.
The plumbers in Rudy’s Plumbing are trained and have the certificate from local. They are certified as they practice in Washington State. The staff is all the top of plumbers who has specialization in offering the best service to the customers. They are absolutely knowledgeable and experienced. They are also helpful as they will answer all you plumbing problems. They try to answer and help you to solve your plumbing problems from the quick fix until the complicated one. Their experiences for such a long time will be really helpful. To maintain the best quality of their job, the company always holds the service and training for the staff. So what are you waiting for if you have trained and professional plumbers to help you?