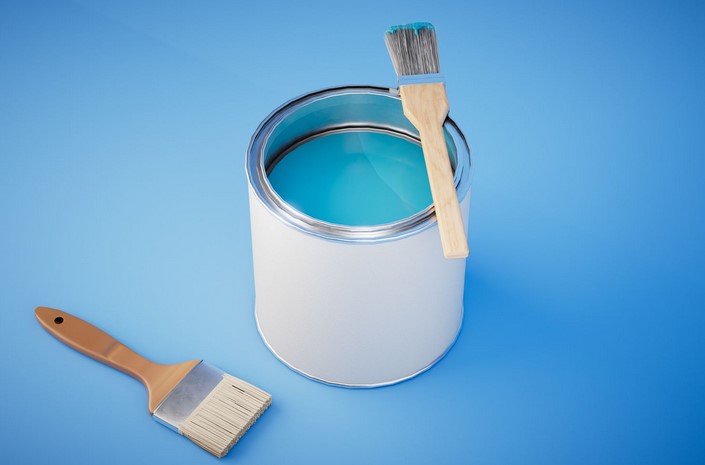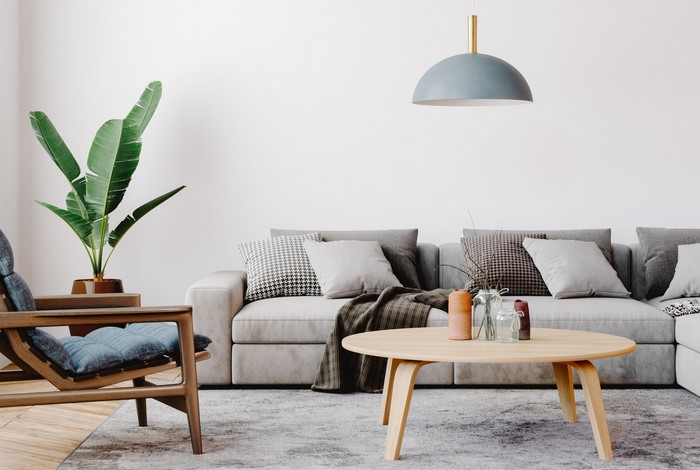
White Elegance is a unique paint line that offers a wide range of bright white paints to help you create the perfect look for your home. Whether you are looking for a classic, timeless look or something more modern and contemporary, White Elegance has the perfect paint for you. With a variety of finishes, from matte to glossy, and a range of shades, from bright white to off-white, you can find the perfect paint to match your style and décor. White Elegance also offers a variety of tools and resources to help you make the best choice for your home. From color swatches to helpful tips and tricks, White Elegance has everything you need to make your home look its best.
How to Achieve a Timeless White Elegance Look in Your Home: Tips for Choosing the Right White Paint
Creating a timeless white elegance look in your home can be a daunting task. However, with the right white paint, you can achieve a beautiful and timeless look that will last for years to come. Here are some tips for choosing the right white paint for your home:
1. Consider the Undertones: When selecting a white paint, it is important to consider the undertones. Different whites can have different undertones, such as yellow, pink, blue, or gray. Choosing a white with the right undertone can help create a more cohesive look in your home.
2. Consider the Sheen: The sheen of the paint can also affect the look of the room. A higher sheen will reflect more light, making the room appear brighter and more open. A lower sheen will create a more subtle and muted look.
3. Consider the Lighting: The lighting in the room can also affect the look of the paint. Natural light can make a white paint appear brighter, while artificial light can make it appear more muted. Consider the type of lighting in the room when selecting a white paint.
4. Test the Paint: Before committing to a white paint, it is important to test it out. Paint a small section of the wall and observe how it looks in different lighting. This will help you determine if the paint is the right choice for your home.
By following these tips, you can create a timeless white elegance look in your home. With the right white paint, you can create a beautiful and timeless look that will last for years to come.
The Benefits of White Elegance: Why White Paint is the Perfect Choice for Your Home Decor
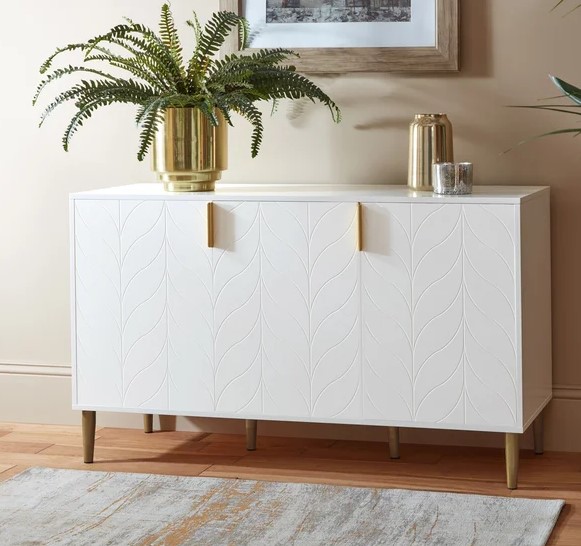
White paint is a timeless and classic choice for home decor, and for good reason. White paint offers a range of benefits that make it the perfect choice for any home. From its versatility to its ability to create a sense of spaciousness, white paint is an ideal choice for any home decor project.
First, white paint is incredibly versatile. It can be used in any room of the house, from the living room to the bedroom, and it can be used to create a range of different looks. Whether you’re looking for a modern, minimalist look or a more traditional, classic style, white paint can be used to create the perfect atmosphere. It can also be used to create a sense of spaciousness, as white reflects light and can make a room appear larger than it actually is.
Second, white paint is incredibly easy to maintain. It is resistant to dirt and stains, and it is easy to clean. This makes it a great choice for busy households, as it requires minimal upkeep. Additionally, white paint is a great choice for those who are looking for a low-maintenance option.
Finally, white paint offers a sense of elegance and sophistication. It is a timeless color that can be used to create a classic, elegant look in any room. White paint can also be used to create a sense of calm and serenity, as it is a neutral color that can help to create a peaceful atmosphere.
In conclusion, white paint is an ideal choice for any home decor project. It is incredibly versatile, easy to maintain, and offers a sense of elegance and sophistication. Whether you’re looking for a modern, minimalist look or a more traditional, classic style, white paint is the perfect choice for any home.White Elegance is a great choice for anyone looking to add a bright, clean, and timeless look to their home. With a wide variety of shades and finishes to choose from, you can find the perfect white paint to match your style and décor. Whether you’re looking for a classic, modern, or contemporary look, White Elegance has the perfect white paint for you. With its superior coverage and durability, you can be sure that your white paint will last for years to come.