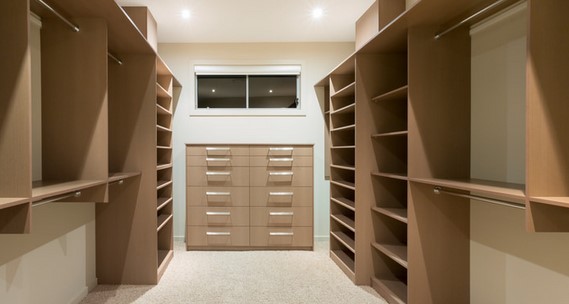
Do you ever feel like you’re drowning in clothes? If your answer is yes, it might be time to invest in a custom closet. A custom closet can help you organize your clothing and accessories in a way that makes the most sense for you. Not only will this make getting dressed easier, but it will also help keep your wardrobe looking its best. In this blog post, we will discuss the benefits of investing in a custom closet and how a closet designer can improve your life!
A custom closet is a great investment for several reasons.
Saves You Time
For starters, it will save you time and stress. Anything that helps in those two areas is a great investment. When your clothes are organized in a way that makes sense for you, it will be easier to find what you’re looking for and get dressed quickly. Most people can attest to the fact that mornings are hectic. There’s always something that needs to be done before you can leave the house, whether it’s making breakfast, getting dressed, or dealing with unexpected surprises. One way to make mornings less stressful is to have a custom closet installed. With a custom closet, you can take advantage of every inch of space, ensuring that everything has its own dedicated spot. As a result, you can save valuable time in the morning by not having to search for your keys or dig through piles of clothes. In addition, a custom closet can help you stay organized and clutter-free, giving you one less thing to worry about as you head out the door.
Keeps Clothing In Better Condition
A custom closet can help keep your clothing in better condition. By storing your clothes properly, you can help them last longer and stay looking their best. Custom closets are not just for people with a lot of clothes. In fact, a custom closet can actually help your clothes last longer. When you have a dedicated space for your clothes, it is easier to keep them organized and protected from damage. For example, you can Hang delicate items on higher shelves or in a separate area to prevent them from being crushed. You can also use dust covers or storage containers to protect clothing from dust, moth damage, and other types of wear and tear. By taking these simple steps, you can significantly extend the life of your clothes. Which will in turn save you money in the long run.
Increased Home Value
A custom closet can increase the value of your home. If you’re planning on selling your home in the future, a custom closet is a great way to add value. When it comes to selling your home, first impressions are everything. Potential buyers will want to see a well-organized, functional closet that meets their needs. A custom closet can provide that extra “wow” factor that sets your home apart from the competition. In addition, a custom closet can help you maximize the use of your space, making your home more efficient and appealing to buyers. And who knows—with a little extra “wow” factor, you might just find yourself at the top of the list when it comes time to sell.
Gives Your Home A Clean Look
Your home will look better overall. A messy closet can make even the nicest home look cluttered and unkempt. But with a custom closet, your home will look neat, tidy, and put together. You’ll be able to better organize your belongings. Another benefit to a custom closet is that you can have dedicated space for everything from your clothes to your shoes to your accessories. This means you’ll be able to find what you’re looking for quickly and easily, and your closet will always look its best.
Built To Last
Custom closets are not only durable but they are also meant to last. Unlike mass-produced closets that are often made with lower quality materials, custom closets are built to last. Every detail is carefully considered, from the type of wood used to the hardware and finishes. As a result, custom closets can withstand the test of time and provide years of use. In addition, custom closets are often designed with specific needs in mind. Whether you need extra storage for a growing family or want to create a more stylish space, a custom closet can be tailored to your unique requirements. So if you’re looking for a closet that will stand the test of time, investing in a custom closet is the way to go.
Choose The Right Designer
If you’re considering a custom closet, it is important to find a closet designer that you can trust. Look for someone with experience designing custom closets for homes like yours. Once you’ve found the right designer, they will work with you to assess your needs and come up with a plan for your new closet. They will take into account the size of your space, the style of your home, and your budget to create a custom closet that meets all of your needs.
When you’re ready to make life easier with a custom closet, contact us at JB Closets today! We would be happy to put you in touch with one of our experienced designers to create your custom closet sanctuary.
 Different people have different reasons for planting trees in their compounds. It can either be for beauty purposes or to be used as shade providers. However, it comes to a time when the trees have to be tended to, and one lacks the knowledge on how to go about it. This means they would opt to hire professional tree removal services. Visit
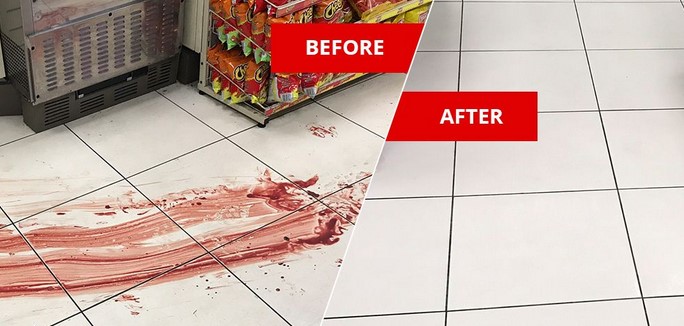
 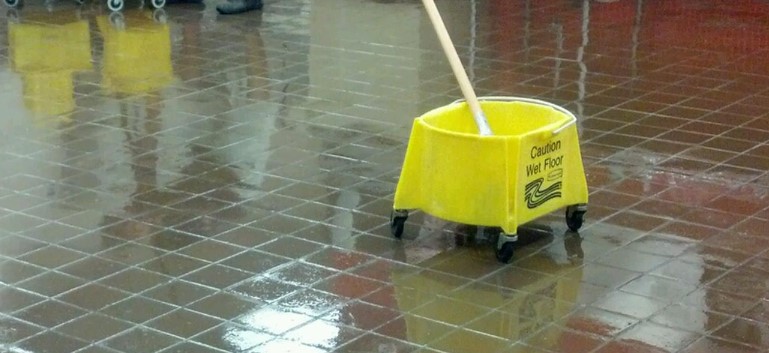 Every housewife needs to know effective ways to clean blood most effectively without spending a lot of time. Of course, when it comes to cleaning huge amount of blood, for instance after accidents and crimes, it’s better to use
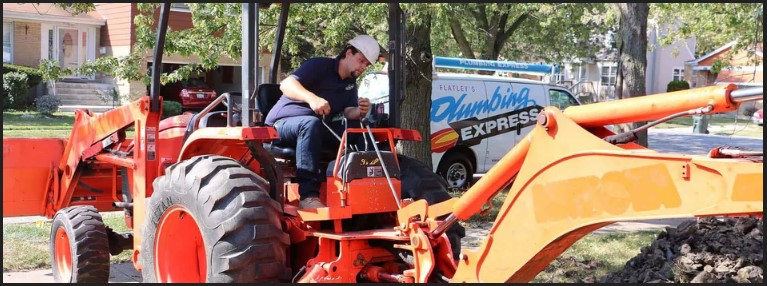
 How is the cost of cleaning services calculated? All aspiring entrepreneurs who decide to open a cleaning company like
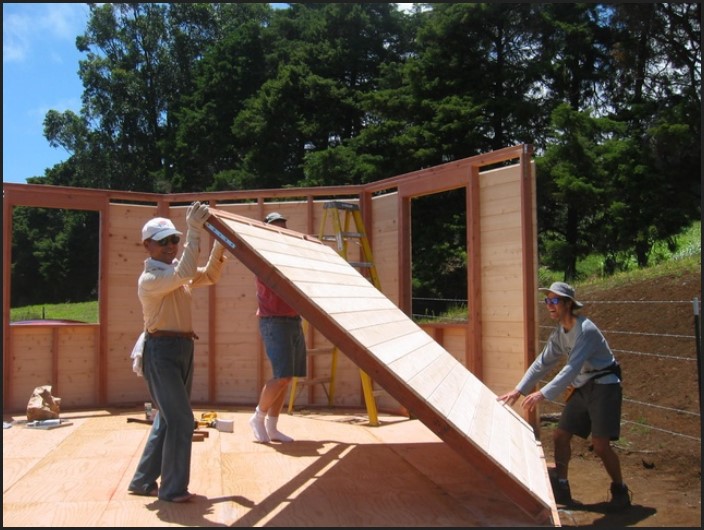
 Homeowners love to continually upgrade and remodel their homes to make them more beautiful. They also like to see other homeowners do the same thing. Because of this love, there are literally dozens of televisions shows all around the world dedicated to upgrading or renovating every room in the house and every area around the home.