Patio Gravel: Choosing and Installing the Right Type is a comprehensive guide that provides detailed information on the various types of patio gravel available in the market, their specific characteristics, and their suitability for different patio designs. It also offers step-by-step instructions on how to properly install patio gravel, ensuring durability and aesthetic appeal. This guide is an essential resource for homeowners looking to enhance their outdoor living spaces with the right type of patio gravel.
The Ultimate Guide to Choosing and Installing the Right Type of Patio Gravel
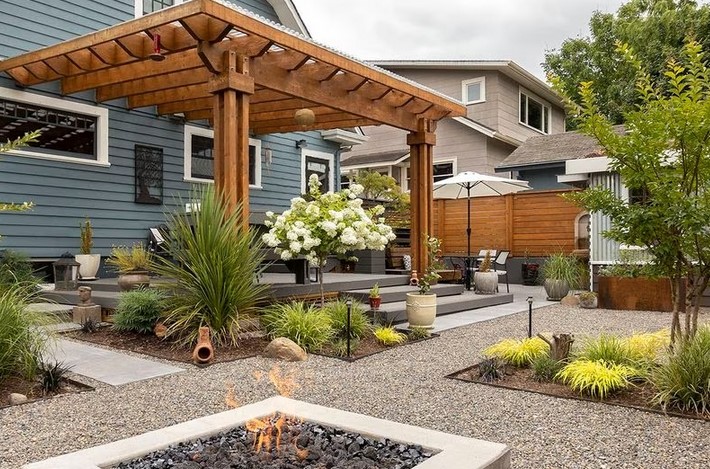
Patio gravel is an essential element in landscaping, offering a cost-effective and versatile material for various outdoor designs. Whether you’re creating a new patio or revamping an existing one, choosing and installing the right type of patio gravel can significantly enhance your outdoor space’s aesthetic appeal and functionality. This article will serve as your ultimate guide to making the right choice and ensuring a successful installation.
When it comes to choosing the right type of patio gravel, several factors come into play. The first consideration is the size of the gravel. Gravel sizes range from fine sand-like particles to larger stones. The choice depends on the desired texture and the patio’s intended use. For instance, if you plan to place furniture on the patio, larger stones may not provide a stable base. In such cases, smaller gravel or decomposed granite would be a better choice.
The color of the gravel is another crucial factor. Gravel comes in a variety of colors, from earthy browns and neutral grays to vibrant reds and blues. The choice of color should complement the overall design of your landscape and the exterior of your home. For a harmonious look, consider choosing a gravel color that matches or contrasts nicely with your home’s exterior or other hardscape elements in your yard.
The shape of the gravel also matters. Rounded pebbles offer a softer look and feel underfoot, while angular gravel provides a more formal and structured appearance. The choice between rounded and angular gravel depends on your personal preference and the style of your landscape.
Once you’ve chosen the right type of patio gravel, the next step is installation. Proper installation is crucial to ensure the longevity and functionality of your gravel patio. Start by preparing the site. Remove any existing grass or plants and level the ground. It’s also advisable to install a weed barrier to prevent unwanted growth from disturbing your patio.
Next, install a sturdy border to contain the gravel. This could be made of wood, metal, or stone, depending on your preference and the style of your patio. The border should be installed deep enough to hold the gravel in place but high enough to prevent it from spilling over.
After setting up the border, it’s time to lay the gravel. Spread it evenly across the patio area, ensuring a depth of at least two inches for optimal stability. You can use a rake to spread the gravel and a tamper to compact it. This will create a firm, stable surface that can withstand foot traffic and the weight of patio furniture.
Finally, maintain your gravel patio regularly to keep it looking its best. This includes raking the gravel to maintain an even surface, removing any weeds that may sprout, and adding more gravel as needed to maintain the desired depth.
In conclusion, choosing and installing the right type of patio gravel requires careful consideration and proper execution. By taking into account factors such as gravel size, color, and shape, and following the correct installation procedures, you can create a beautiful and functional gravel patio that enhances your outdoor living space.In conclusion, choosing and installing the right type of patio gravel is crucial for the durability and aesthetics of your outdoor space. The selection process involves considering factors such as size, color, and type of gravel that best suits your patio design and usage. The installation process, on the other hand, requires careful preparation of the patio area, proper layering and compacting of the gravel for stability and drainage. Therefore, both the choice and installation of patio gravel require thoughtful planning and execution.