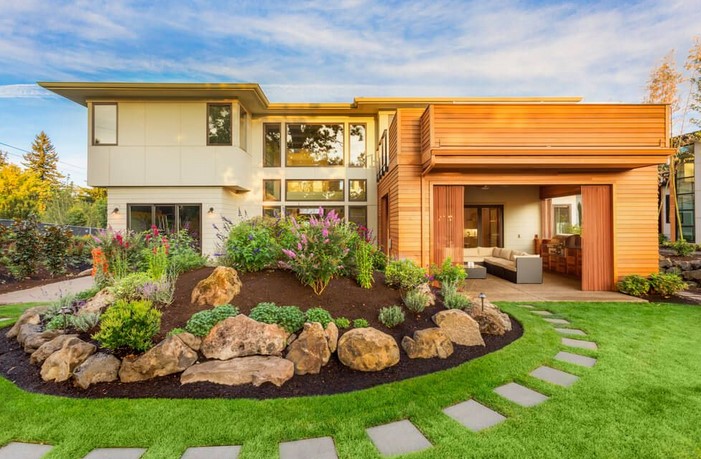
Welcome to Front and Center: Landscape Design Tips for a Stunning Front Yard! Whether you’re a homeowner looking to spruce up your front yard or a professional landscaper looking for ideas, this guide will provide you with the tips and tricks you need to create a beautiful and inviting outdoor space. From selecting the right plants and materials to creating a cohesive design, this guide will help you create a stunning front yard that will be the envy of your neighbors. So, let’s get started and create a front yard that will be the pride of your home!
How to Create a Low-Maintenance Front Yard Landscape Design
Creating a low-maintenance front yard landscape design is an excellent way to reduce the amount of time and effort required to keep your outdoor space looking its best. With careful planning and the right materials, you can create a beautiful and functional landscape that requires minimal upkeep.
The first step in creating a low-maintenance front yard landscape design is to assess the existing conditions of your yard. Consider the size and shape of the space, the amount of sunlight it receives, and the soil type. This information will help you determine which plants and materials are best suited for your landscape.
Once you have a better understanding of the existing conditions, you can begin to plan your design. Consider the overall look and feel you want to achieve. Do you prefer a formal or informal style? Do you want to create a space for entertaining or simply a place to relax?
When selecting plants for your landscape, choose varieties that are well-suited to your climate and soil type. Native plants are often the best choice as they are adapted to the local environment and require minimal care. Consider plants that are drought-tolerant and low-maintenance, such as succulents, ornamental grasses, and ground covers.
Incorporating hardscaping elements into your landscape design can also help reduce maintenance. Consider using pavers, gravel, or stone to create pathways and seating areas. These materials are durable and require minimal upkeep.
Finally, consider adding features such as a water feature or outdoor lighting to enhance the beauty of your landscape. These features can add visual interest and create a more inviting atmosphere.
By following these steps, you can create a low-maintenance front yard landscape design that is both beautiful and functional. With careful planning and the right materials, you can create an outdoor space that requires minimal upkeep and provides years of enjoyment.
5 Essential Elements of a Beautiful Front Yard Landscape Design
A beautiful front yard landscape design is essential for creating a welcoming and inviting outdoor space. It should be designed to reflect the homeowner’s personal style and preferences, while also providing a functional and aesthetically pleasing outdoor area. To achieve this, there are five essential elements that should be included in any front yard landscape design.
First, a well-defined walkway should be included in the design. This will provide a clear path for visitors to follow and will also help to define the space. The walkway should be made of durable materials such as brick, stone, or concrete and should be wide enough to accommodate two people walking side by side.
Second, a focal point should be included in the design. This could be a water feature, a sculpture, or a unique plant. This will draw the eye and create a sense of interest in the space.
Third, a variety of plants should be included in the design. This will provide color, texture, and interest to the space. A mix of evergreen and deciduous plants, as well as flowering plants, should be used to create a lush and inviting landscape.
Fourth, hardscaping should be included in the design. This could include a patio, a deck, or a seating area. This will provide a place for people to gather and enjoy the outdoors.
Finally, lighting should be included in the design. This will provide a sense of safety and security, as well as create a beautiful nighttime atmosphere.
By incorporating these five essential elements into a front yard landscape design, homeowners can create a beautiful and inviting outdoor space that reflects their personal style and preferences.Front and Center: Landscape Design Tips for a Stunning Front Yard provides homeowners with the tools and knowledge they need to create a beautiful and inviting front yard. With the right design elements, homeowners can create a space that is both aesthetically pleasing and functional. By taking into consideration the size and shape of the yard, the climate, and the homeowner’s personal style, a stunning front yard can be created. With the right planning and design, homeowners can create a front yard that will be the envy of the neighborhood.

 Industrial Vibes is a furniture company that specializes in creating furniture with an industrial look. We strive to create pieces that are both stylish and functional, while also being affordable. Our furniture is made from high-quality materials and is designed to last for years. We offer a wide range of products, from tables and chairs to shelving and storage solutions. Our goal is to provide our customers with furniture that is both stylish and practical, and that will stand the test of time. We believe that our furniture will add a unique and modern touch to any home or office.
 In the wake of a fire, the aftermath can be overwhelming and devastating. Beyond the immediate safety concerns, there’s the daunting task of rebuilding and restoring what was lost.
 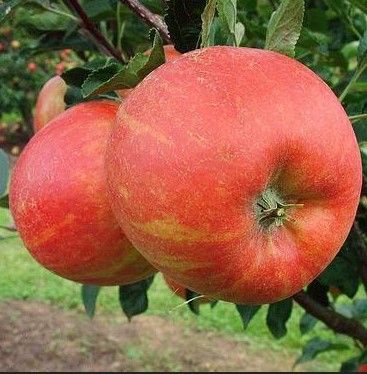 In the realm of gardening, the allure of cultivating one’s own fruits can be irresistible. There’s something deeply satisfying about nurturing a tiny sapling into a thriving tree laden with luscious fruits. However, for many enthusiasts, the challenge lies in finding high-quality fruit trees that suit their specific needs and preferences. This is where the convenience of mail order fruit trees comes into play.
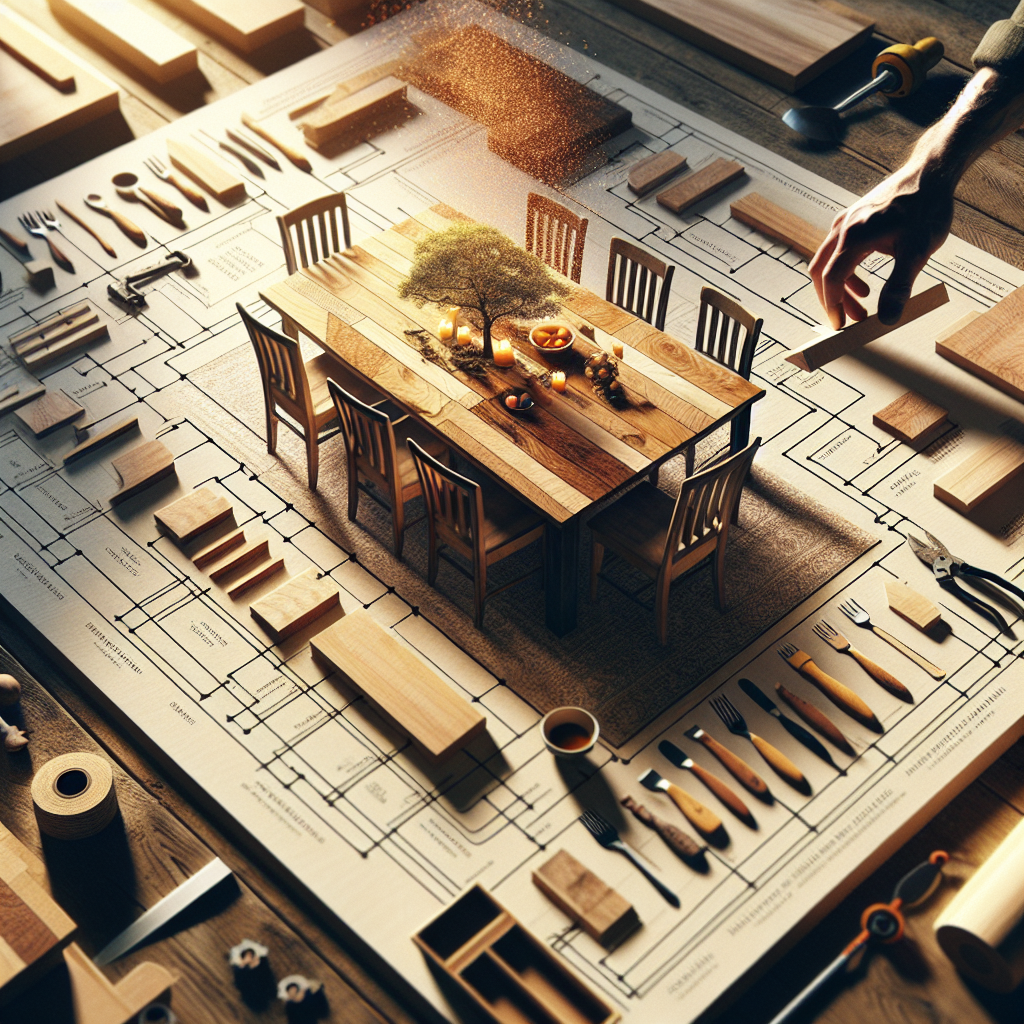
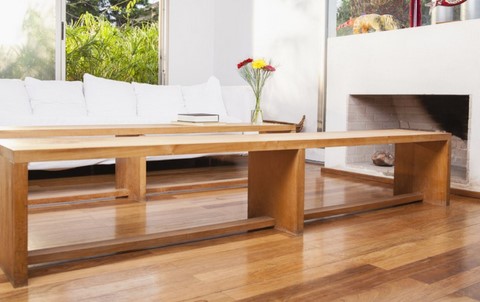 Simple Seating: Creating a Rustic Bench for Your Space is a great way to add a unique and stylish touch to any room. Whether you’re looking to add a cozy spot to your living room, a place to relax in your bedroom, or a spot to enjoy a cup of coffee in your kitchen, a rustic bench is the perfect addition. With a few simple tools and materials, you can easily create a beautiful and functional bench that will last for years to come. This guide will provide you with step-by-step instructions on how to build a rustic bench, as well as tips and tricks for making it look its best. So, let’s get started!
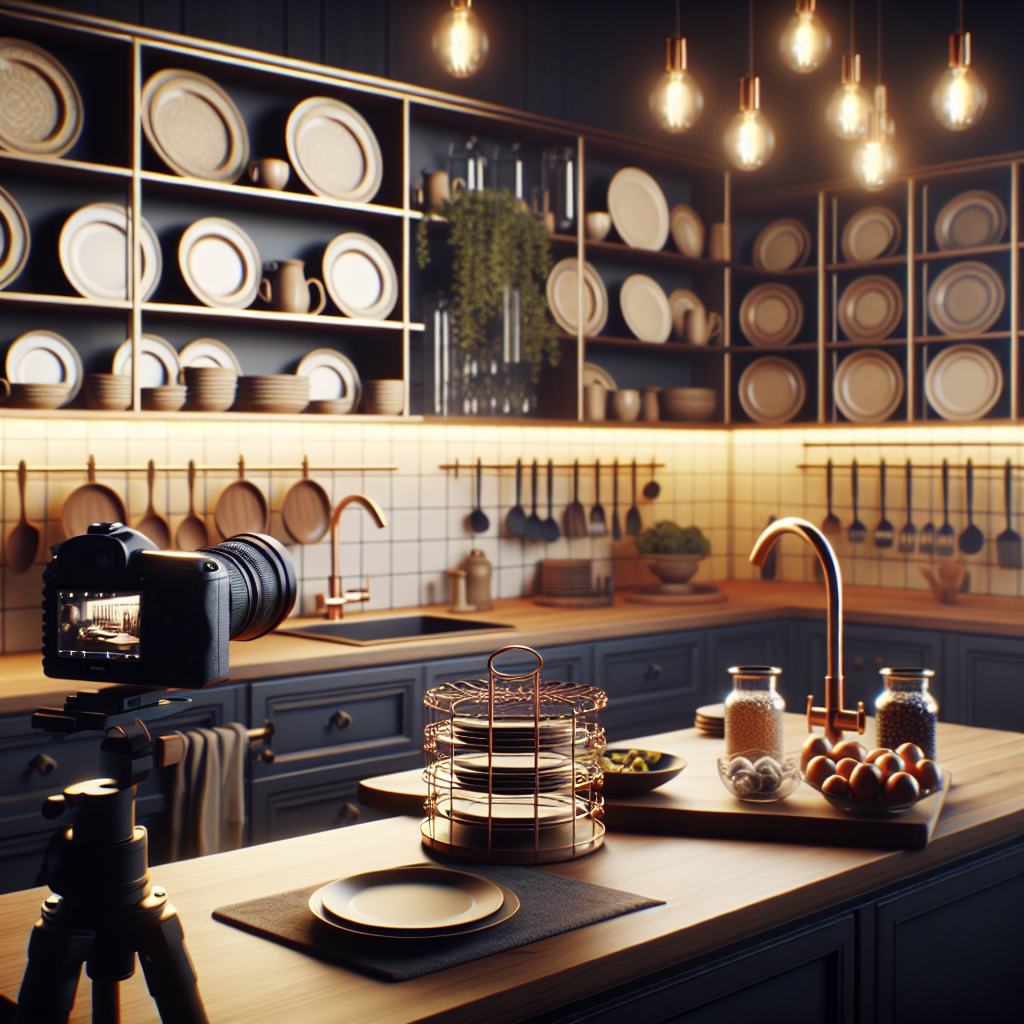
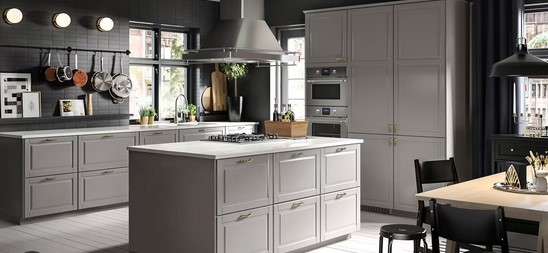 Rolling efficiency is a concept developed by IKEA to maximize the efficiency of kitchen islands. It is based on the idea that a kitchen island should be able to move around the kitchen, allowing for more efficient use of space and easier access to items. Rolling efficiency also allows for more flexibility in the design of the kitchen island, allowing for more customization and personalization. IKEA’s kitchen island advantages include increased storage space, improved accessibility, and increased flexibility. With rolling efficiency, IKEA has created a kitchen island that is both functional and stylish.
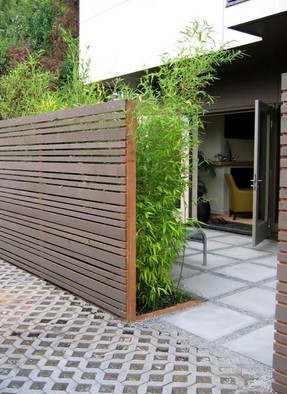 Fence Fashion: Wooden Fence Ideas for Stylish Boundaries is a comprehensive guide to creating stylish and functional wooden fences for your home. Whether you’re looking for a classic picket fence, a modern horizontal fence, or something more unique, this guide will provide you with the information you need to make the best decision for your home. With detailed instructions and helpful tips, you’ll be able to create a fence that is both beautiful and practical. From choosing the right materials to installing the fence, this guide will help you create a fence that will last for years to come.
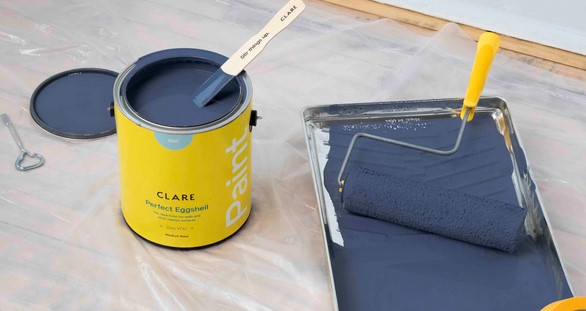 Paint coverage calculations are an important part of any painting project. Knowing how much paint you need to cover a given area is essential for ensuring that you don’t run out of paint before the job is done. It’s also important to understand how much coverage you can expect from a gallon of paint, as this will help you determine how many gallons you need to purchase. In this article, we’ll discuss the basics of coverage calculations and how to calculate the coverage of a gallon of paint. We’ll also discuss some tips for getting the most out of your paint and ensuring that you get the best coverage possible.
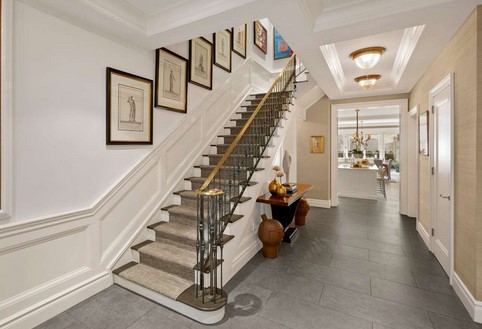 Wainscoting Wonders is a comprehensive guide to painting and enhancing your walls with wainscoting. Whether you’re a beginner or an experienced DIYer, this guide will provide you with all the tips and tricks you need to create beautiful wainscoting designs. From choosing the right materials to painting techniques, this guide will help you create a stunning look for your walls. With detailed instructions and helpful illustrations, you’ll be able to create a unique and stylish look for your home. So, if you’re looking to add a touch of elegance to your walls, Wainscoting Wonders is the perfect guide for you.