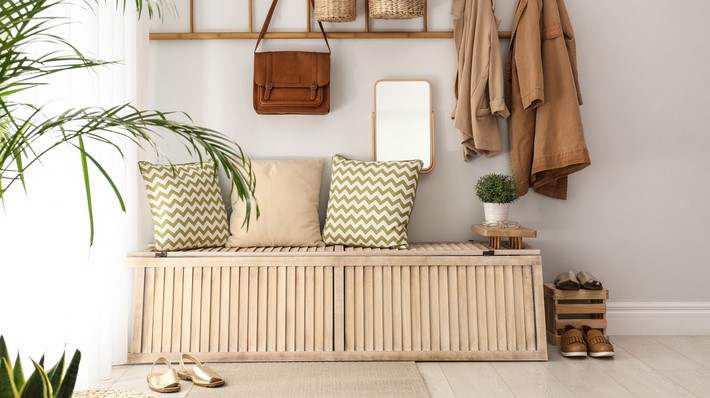
The DIY Bench with Storage is a versatile piece of furniture that combines functionality and style. It is a project that allows you to create a comfortable seating option while also providing a practical storage solution. This bench is not only a great way to maximize space, but it also adds a unique and personal touch to any room. With its customizable design, you can tailor it to fit your specific needs and aesthetic preferences. Whether placed in a hallway, living room, or bedroom, the DIY Bench with Storage serves as a testament to practicality and style co-existing in harmony.
Creating Your Own DIY Bench with Storage: A Guide to Functional and Stylish Seating
Creating your own DIY bench with storage is a rewarding project that combines functionality with style. This type of seating is not only a comfortable place to sit, but it also provides a practical solution for storing items. Whether you’re a seasoned DIY enthusiast or a beginner, this project is a great way to enhance your living space.
The first step in creating a DIY bench with storage is to decide on the design. There are numerous designs available online, ranging from simple box-style benches to more complex designs with hinged lids or drawers. The design you choose will depend on your skill level, the tools you have available, and the space where the bench will be placed. It’s important to consider the size of the bench, as it needs to fit comfortably in the space while providing enough storage.
Once you’ve chosen a design, the next step is to gather your materials. The type of wood you choose will depend on your personal preference and the style of your home. Hardwoods like oak or maple are durable and can withstand heavy use, while softer woods like pine are easier to work with but may not be as durable. Other materials you’ll need include screws, hinges, and a suitable finish to protect the wood.
The construction process begins with cutting the wood to the correct size. This is a crucial step, as any mistakes can affect the final result. It’s advisable to measure twice and cut once to ensure accuracy. Once the pieces are cut, they can be assembled according to the design. This usually involves attaching the sides to the base, adding the top, and then installing any additional features like a hinged lid or drawers.
After the bench is assembled, it’s time to add the finish. This not only enhances the appearance of the wood but also protects it from damage. There are various finishes to choose from, including paint, stain, and varnish. The choice of finish will depend on the look you want to achieve and the type of wood you’ve used.
The final step is to add any finishing touches. This could include adding cushions for extra comfort, installing handles on the lid or drawers, or even adding decorative elements like carvings or stencils. These finishing touches can really personalize the bench and make it a unique addition to your home.
Creating a DIY bench with storage is a project that requires some time and effort, but the end result is a functional and stylish piece of furniture. It’s a great way to add extra seating and storage to your home, and it’s also a satisfying project that allows you to put your DIY skills to good use. Whether you’re an experienced DIYer or a beginner, this project is a great way to create a unique piece of furniture that’s tailored to your needs and style.In conclusion, a DIY Bench with Storage offers a practical and fashionable solution for seating and storage needs. It not only provides a comfortable place to sit but also an efficient way to declutter and organize items. This dual-purpose furniture piece is not only cost-effective but also adds a personal and unique touch to home decor.