Wooden Caddy: Build Your Own Handy Storage Solution is a comprehensive guide that provides step-by-step instructions on how to construct a wooden caddy for storage purposes. This guide is perfect for those who enjoy DIY projects and are looking to create a unique, personalized storage solution. It covers everything from the materials needed, the construction process, to the finishing touches. Whether you’re looking to organize your tools, kitchen utensils, or craft supplies, this guide offers a practical and stylish solution.
Step-by-Step Guide: Building Your Own Wooden Caddy for Handy Storage Solutions
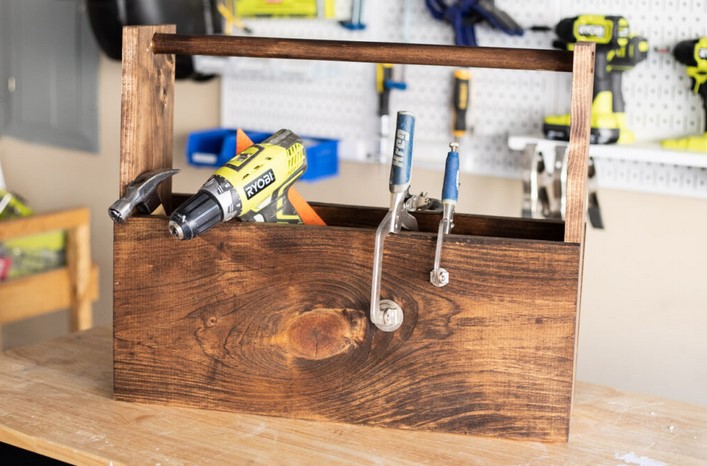
Wooden caddies are not only functional storage solutions but also add a touch of rustic charm to any space. Building your own wooden caddy is a rewarding project that allows you to customize the size, design, and finish to suit your specific needs and aesthetic preferences. This article provides a step-by-step guide to help you create your own handy storage solution.
To begin with, gather all the necessary materials. You will need wood planks, a saw, a drill, screws, sandpaper, wood glue, and a finish of your choice. The type of wood you choose will depend on your personal preference and the intended use of the caddy. For instance, if you plan to use it in a damp environment like a bathroom, consider using cedar or teak, which are naturally water-resistant.
Once you have all your materials, start by cutting the wood planks to the desired size. The dimensions will depend on what you plan to store in the caddy. For example, if you’re building a caddy for your kitchen utensils, you might want it to be about 6 inches wide, 4 inches deep, and 8 inches tall. Use your saw to cut the planks, ensuring that the cuts are straight and even.
Next, assemble the caddy. Start by attaching the sides to the base using wood glue and screws. Ensure that the corners are square and the sides are flush with the base. Then, attach the front and back pieces in the same way. If you want to add dividers to your caddy, cut additional pieces of wood to the appropriate size and attach them inside the caddy using wood glue and screws.
After the caddy is assembled, it’s time to smooth and finish it. Use sandpaper to smooth any rough edges or surfaces. This step is crucial as it not only makes the caddy safer to handle but also prepares the wood for the finish. Once the caddy is smooth, apply a finish of your choice. You could use paint for a pop of color, stain for a more natural look, or a clear sealant to protect the wood while showcasing its natural beauty.
Finally, let the caddy dry completely before using it. Depending on the type of finish you used, this could take anywhere from a few hours to a few days. Once it’s dry, your wooden caddy is ready to use. You can use it to organize your kitchen utensils, craft supplies, toiletries, or any other small items that need a home.
In conclusion, building your own wooden caddy is a practical and enjoyable project that can provide a customized storage solution for your home. By following these steps, you can create a wooden caddy that is not only functional but also adds a touch of rustic charm to your space. Whether you’re a seasoned DIY enthusiast or a beginner, this project is a great way to hone your woodworking skills while creating something useful and beautiful.In conclusion, building your own wooden caddy is a practical and customizable storage solution. It allows for the creation of a personalized item that caters to specific storage needs, while also providing a sense of accomplishment and creativity. This DIY project is not only cost-effective but also a sustainable choice as it promotes the use of natural materials.
