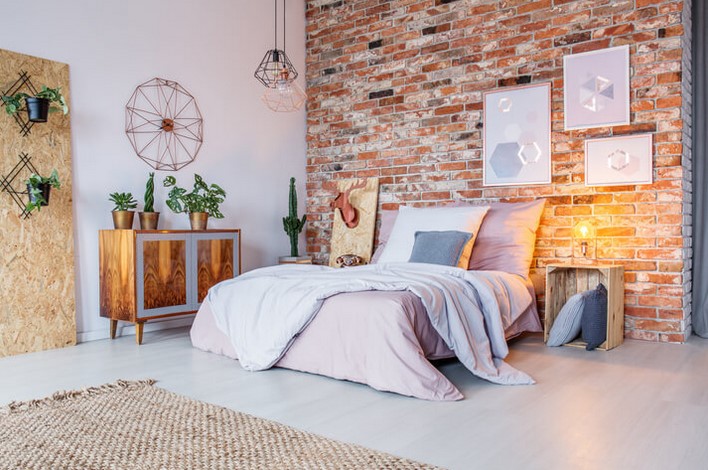
Interior Brick Veneer is a versatile and aesthetic design element that can add a unique character to your home. It is a thin layer of bricks or brick-like materials applied to the interior walls of a house to mimic the appearance of solid brick walls. This design feature not only enhances the visual appeal of your home but also provides additional insulation. With a variety of colors, textures, and styles available, interior brick veneer can be tailored to suit any home decor, from rustic to modern. It is a cost-effective and practical solution for homeowners who want to incorporate the timeless charm of brick into their interior design without the expense and structural concerns of traditional brickwork.
Exploring Interior Brick Veneer: How to Add Character to Your Home
Interior brick veneer is a versatile and stylish design element that can add character to any home. It is a thin layer of brick that is used as a decorative surface on the interior walls of a home. This design element is gaining popularity among homeowners and interior designers for its ability to create a unique, rustic, and warm atmosphere.
The beauty of interior brick veneer lies in its versatility. It can be used in a variety of settings, from traditional to contemporary, and can be applied to any room in the house. Whether it’s a feature wall in the living room, a backsplash in the kitchen, or an accent wall in the bedroom, brick veneer can transform a space and give it a distinctive character.
One of the main advantages of interior brick veneer is its durability. Unlike wallpaper or paint, brick veneer does not peel, fade, or get easily damaged. It is resistant to heat and moisture, making it an ideal choice for areas such as the kitchen or bathroom. Moreover, it requires minimal maintenance and can be easily cleaned with a damp cloth.
Another advantage of interior brick veneer is its cost-effectiveness. While it may initially seem more expensive than other wall treatments, it is a long-term investment that pays off in the long run. It adds value to the home and can be a selling point if you ever decide to put your house on the market.
Installing interior brick veneer is a relatively straightforward process. It can be applied directly to drywall, wood, or any other flat surface. The bricks are usually adhered with a special type of adhesive, and the gaps between the bricks are filled with mortar to give it a realistic, full-brick appearance. However, it is recommended to hire a professional to ensure a proper and secure installation.
When it comes to the aesthetic appeal of interior brick veneer, the possibilities are endless. It comes in a variety of colors, textures, and finishes, allowing you to customize the look to suit your personal style and home decor. You can choose a traditional red brick for a classic look, a white-washed brick for a modern and airy feel, or a dark brick for a dramatic and moody ambiance.
In addition to its aesthetic appeal, interior brick veneer also has practical benefits. It provides excellent insulation, helping to keep your home warm in the winter and cool in the summer. It also has sound-absorbing properties, making it a great choice for rooms where noise reduction is desired.
In conclusion, interior brick veneer is a stylish, durable, and cost-effective design element that can add character to your home. Whether you’re renovating an old house or building a new one, consider incorporating brick veneer into your interior design. It’s a timeless material that can enhance the beauty and value of your home, while also providing practical benefits. With its versatility and charm, interior brick veneer is a design trend that is here to stay.In conclusion, interior brick veneer is a versatile and aesthetically pleasing option for homeowners looking to add character to their homes. It offers the rustic charm and durability of traditional brick, while being lighter, more affordable, and easier to install. It can be used in various rooms and styles, making it a flexible choice for interior design. Therefore, interior brick veneer is a valuable addition to any home.

 We know, we know—insurance isn’t the most exciting thing to talk about, but trust us, it’s crucial for making sure your belongings are protected during the big move. So let’s dive into what professionals like

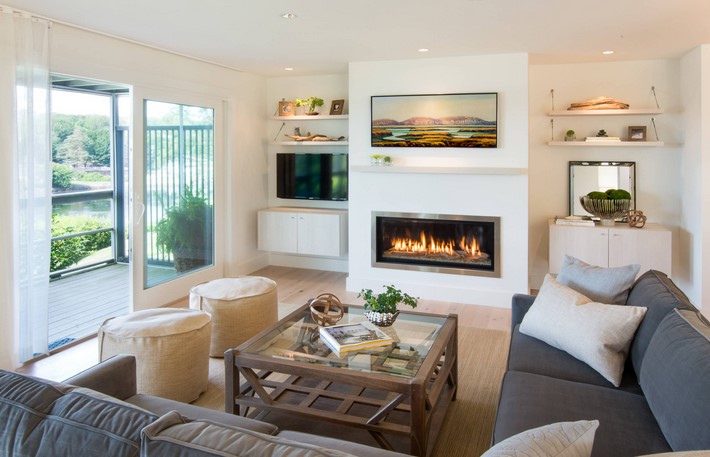
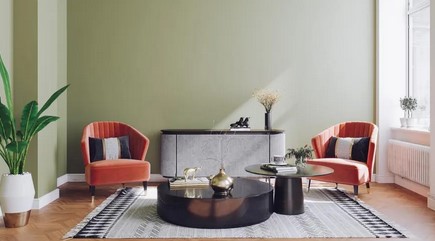 Home Paint Ideas: Fresh and Inspiring Colors for Every Room is a comprehensive guide that provides a plethora of innovative and refreshing paint color ideas for every room in your house. It aims to inspire homeowners to experiment with different hues and shades, moving away from traditional colors to create unique, personalized spaces. The guide covers a wide range of color palettes, from cool and calming tones for bedrooms to vibrant and energetic shades for living areas. It also offers advice on how to choose the right paint type and finish, ensuring that the color not only looks good but also lasts long. Whether you’re renovating your entire home or just looking to update a single room, this guide offers a wealth of inspiration to help you make the best color choices.
:max_bytes(150000):strip_icc()/GettyImages-1291649038-80f5426e37414e3c83bd178cdfcc52c3.jpg)
 In the vast expanses of Colorado, where landscapes range from rugged mountains to sprawling plains, the quality of turfgrass plays a pivotal role in shaping outdoor environments.