Laundry Room Luxury is a great way to make the most of a small laundry room. With the right design, you can create a space that is both efficient and stylish. From clever storage solutions to modern appliances, there are plenty of ways to make the most of a small laundry room. With the right design, you can create a space that is both functional and beautiful. Whether you’re looking for a complete overhaul or just a few simple updates, this guide will help you create a laundry room that is both efficient and luxurious.
Maximizing Space in Your Laundry Room: Tips for Creating a Luxurious Look in a Small Space
Creating a luxurious look in a small laundry room can be a challenge. However, with the right tips and tricks, you can maximize the space and create a beautiful and functional area. Here are some tips for maximizing space in your laundry room and creating a luxurious look in a small space.
First, consider the layout of the room. If possible, try to create a multi-functional space that can accommodate both laundry and storage. Utilize vertical space by adding shelves and cabinets to the walls. This will help to keep the room organized and free up floor space.
Second, choose furniture and appliances that are both stylish and functional. Look for pieces that are designed to maximize storage and organization. For example, a stackable washer and dryer can help to save space. Additionally, choose furniture that is both stylish and practical.
Third, use light colors and reflective surfaces to make the room appear larger. Light colors will help to open up the space and make it appear larger. Additionally, reflective surfaces such as mirrors and glass can help to create the illusion of more space.
Fourth, add decorative touches to the room. Choose items that are both stylish and functional. For example, a decorative basket can be used to store laundry items and a stylish rug can help to add a touch of luxury to the room.
Finally, use natural light to brighten up the room. Natural light can help to make the room appear larger and more inviting. If possible, install a window or skylight to bring in natural light.
By following these tips, you can maximize the space in your laundry room and create a luxurious look in a small space. With the right layout, furniture, and decorative touches, you can create a beautiful and functional area that you will be proud to show off.
The Benefits of Investing in High-End Appliances for Your Laundry Room: How to Get the Most Out of Your Investment
Investing in high-end appliances for your laundry room can be a great way to improve the efficiency and convenience of your laundry routine. High-end appliances are designed to be more reliable and energy-efficient than their lower-end counterparts, and they often come with additional features that can make laundry day easier. However, it is important to consider the cost of these appliances and how to get the most out of your investment. This article will discuss the benefits of investing in high-end appliances for your laundry room and provide tips on how to get the most out of your investment.
The first benefit of investing in high-end appliances for your laundry room is improved efficiency. High-end appliances are designed to be more reliable and energy-efficient than their lower-end counterparts. This means that they will use less energy and water, resulting in lower utility bills. Additionally, high-end appliances often come with additional features such as steam cycles, sanitizing cycles, and larger capacity drums, which can help to reduce the amount of time spent on laundry day.
The second benefit of investing in high-end appliances for your laundry room is improved convenience. High-end appliances often come with additional features such as digital displays, delay start timers, and remote control capabilities, which can make laundry day easier and more convenient. Additionally, many high-end appliances come with additional features such as steam cycles, sanitizing cycles, and larger capacity drums, which can help to reduce the amount of time spent on laundry day.
Finally, investing in high-end appliances for your laundry room can help to increase the value of your home. High-end appliances are designed to last longer and be more reliable than their lower-end counterparts, which can help to increase the value of your home. Additionally, the additional features that come with high-end appliances can make your home more attractive to potential buyers.
In order to get the most out of your investment in high-end appliances for your laundry room, it is important to consider the cost of the appliances and the features that they offer. Additionally, it is important to research the different brands and models available to ensure that you are getting the best value for your money. Additionally, it is important to consider the energy efficiency of the appliances and the additional features that they offer. Finally, it is important to consider the warranty and repair services that are offered with the appliances to ensure that you are getting the most out of your investment.
By investing in high-end appliances for your laundry room, you can enjoy improved efficiency, convenience, and increased value for your home. However, it is important to consider the cost of the appliances and the features that they offer in order to get the most out of your investment. By following the tips outlined in this article, you can ensure that you are getting the most out of your investment in high-end appliances for your laundry room.Laundry Room Luxury: Small Laundry Room Designs for Efficiency is a great resource for anyone looking to maximize the efficiency of their small laundry room. With the right design, you can make the most of your space and create a functional and stylish laundry room. Whether you choose to go with a traditional or modern design, you can find the perfect solution for your needs. With the right design, you can make the most of your space and create a laundry room that is both efficient and luxurious.
 In the wake of a fire, the aftermath can be overwhelming and devastating. Beyond the immediate safety concerns, there’s the daunting task of rebuilding and restoring what was lost.
 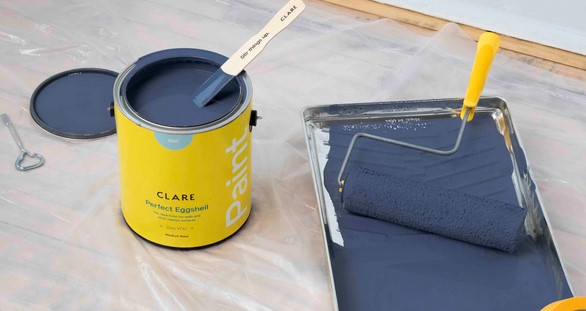 Paint coverage calculations are an important part of any painting project. Knowing how much paint you need to cover a given area is essential for ensuring that you don’t run out of paint before the job is done. It’s also important to understand how much coverage you can expect from a gallon of paint, as this will help you determine how many gallons you need to purchase. In this article, we’ll discuss the basics of coverage calculations and how to calculate the coverage of a gallon of paint. We’ll also discuss some tips for getting the most out of your paint and ensuring that you get the best coverage possible.
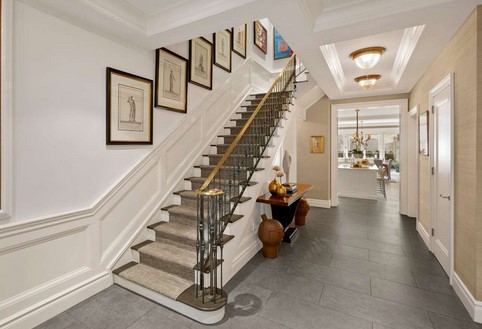 Wainscoting Wonders is a comprehensive guide to painting and enhancing your walls with wainscoting. Whether you’re a beginner or an experienced DIYer, this guide will provide you with all the tips and tricks you need to create beautiful wainscoting designs. From choosing the right materials to painting techniques, this guide will help you create a stunning look for your walls. With detailed instructions and helpful illustrations, you’ll be able to create a unique and stylish look for your home. So, if you’re looking to add a touch of elegance to your walls, Wainscoting Wonders is the perfect guide for you.